
Crispy Shrimp Balls with Ginger & Garlic

Crunchy on the outside, tender and savory on the inside — shrimp balls flavored with ginger, garlic, scallions, and a hint of sesame. Perfect for appetizers or a quick weeknight dinner.
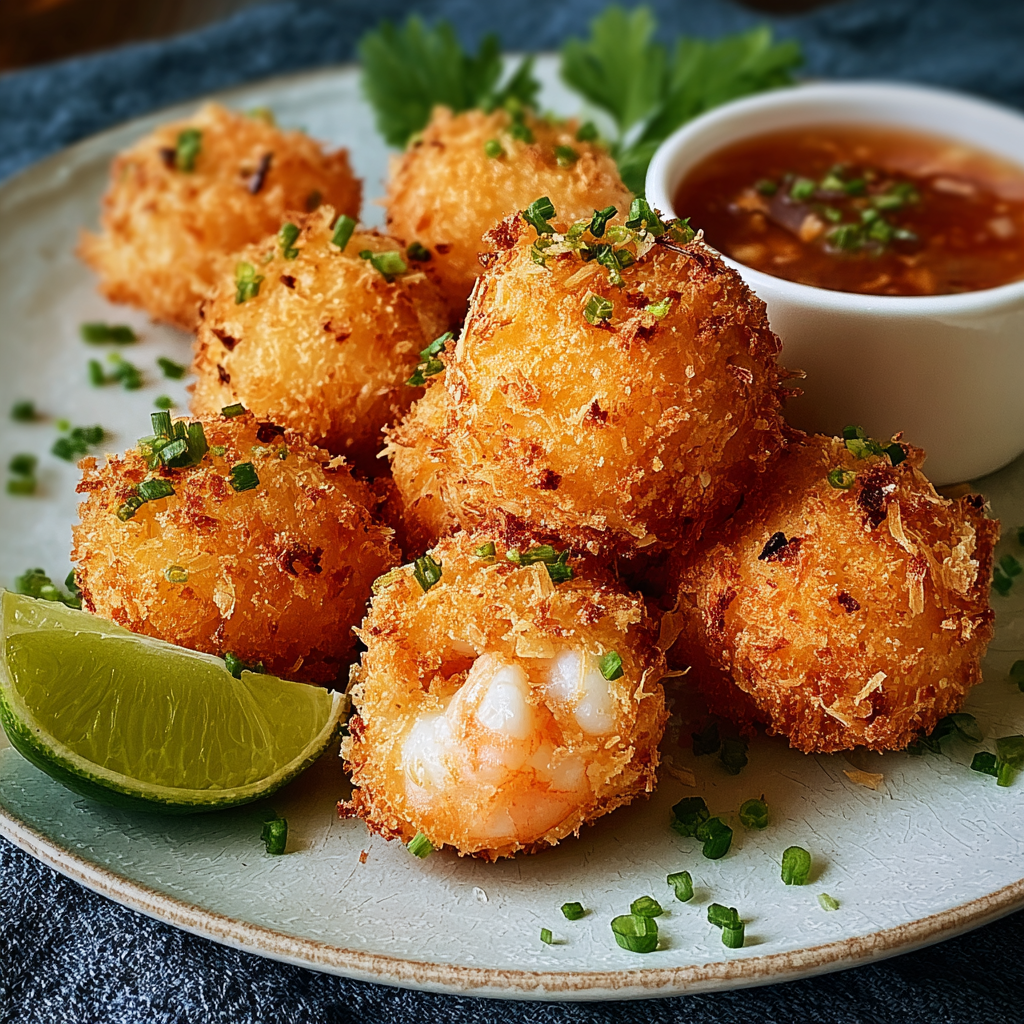
This recipe for shrimp balls is one I first developed on a busy weeknight when I wanted something impressive but fast. I had a bag of peeled shrimp in the freezer and a craving for something crisp and fragrant. After a few experiments with texture and binders, these little orbs became a household favorite: golden and crunchy outside, tender and springy inside, with bright notes of ginger and garlic and a subtle sesame finish. They hit the balance between being easy enough for a quick dinner and special enough for company.
I discovered how well shrimp responds to light coarse chopping versus full emulsification — the texture matters. Slightly coarser pieces create a pleasing chew and better mouthfeel, while a finely processed paste can become gummy. Over the months, I refined the seasoning, the amount of panko, and the frying technique so the balls stay juicy while developing an even, crisp crust. Guests always ask for the dipping sauce, but truly they’re delightful on their own with a squeeze of lime.
Why You'll Love This Recipe
- Quick to make from start to finish: about 20–30 minutes active time and 15–20 minutes cooking, ideal for weeknights or last-minute gatherings.
- Uses pantry staples like panko breadcrumbs, soy sauce, and cornstarch; nothing exotic required.
- Versatile — serve as an appetizer, part of a shareable platter, or with rice and greens for a simple main course.
- Easy to scale: double the mixture for a party or freeze uncooked balls for future convenience.
- Textural contrast: crispy exterior from shallow frying, tender interior thanks to the shrimp and egg binder.
- Customizable — add cilantro, chili, or different aromatics to suit dietary preferences.
In my house these always disappear quickly. My children love popping the warm balls with sticky fingers, while my partner claims they’re the best thing served on game night. I remember the first time I brought them to a potluck: people kept asking for the recipe and the bowl emptied within minutes, which is when I knew I had a keeper.
Ingredients
- Shrimp (1 lb): Use raw, peeled, and deveined shrimp — medium or large work well. I prefer wild-caught if available for a firmer texture. If using frozen, thaw fully and pat dry to avoid excess moisture.
- Panko breadcrumbs (1/2 cup): These give the mixture structure and a lighter crumb than regular breadcrumbs. Look for Japanese-style panko for best crunch.
- Egg (1, beaten): Acts as a binder and adds richness. If you need an egg-free version, a flax egg can work but texture will change.
- Green onions (1/4 cup): Finely chopped for freshness and a mild onion note. Use the green parts for color if you prefer a more subtle bite.
- Garlic (2 cloves) and fresh ginger (1 tbsp): Minced garlic and grated ginger provide aromatics and warmth — don’t skimp on the ginger for that clean, bright note.
- Soy sauce (1 tbsp) and sesame oil (1 tsp): For umami and a hint of nuttiness. Use low-sodium soy if you’re watching salt.
- Salt & black pepper (1/2 tsp each): Basic seasoning — adjust to taste after frying a test ball.
- Cilantro (1/4 cup, optional): Adds herbaceous brightness; omit if you don’t like cilantro.
- Cornstarch (1 tbsp, optional): Helps bind and gives a slightly firmer texture — useful if your shrimp seems wet.
- Vegetable oil (for frying): Neutral oil with a high smoke point like canola or peanut oil works best.
Instructions
Prepare the shrimp: Pat the shrimp dry with paper towels to remove surface moisture. Roughly chop into small pieces, about 1/8–1/4 inch, leaving a little texture. Alternatively pulse in a food processor in short bursts (3–4 pulses), scraping down the bowl between pulses — stop before it becomes a paste to preserve springiness. Combine the mixture: In a large bowl mix the chopped shrimp with panko, beaten egg, chopped green onions, minced garlic, grated ginger, soy sauce, sesame oil, salt, and pepper. If the mixture feels very loose, sprinkle in 1 tablespoon cornstarch and fold gently. The finished texture should hold shape when squeezed but still be slightly tacky. Form the balls: Moisten your hands with water or a little oil to prevent sticking. Roll about 1 to 1.5 inches in diameter per ball — you should get roughly 20–25 depending on size. Place formed balls on a tray lined with parchment while you heat the oil. Heat the oil: Pour enough vegetable oil into a large skillet to cover the bottom by about 1/4 inch. Heat over medium-high until it shimmers and a small breadcrumb sizzles on contact (about 350°F if using a thermometer). Too hot and the exterior will burn before the interior cooks; too cool and they’ll absorb excess oil. Fry the balls: Carefully add balls without overcrowding the pan. Fry in batches for about 3–4 minutes per side, turning gently with tongs or a slotted spoon. Look for an even golden-brown color and an internal temperature of 145°F if you prefer a thermometer check. Drain and rest: Transfer to a paper towel-lined plate or wire rack to drain excess oil. Let rest 2–3 minutes — they firm up slightly as they cool and finish cooking from residual heat. Taste one and adjust seasoning for the next batch if needed.
You Must Know
- These are high in protein and quick to prepare — the shrimp provides lean protein with minimal prep time.
- They freeze well uncooked: flash-freeze on a tray, then transfer to a sealed bag for up to 3 months.
- Leftover cooked balls keep in the refrigerator for up to 3 days and reheat best in a 375°F oven for 8–10 minutes to regain crispness.
- Allergen note: contains shellfish, egg, and gluten if using regular panko; swap for gluten-free panko for a GF option.
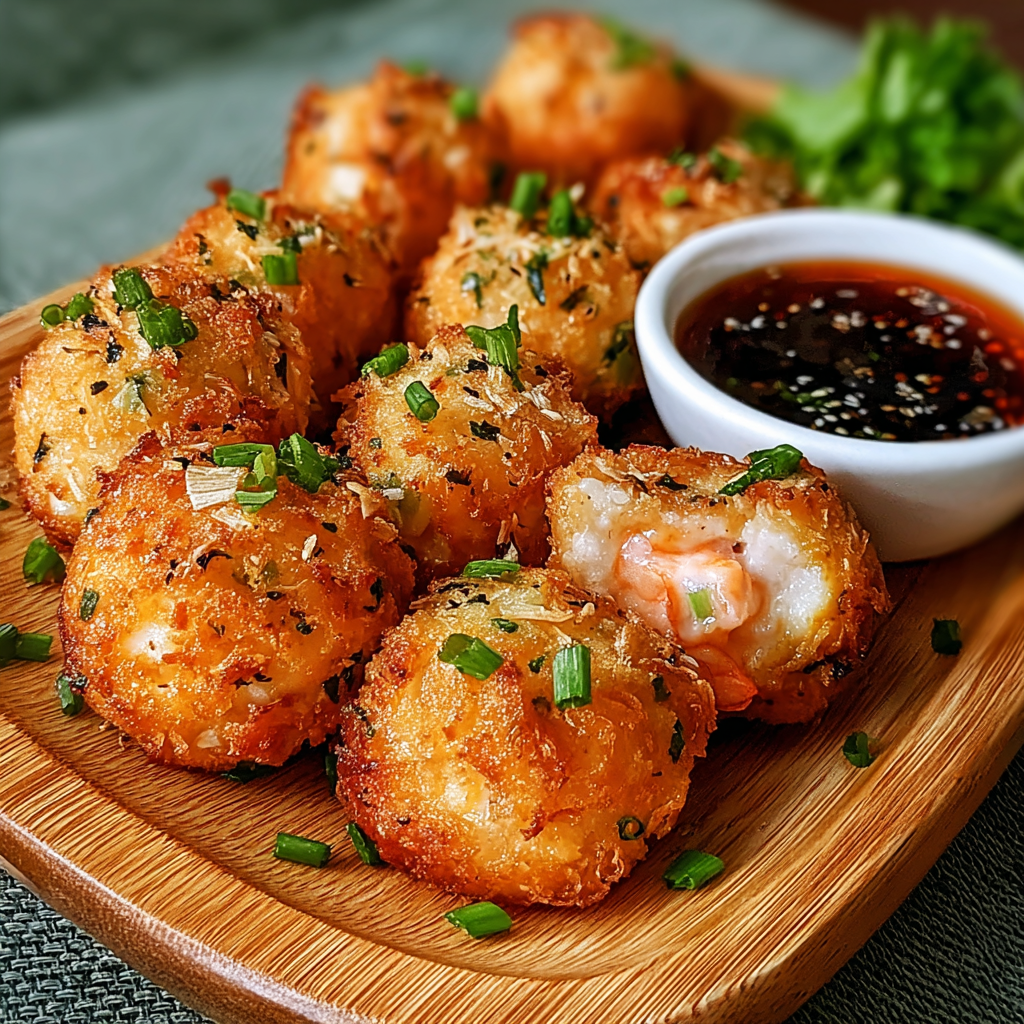
I enjoy how adaptable these are. Sometimes I fold in a little grated carrot for color or a pinch of red pepper flakes for heat. At a family picnic, I served them with both sweet chili and tangy soy-lime dipping sauces; they disappeared so fast I had to hide half a batch. The simple technique of not overprocessing the shrimp makes all the difference — the result is light, not dense.
Storage Tips
Cool cooked balls completely before storing to avoid condensation and sogginess. For short-term storage, place in an airtight container and refrigerate for up to 3 days. For longer storage, freeze uncooked balls on a baking sheet until solid, then transfer to a labeled freezer bag for up to 3 months. Reheat straight from the fridge in a 375°F oven for 8–10 minutes, or from frozen at 400°F for 12–15 minutes, turning once to maintain even crisping. Avoid microwaving if you want to keep the crust crunchy.
Ingredient Substitutions
If you need to avoid gluten, substitute gluten-free panko or crushed rice crackers. For an egg-free binder, use a commercial egg replacer or a mixture of 1 tablespoon cornstarch with 3 tablespoons water for each egg, though texture will be slightly different. Swap soy sauce for tamari for a gluten-free option, or use coconut aminos for a soy-free, slightly sweeter profile. If you want more herbal lift, replace cilantro with fresh basil or Thai basil for a fragrant twist.
Serving Suggestions
Serve warm with a trio of dipping sauces: sweet chili, soy-lime with scallions, and a creamy sriracha mayo. They pair nicely with steamed jasmine rice, quick cucumber salad, or a crisp slaw with rice vinegar to cut the richness. For a party platter, nestle them on a bed of greens, garnish with sesame seeds and thinly sliced scallions, and provide toothpicks for easy picking. They also complement a bowl of noodle soup as a protein topping.
Cultural Background
Fried seafood balls have variations across coastal cuisines in Asia — from Chinese fish balls to Vietnamese chả cá — each using local spices and binders. This particular version leans on East Asian flavors through soy, ginger, and sesame, but the technique of chopping or pulsing seafood and pan-frying or deep-frying is universal. Historically, these preparations were a way to use small leftover fish or shellfish and turn them into an easily shareable snack.
Seasonal Adaptations
In summer, brighten the mixture with fresh lime zest and chopped herbs like cilantro or mint, and serve with a cooling yogurt-sesame dip. In winter, add warming spices such as a pinch of five-spice or a tablespoon of finely minced preserved ginger for depth. For holiday gatherings, increase the garlic and serve alongside pickled vegetables and small steamed buns to create a festive spread.
Meal Prep Tips
Prepare the mixture up to two days ahead and keep it chilled in the refrigerator. Form uncooked balls and store them separated on a tray, covered, for an easy fry-and-serve evening. For grab-and-go lunches, cook a double batch and share into portioned containers with a dipping sauce cup and a side salad. When reheating, use the oven or air fryer to recover the crisp texture instead of a microwave.
These shrimp balls are a versatile, crowd-pleasing option that you can adjust to any season or occasion. They’re forgiving to make, easy to scale, and always welcome at the table — give them a try and make them your own by experimenting with different aromatics and dips.
Pro Tips
Do not overprocess the shrimp — short pulses keep a pleasant texture and prevent a gummy interior.
Dry the shrimp thoroughly and pat with paper towels to limit excess moisture which can make the mixture too loose.
Test one small ball first to check seasoning and frying temperature before cooking the entire batch.
Keep oil at a steady medium-high heat (around 350°F) to form a crisp crust without absorbing too much oil.
This nourishing crispy shrimp balls with ginger & garlic recipe is sure to be a staple in your kitchen. Enjoy every moist, high protein slice — it is perfect for breakfast or as a wholesome snack any time.
Tags
Crispy Shrimp Balls with Ginger & Garlic
This Crispy Shrimp Balls with Ginger & Garlic recipe makes perfectly juicy, tender, and flavorful steak every time! Serve with potatoes and a side salad for an unforgettable dinner in under 30 minutes.
Instructions
Prepare the shrimp
Pat shrimp dry and roughly chop into small pieces or pulse briefly in a food processor until coarsely chopped. Avoid overprocessing to keep a pleasant texture.
Combine the ingredients
In a large bowl, mix chopped shrimp with panko, beaten egg, green onions, garlic, ginger, soy sauce, sesame oil, salt, and pepper. Add cornstarch if mixture seems too loose.
Form the balls
Wet your hands slightly and roll the mixture into 1 to 1.5 inch balls. Place on a parchment-lined tray and keep chilled while heating oil.
Heat the oil
Pour enough vegetable oil to cover the bottom of a skillet by 1/4 inch and heat over medium-high until shimmering (around 350°F). Test with a breadcrumb to ensure proper sizzle.
Fry until golden
Fry in batches, about 3–4 minutes per side, turning gently. Do not overcrowd the pan. Cook until evenly golden and cooked through (internal temp about 145°F if checked).
Drain and serve
Transfer to paper towels or a wire rack to drain excess oil. Rest 2–3 minutes before serving. Serve with your favorite dipping sauces.
Last Step: Please leave a rating and comment letting us know how you liked this recipe! This helps our business to thrive and continue providing free, high-quality recipes for you.
Nutrition
Did You Make This?
Leave a comment & rating below or tag
@yummyhues on social media!
Categories:
You might also like...
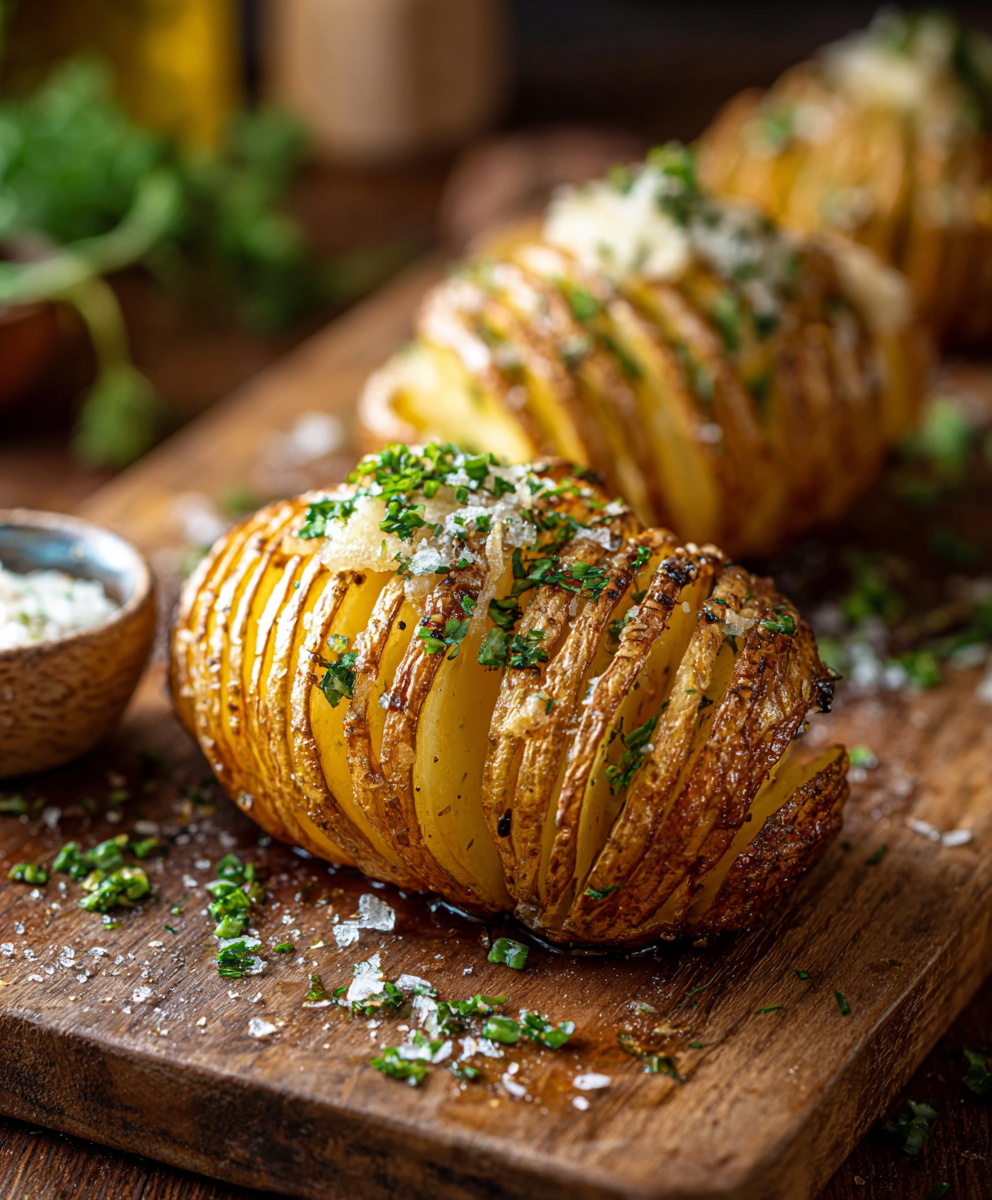
Crispy Hasselback Potatoes
Thinly sliced russet potatoes brushed with butter and baked until the edges are crisp and the centers are tender.
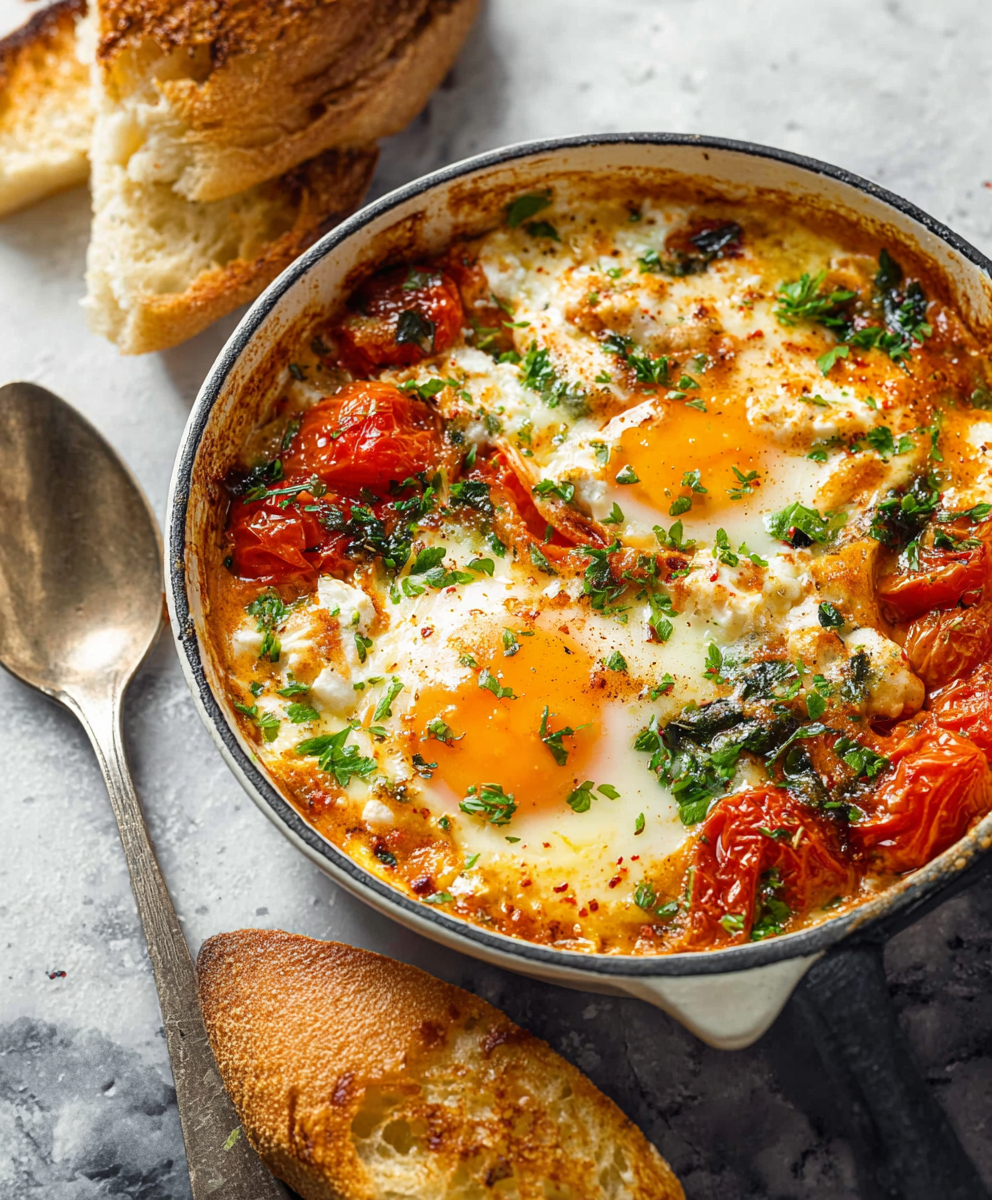
Baked Feta Eggs with Roasted Tomatoes and Spinach
A simple, vibrant baked egg dish: tangy feta melting into roasted cherry tomatoes with spinach and fragrant herbs. Perfect for brunch or an easy dinner.
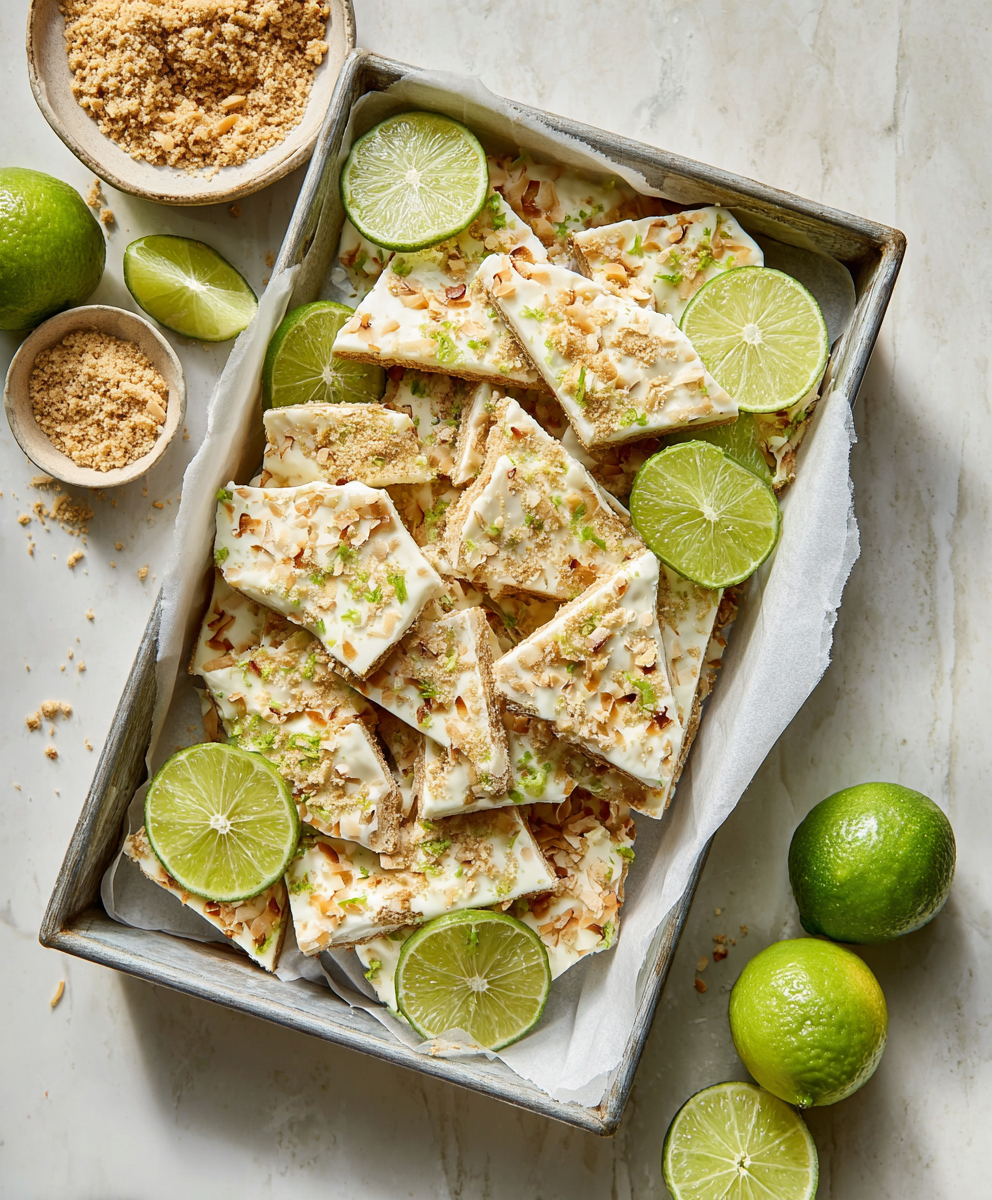
Key Lime Pie Yogurt Bark
A bright, tangy frozen treat that tastes like mini key lime pies. Creamy Greek yogurt, fresh lime, crunchy gluten-free crumbs, and toasted coconut come together for a protein-packed snack.
Did You Make This?
Leave a comment & rating below or tag @yummyhues on social media!
Rate This Recipe
Share This Recipe
Enjoyed this recipe? Share it with friends and family, and don't forget to leave a review!
Comments (1)
This recipe looks amazing! Can't wait to try it.
Comments are stored locally in your browser. Server comments are displayed alongside your local comments.

Hi, I'm Chloe!
What's Popular
30-Minute Meals!
Join to receive our email series which contains a round-up of some of our quick and easy family favorite recipes.