
Crispy Hasselback Potatoes

Thinly sliced russet potatoes brushed with butter and baked until the edges are crisp and the centers are tender.
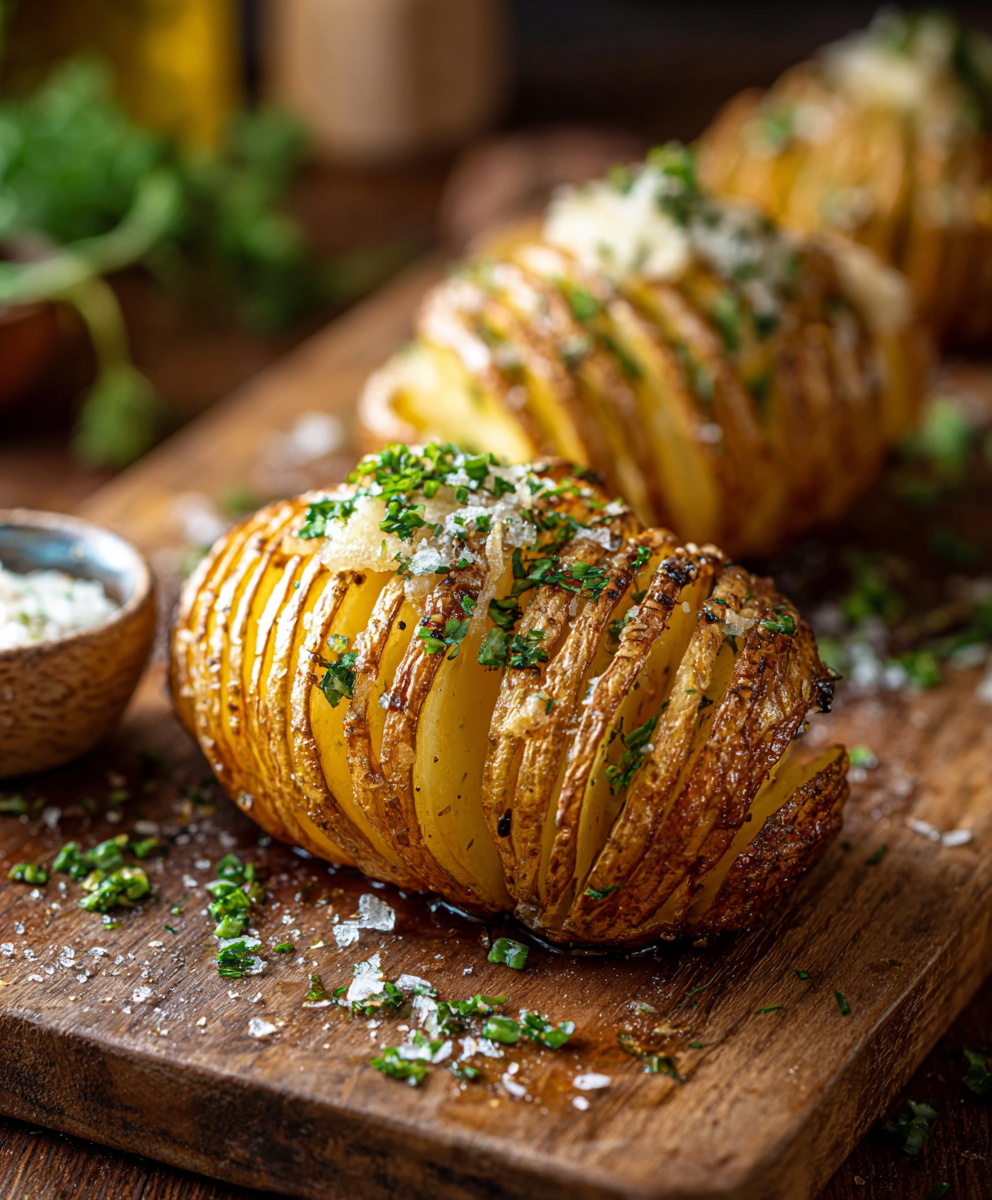
This version of Hasselback potatoes has been my go to side dish for cozy Sunday dinners and midweek meals when I want something that looks special but is truly simple to make. I first learned this technique at a small dinner party where the host used chopsticks to keep the slices even. The result was a potato with whisper thin, crisped edges and a creamy interior. It makes a humble potato feel festive and always draws comments at the table.
I value this approach because it is forgiving and relies on pantry ingredients. The contrast between butter soaked crevices and crunchy slice edges creates a texture that surprises guests. I usually serve these with a simple green salad and roasted protein. When I first tried them I underestimated how long a compact 425 degrees Fahrenheit oven would take, so I now advise checking for a deep golden color and tender centers. The technique is what elevates the dish, and once you master the slicing and basting the oven does the rest.
Why You'll Love This Recipe
- Effortless elegance, ready in about 1 hour 20 minutes from start to finish, most of which is unattended oven time
- Uses pantry staples like russet potatoes and butter, so you can make it on short notice
- Scales easily, bake more potatoes on a large baking sheet for a crowd
- Make ahead friendly, you can par bake and finish just before serving
- Custom friendly, it pairs well with garlic, herbs, cheese, or bacon depending on the occasion
- Kid friendly, the thin slices are fun to pull apart and eat
In my house guests often ask for seconds, and once I started brushing the slices with melted butter twice during the bake the texture improved dramatically. We once served these at a holiday lunch and everyone commented that the potatoes tasted restaurant quality despite the simple method.
Ingredients
- Russet potatoes 4 large, firm russets are ideal because their high starch content yields a fluffy interior and crisp edges. Look for smooth skins and similar size so they cook evenly
- Unsalted butter 4 tablespoons, melted, divided. Unsalted gives you control over seasoning. Clarified butter works well for a deeper browning
- Kosher salt 1 teaspoon for initial seasoning. If you use table salt use less. Taste and finish with additional salt as needed
- Black pepper 1/2 teaspoon freshly ground, plus more for finishing. Freshly ground pepper gives better aroma than pre ground
- Salt and pepper to taste for finishing. Add these after the final bake to highlight the crisp edges
Instructions
Prepare oven and baking sheetArrange an oven rack in the middle position and preheat to 425 degrees Fahrenheit. Use an unlined rimmed baking sheet so air can circulate and the underside becomes crisp. Preheating ensures the potatoes begin to cook and open the slices right away.Slice the potatoesPlace one potato between two chopsticks or thin wooden skewers to act as slicing guides. With a sharp chef knife make vertical cuts about 1/8 inch apart, cutting straight down until the knife hits the chopstick. This keeps the base intact so the potato holds together. Repeat with the remaining potatoes and work steadily to keep slice spacing consistent.Brush with butter and seasonArrange the sliced potatoes on the unlined baking sheet. Use a pastry brush to coat about half of the melted butter all over the potatoes, making sure some butter reaches into the slits. Sprinkle evenly with the 1 teaspoon kosher salt and 1/2 teaspoon black pepper. The initial butter helps the outer edges brown during the first bake.Bake for the first phasePlace the baking sheet in the preheated oven and bake for 30 minutes. You want the slices to begin to fan out and the surface to take on a pale golden color. The internal starches start to gelatinize at this stage which makes the second bake more effective for crisping.Separate slices and finishAfter 30 minutes remove the sheet and use the tip of a knife to gently pry the slices apart to increase surface area for crisping. Brush on the remaining melted butter making sure to reach the deeper slits. Return to the oven and bake 30 to 35 more minutes or until the exterior is deeply golden and crisp and a skewer meets little resistance when inserted through the center.Rest and serveLet the potatoes rest for 5 minutes on the sheet, then transfer to a platter. Adjust salt and pepper to taste and serve warm so the crisp edges contrast with the soft interior.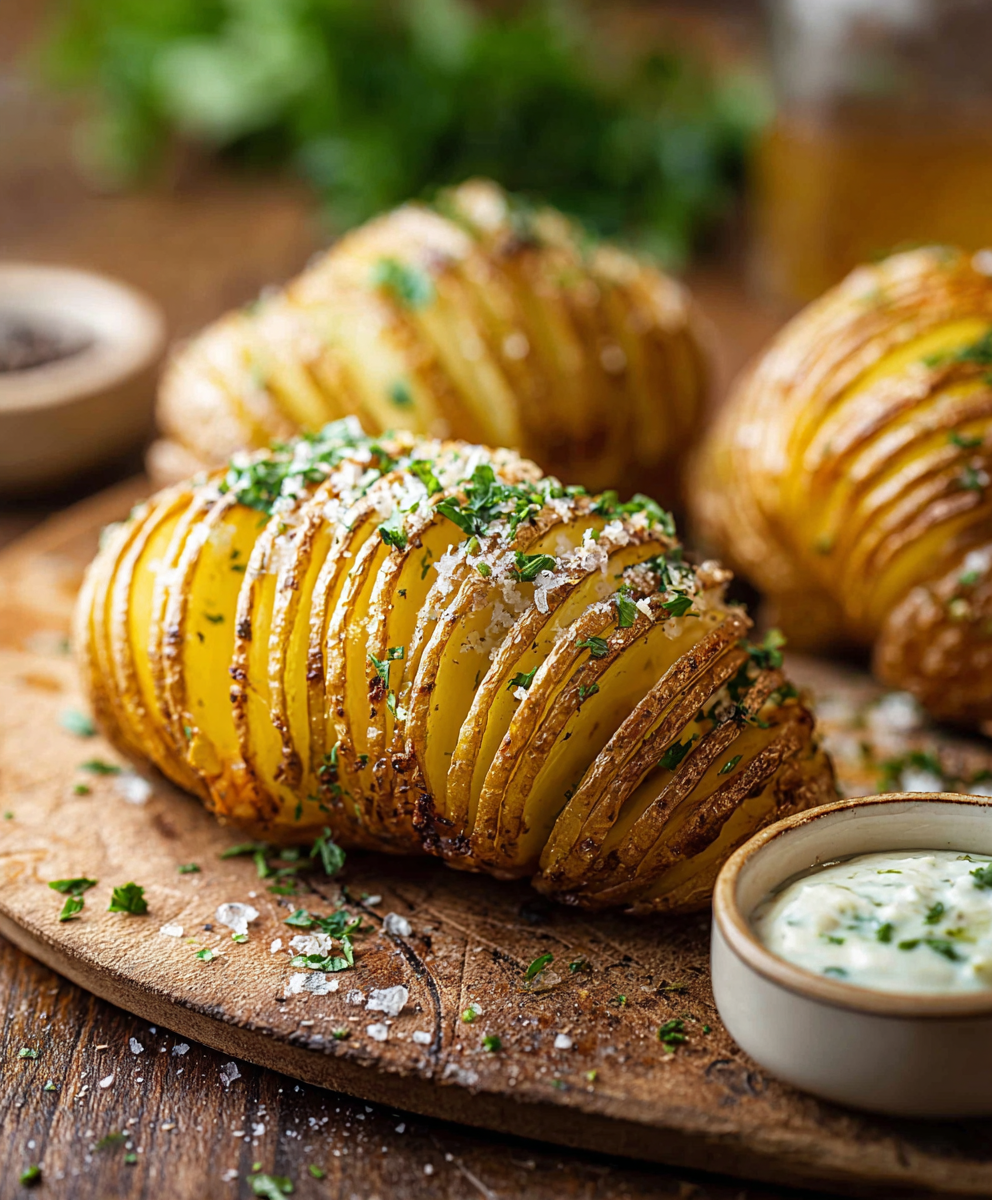
You Must Know
- These potatoes freeze well after the first 30 minute bake. Cool, wrap tightly, and freeze up to 3 months. Finish baking frozen pieces at 400 degrees Fahrenheit until heated through and crisp
- High in carbohydrates and a moderate source of protein, a single potato provides sustained energy when paired with protein and greens
- Use similar sized potatoes so baking time is consistent across the pan
- Brush with butter more than once for deeper browning and better flavor
- Cooking times vary with potato size. Large potatoes will need the full time while medium ones may finish earlier
My favorite aspect is the visual drama. The first time I served these my mother used her fingers to pull the slices and everyone laughed at how something so simple felt special. The technique makes gatherings feel thoughtful without requiring complicated work.
Storage Tips
Store leftovers covered in the refrigerator for up to three days. Transfer to an airtight container or wrap the baking sheet with plastic wrap if kept whole. To reheat maintain as much surface area as possible, reheating in a 375 degrees Fahrenheit oven for 10 to 15 minutes will restore crisp edges. Avoid microwaving unless you only need to warm a small piece, as microwaving will soften the crisped slices. For longer storage par bake for the first 30 minutes, cool fully, then freeze on a tray until firm and transfer to a freezer safe bag.
Ingredient Substitutions
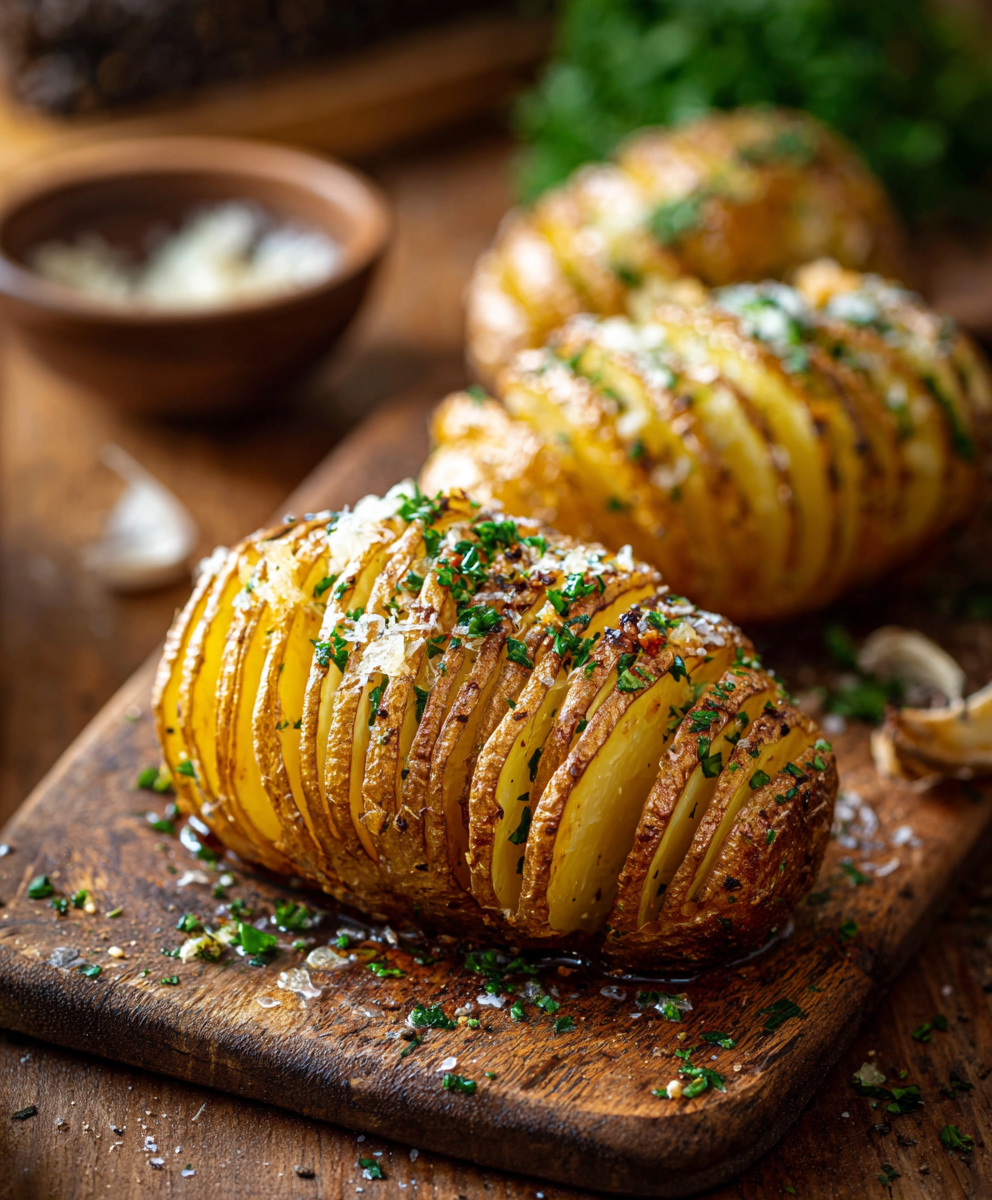
If you prefer a different potato choose Yukon gold for a slightly waxy texture and buttery flavor. Swap unsalted butter for olive oil to make the dish dairy friendly while keeping in mind the flavor will shift toward fruitiness. For additional flavor try mixing 1 tablespoon minced garlic into the melted butter or sprinkle 1/4 cup grated Parmesan over the potatoes before the final bake. If you need lower sodium use half the salt in the initial season and finish with a pinch of flaky sea salt right before serving.
Serving Suggestions
Serve these as a side to roasted chicken, grilled steak, or pan seared fish. A spoonful of sour cream and chopped chives makes a classic accompaniment. For a festive touch add crisp bacon bits and grated cheddar or a drizzle of herb infused oil. These pair well with a bright green salad or steamed green beans to balance the richness. For a casual meal serve with dipping sauces like garlic aioli or mustard cream.
Cultural Background
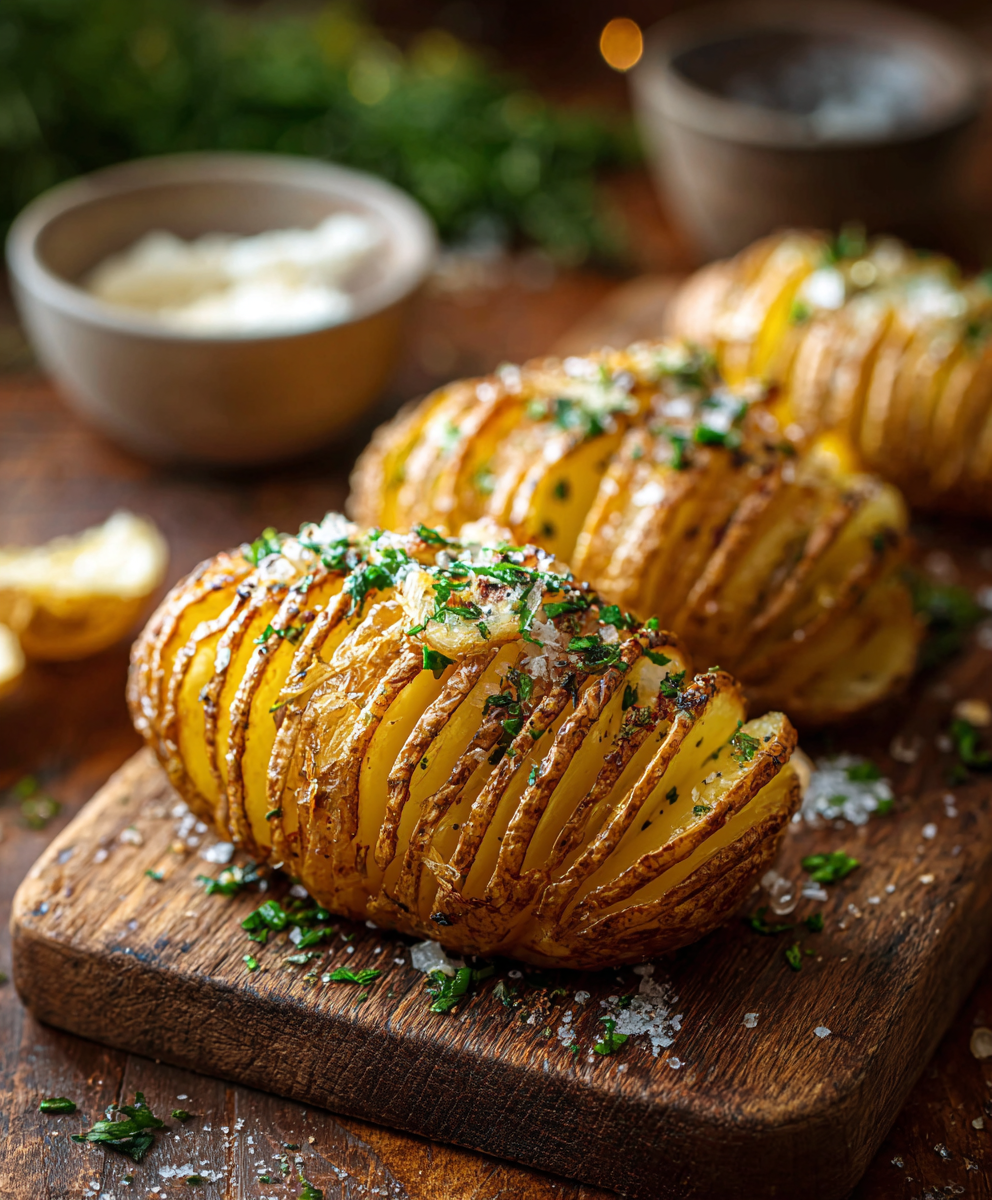
Hasselback style originated in Sweden at a small restaurant and became popular because it uses simple slicing to create more crisp surface. The method became a classic in Scandinavian influenced kitchens and spread globally because it improves texture without complex ingredients. Regional variations include adding cream, cheese, or local herbs. The technique is remarkable because the same basic approach works across culinary traditions where a contrast between crisp exterior and tender interior is desired.
Seasonal Adaptations
Autumn works well with this method, topping potatoes with roasted chestnuts and sage. In spring swap butter for herb oil and finish with lemon zest and chopped parsley. For holidays increase the richness with grated gruyere or a sprinkling of toasted breadcrumbs and thyme. Small new potatoes can be used in summer for individual sized portions, decreasing bake time accordingly.
Meal Prep Tips
For weeknight convenience slice all potatoes the night before and store covered in the refrigerator. Melted butter can be prepared and refrigerated separately. On the day of serving allow the potatoes to come to room temperature, then follow the bake steps. Par bakes can be completed on a weekend and frozen for quick finishing during the week. Use shallow airtight containers for single portions to make reheating fast and efficient.
Enjoy this simple technique that elevates a familiar ingredient. It is one of those small culinary moves that rewards patience with texture and flavor, making ordinary meals feel a little more celebratory.
Pro Tips
Use chopsticks or two wooden skewers on either side of the potato to prevent slicing all the way through.
Brush with melted butter twice. Once before the first bake and again after the first 30 minutes for crispier edges.
Choose similar sized potatoes so they finish baking at the same time.
If you want deeper browning finish under the broiler for 1 to 2 minutes while watching closely.
Allow the potatoes to rest 5 minutes after baking to let the interior set before serving.
This nourishing crispy hasselback potatoes recipe is sure to be a staple in your kitchen. Enjoy every moist, high protein slice — it is perfect for breakfast or as a wholesome snack any time.
FAQs about Recipes
Can I freeze these after baking?
Yes. Par bake for 30 minutes, cool, wrap tightly and freeze for up to 3 months. Finish baking from frozen at 400 degrees Fahrenheit until crisp.
How do I make even slices without cutting through the potato?
Use a sharp chef knife and chopsticks or wooden skewers to protect the base of the potato. Take your time and make consistent 1/8 inch cuts.
Tags
Crispy Hasselback Potatoes
This Crispy Hasselback Potatoes recipe makes perfectly juicy, tender, and flavorful steak every time! Serve with potatoes and a side salad for an unforgettable dinner in under 30 minutes.
Ingredients
Main
Instructions
Preheat and prepare sheet
Arrange an oven rack in the middle position and preheat to 425 degrees Fahrenheit. Use an unlined rimmed baking sheet for even air circulation and crisping.
Slice the potatoes
Place one potato between two chopsticks or skewers to act as slicing guides. With a sharp knife make vertical cuts about 1/8 inch apart, cutting until the knife hits the chopstick so the base remains intact.
Initial butter and seasoning
Brush about half of the melted butter over each potato, working some butter into the slices. Season with 1 teaspoon kosher salt and 1/2 teaspoon freshly ground black pepper.
First bake
Bake the potatoes for 30 minutes. The slices should begin to fan out and take on a pale golden color as the interior starts to soften.
Separate slices and finish bake
Use a knife tip to gently pull slices apart to increase surface area. Brush on the remaining melted butter and return to the oven for 30 to 35 more minutes or until edges are crisp and centers are tender.
Rest and serve
Let the potatoes rest for 5 minutes on the baking sheet then transfer to a serving dish. Adjust salt and pepper to taste and serve warm.
Last Step: Please leave a rating and comment letting us know how you liked this recipe! This helps our business to thrive and continue providing free, high-quality recipes for you.
Nutrition
Did You Make This?
Leave a comment & rating below or tag
@yummyhues on social media!
Categories:
You might also like...
Crispy Hasselback Potatoes
Thinly sliced russet potatoes brushed with butter and baked until the edges are crisp and the centers are tender.
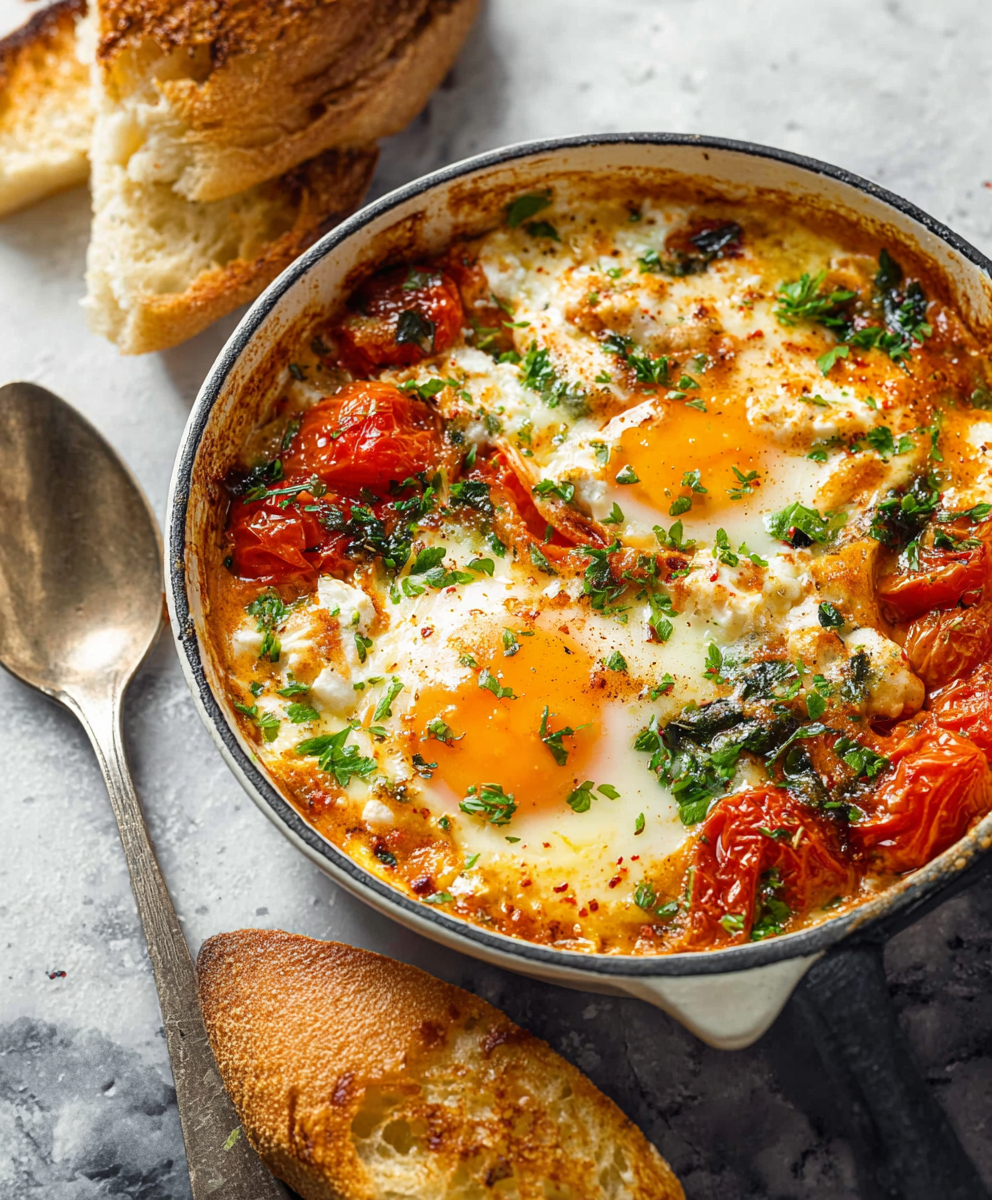
Baked Feta Eggs with Roasted Tomatoes and Spinach
A simple, vibrant baked egg dish: tangy feta melting into roasted cherry tomatoes with spinach and fragrant herbs. Perfect for brunch or an easy dinner.
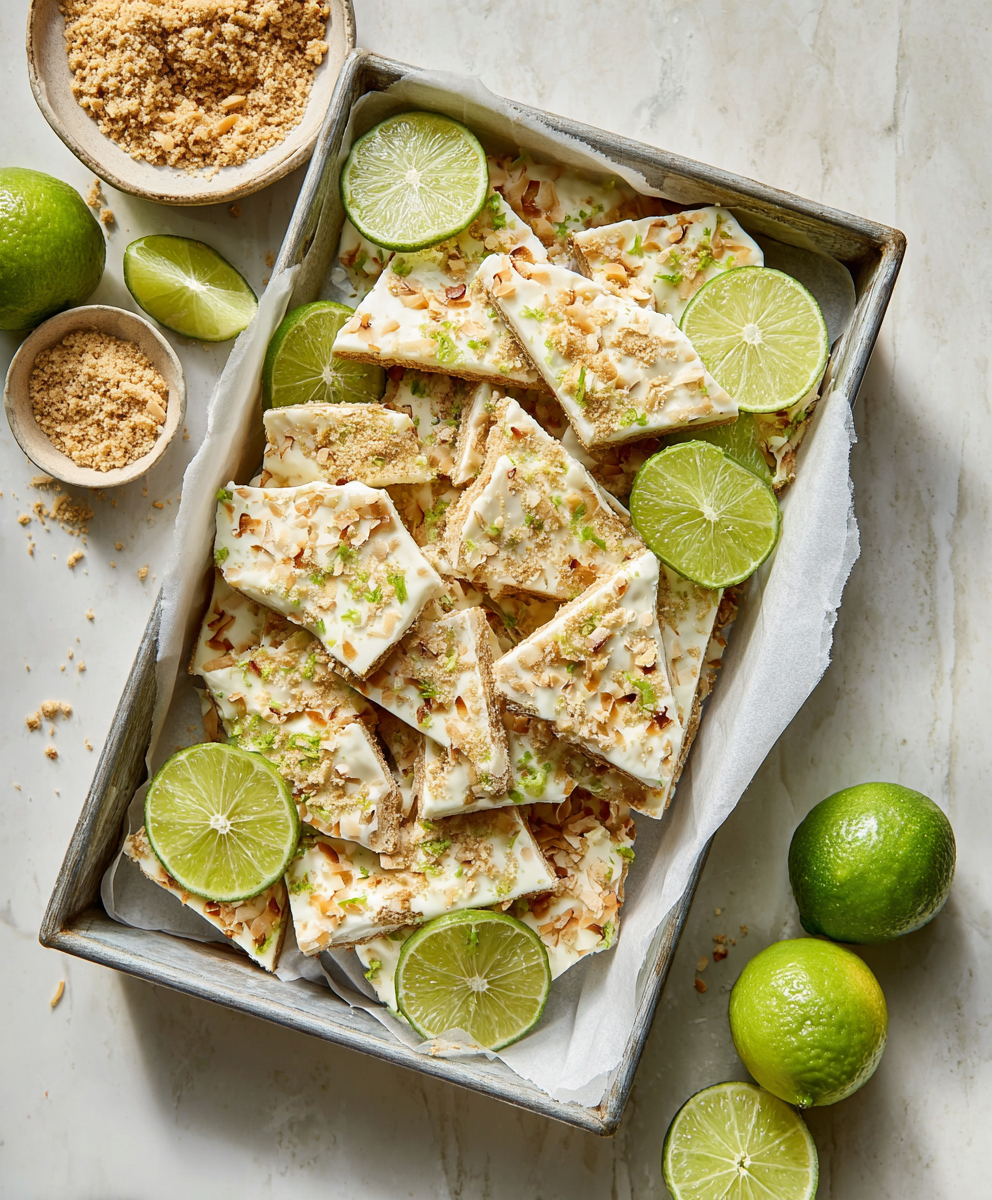
Key Lime Pie Yogurt Bark
A bright, tangy frozen treat that tastes like mini key lime pies. Creamy Greek yogurt, fresh lime, crunchy gluten-free crumbs, and toasted coconut come together for a protein-packed snack.
Did You Make This?
Leave a comment & rating below or tag @yummyhues on social media!
Rate This Recipe
Share This Recipe
Enjoyed this recipe? Share it with friends and family, and don't forget to leave a review!
Comments (1)
This recipe looks amazing! Can't wait to try it.
Comments are stored locally in your browser. Server comments are displayed alongside your local comments.

Hi, I'm Chloe!
What's Popular
30-Minute Meals!
Join to receive our email series which contains a round-up of some of our quick and easy family favorite recipes.