>>
30-MINUTE MEALS! Get the email series now →


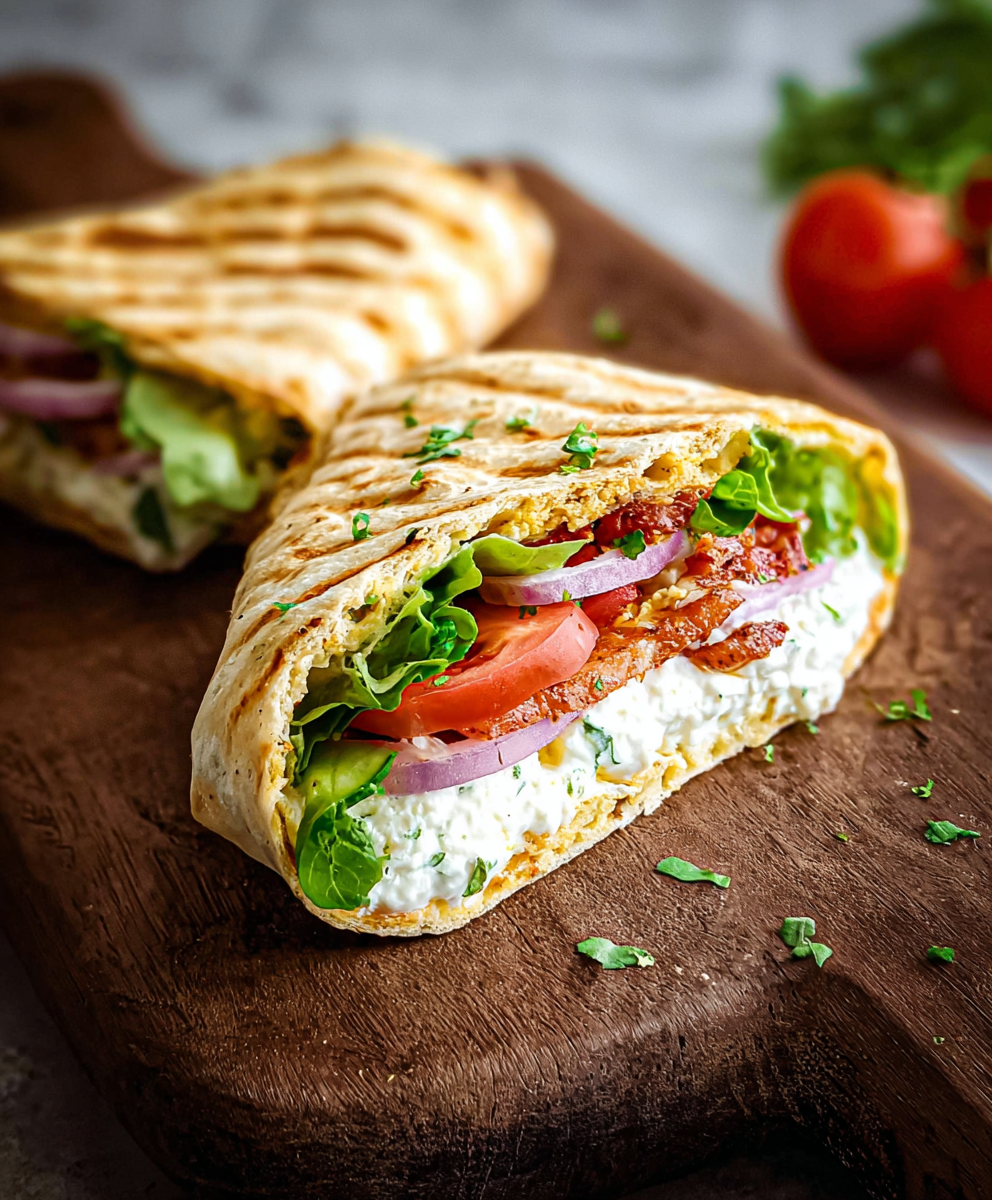
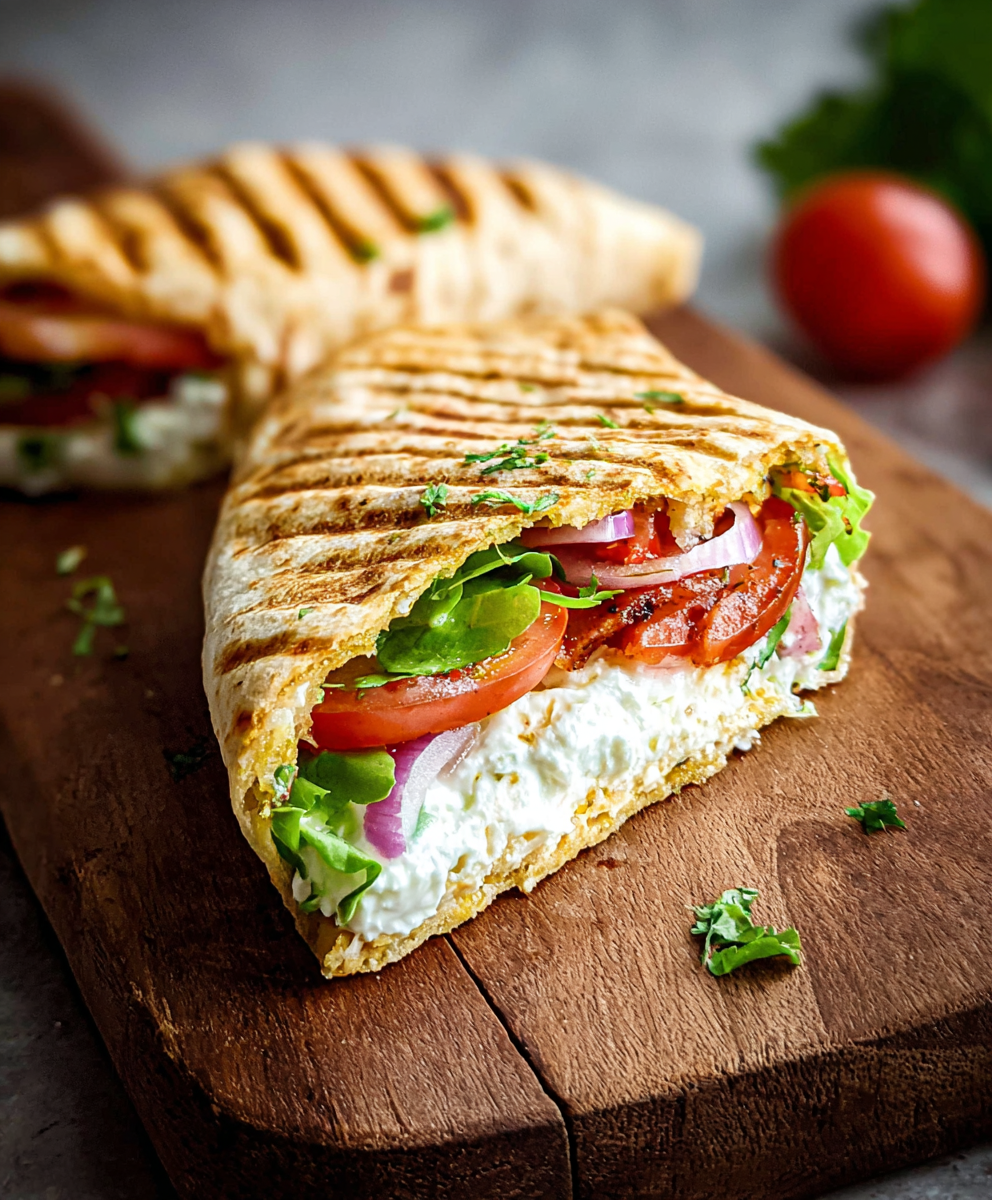
A light, protein-packed wrap made from blended cottage cheese and eggs — crisp edges, tender center, and endlessly customizable fillings.

This simple cottage cheese wrap became a weekday hero in my kitchen the first time I made it on a busy Sunday afternoon when pantry supplies were sparse and everyone wanted something quick, satisfying, and a little different. I discovered the base by experimenting with a tub of full-fat cottage cheese and a couple of eggs, aiming for a grain-free alternative to traditional flour tortillas. What came out of the oven surprised me: a thin, flexible sheet with a delicate golden top, creamy interior structure, and a mild tang that paired beautifully with bold fillings. Since then, these wraps have shown up at casual lunches, picnic boxes, and late-night snack rounds.
What makes them special is the balance between airy lift and pliable texture — they hold hot fillings without tearing and crisp slightly on the edges if you give them a quick pan-fry after baking. The flavor is subtle and savory thanks to grated Parmesan, garlic powder, and Italian seasoning, which creates a reliable background that allows bold ingredients like roasted peppers, smoked salmon, or a peppery arugula salad to shine. Beyond taste, they’re a practical solution for anyone looking to reduce refined carbs, sneak in extra protein, or create a fast, fresh meal that still feels homemade.
In my house these wraps quickly became the thing that makes weekday lunches feel a little special. My partner loved them folded with leftover roasted chicken and pesto, while my kids preferred them toasted and loaded with turkey and cheddar. I’ve learned little tricks — like cooling fully before peeling — that reliably yield flexible, intact wraps every time.
My favorite part is how forgiving the method is — even if your spread isn’t perfectly even, the flavor remains consistent. One memorable afternoon I prepped three sheets and tucked them into lunches for a week; the convenience combined with the fresh taste made weekday meals feel planned and thoughtful rather than rushed.
Once cooled, stack wraps separated with parchment if you’re storing multiples to prevent sticking. Store in an airtight container or tightly wrapped in plastic wrap in the refrigerator for up to four days; look for firmness and a clean aroma as freshness indicators. To freeze, layer between parchment and place in a zip-top freezer bag, removing as much air as possible. Thaw overnight in the fridge or reheat directly from frozen in a skillet on low heat, covered, until warmed through. Avoid microwaving for long periods as that can make the sheet rubbery.
If you prefer a lighter option, use low-fat cottage cheese, though expect a slightly drier result and a less rich mouthfeel — add 1 tablespoon olive oil to the batter to compensate. For a dairy-free or vegan approach, this base needs more radical change: replace cottage cheese with a thick cashew cream and use a vegan egg replacer, but texture and flavor will differ. If Parmesan is unavailable, finely grated Pecorino-Romano or a mature Asiago works well. For herb variation, swap Italian seasoning for a teaspoon of smoked paprika and a pinch of cayenne for a southwestern twist.
These wraps are incredibly versatile: fill them with roasted vegetables, hummus, and arugula for a vegetarian lunch; layer with deli turkey, sliced avocado, and a smear of spicy mustard for a classic deli vibe; or spread with pesto and add sliced grilled chicken and roasted red peppers for a flavorful dinner option. For presentation, fold or roll tightly and slice on the bias for a pretty pinwheel effect. Garnish with fresh herbs and a drizzle of lemony yogurt or balsamic glaze for extra brightness.
Spring calls for light, crisp fillings: cucumber ribbons, radish, pea shoots, and a dollop of lemon-herb ricotta. In summer, take advantage of ripe tomatoes, basil, and grilled zucchini. Fall and winter invite heartier fillings like warm roasted root vegetables, caramelized onions, and melted Gruyère. For holiday gatherings, slice filled wraps into bite-sized pinwheels and serve on a platter with dipping sauces — they’re elegant and easy to make ahead.
Readers have told me these wraps saved their school lunch routines and elevated quick office lunches. One friend made a double batch for a weekend brunch buffet and used folded halves with smoked salmon and dill crème fraîche — it disappeared within minutes. The consistent feedback is that cooling fully before peeling is the single trick that turns occasional failures into repeat successes: patience here pays off in texture and stability.
Bake two sheets back-to-back on a Sunday and store them separated by parchment in the fridge for ready-to-fill wraps all week. Pack fillings separately to prevent sogginess and assemble just before eating. If you need portability, brush the interior lightly with olive oil and wrap tightly in parchment paper and foil — this protects fillings and keeps edges from drying out. For quick reheating, a 1–2 minute sear in a moderate non-stick pan restores a pleasant chew.
These cottage cheese wraps are an approachable, adaptable platform for both simple and creative meals. Whether you’re feeding fussy kids, crafting a low-grain lunch, or building an easy dinner, they offer a blank canvas that rewards a little attention to temperature and timing. Try them once and you’ll likely find a dozen ways to fit them into your weekly routine.
Blend until silky smooth to avoid holes and weak spots in the baked sheet.
Cool fully on the baking tray before peeling to prevent tearing.
Use a silicone spatula to get an even thickness for uniform baking.
When reheating, sear briefly in a skillet to restore crisp edges rather than microwaving.
This nourishing cottage cheese wraps recipe is sure to be a staple in your kitchen. Enjoy every moist, high protein slice — it is perfect for breakfast or as a wholesome snack any time.
Allow the baked sheet to cool completely before peeling; cooling firms the structure so it lifts cleanly from the parchment.
Yes. Stack baked sheets with parchment between them, wrap tightly, and freeze for up to 3 months. Thaw overnight in the refrigerator before using.
This Cottage Cheese Wraps recipe makes perfectly juicy, tender, and flavorful steak every time! Serve with potatoes and a side salad for an unforgettable dinner in under 30 minutes.
Preheat oven to 350°F (175°C). Line a large baking sheet with parchment paper and lightly oil if desired to prevent sticking.
Combine cottage cheese, eggs, Parmesan, garlic powder, and Italian seasoning in a blender or food processor. Blend for about 1 minute until the mixture is silky and no curds remain.
Pour the batter onto the prepared tray and use a silicone spatula to spread it into a thin, uniform rectangle approximately 10 x 12 inches, keeping thickness even.
Bake in the center of the oven for 30–35 minutes, or until the top looks set and lightly golden and the edges pull away slightly from the parchment.
Let the baked sheet cool completely on the tray to firm up. Carefully peel it off the parchment paper — it should lift easily when fully cooled.
Cut into 2 sections and load with your favorite fillings. Optionally, toast briefly in a skillet seam-side down to warm and crisp the edges.
Last Step: Please leave a rating and comment letting us know how you liked this recipe! This helps our business to thrive and continue providing free, high-quality recipes for you.
Leave a comment & rating below or tag
@yummyhues on social media!
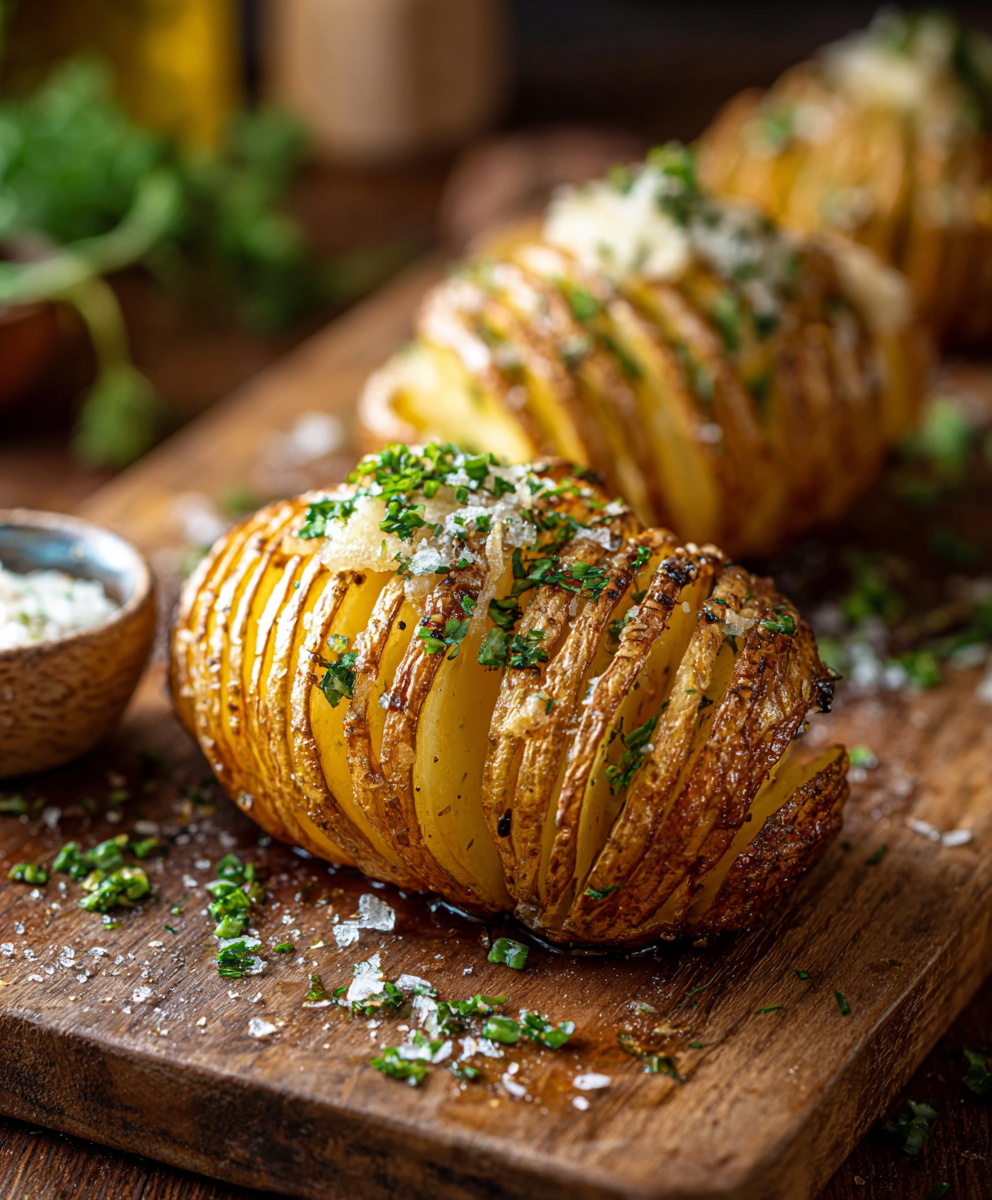
Thinly sliced russet potatoes brushed with butter and baked until the edges are crisp and the centers are tender.
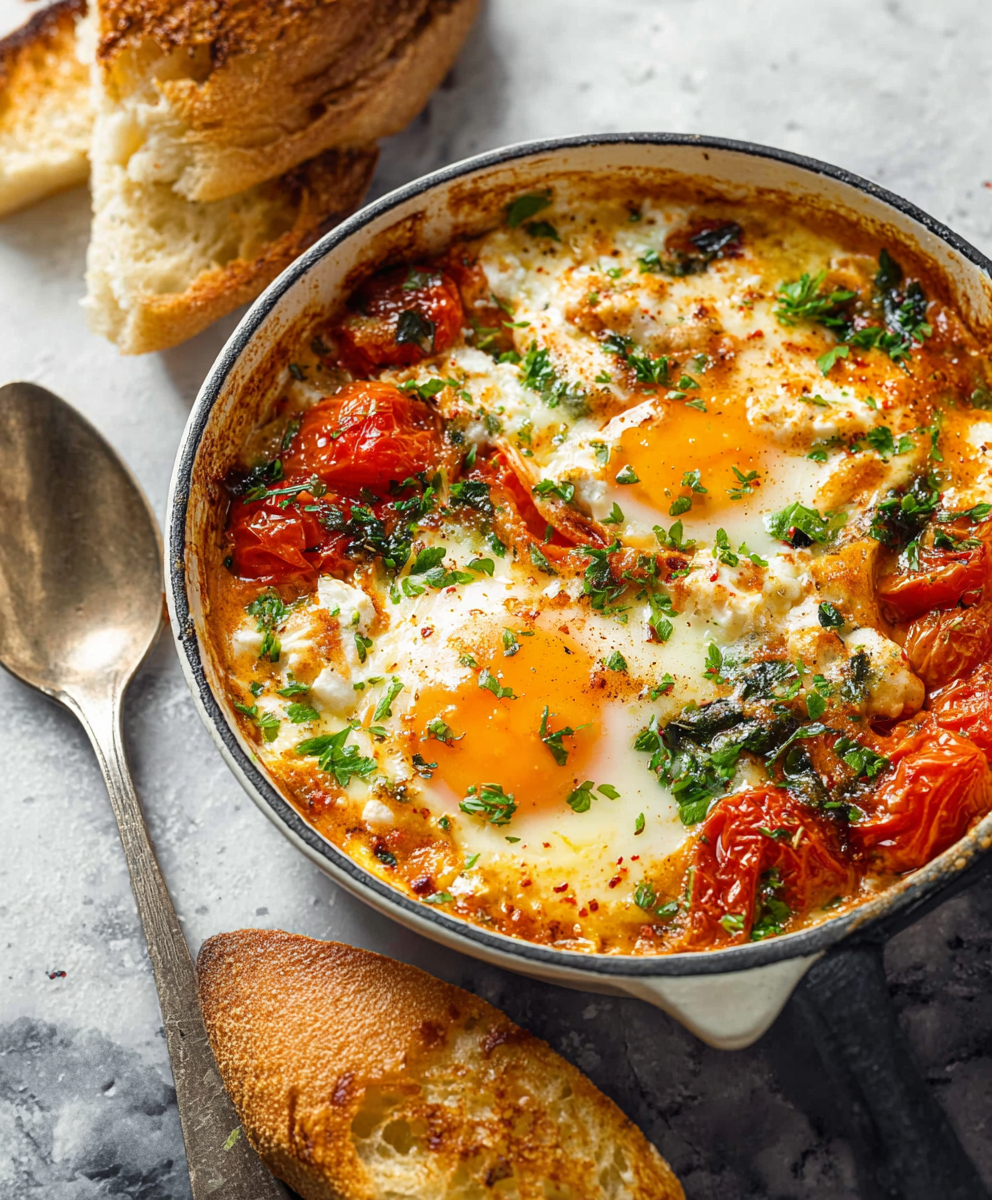
A simple, vibrant baked egg dish: tangy feta melting into roasted cherry tomatoes with spinach and fragrant herbs. Perfect for brunch or an easy dinner.
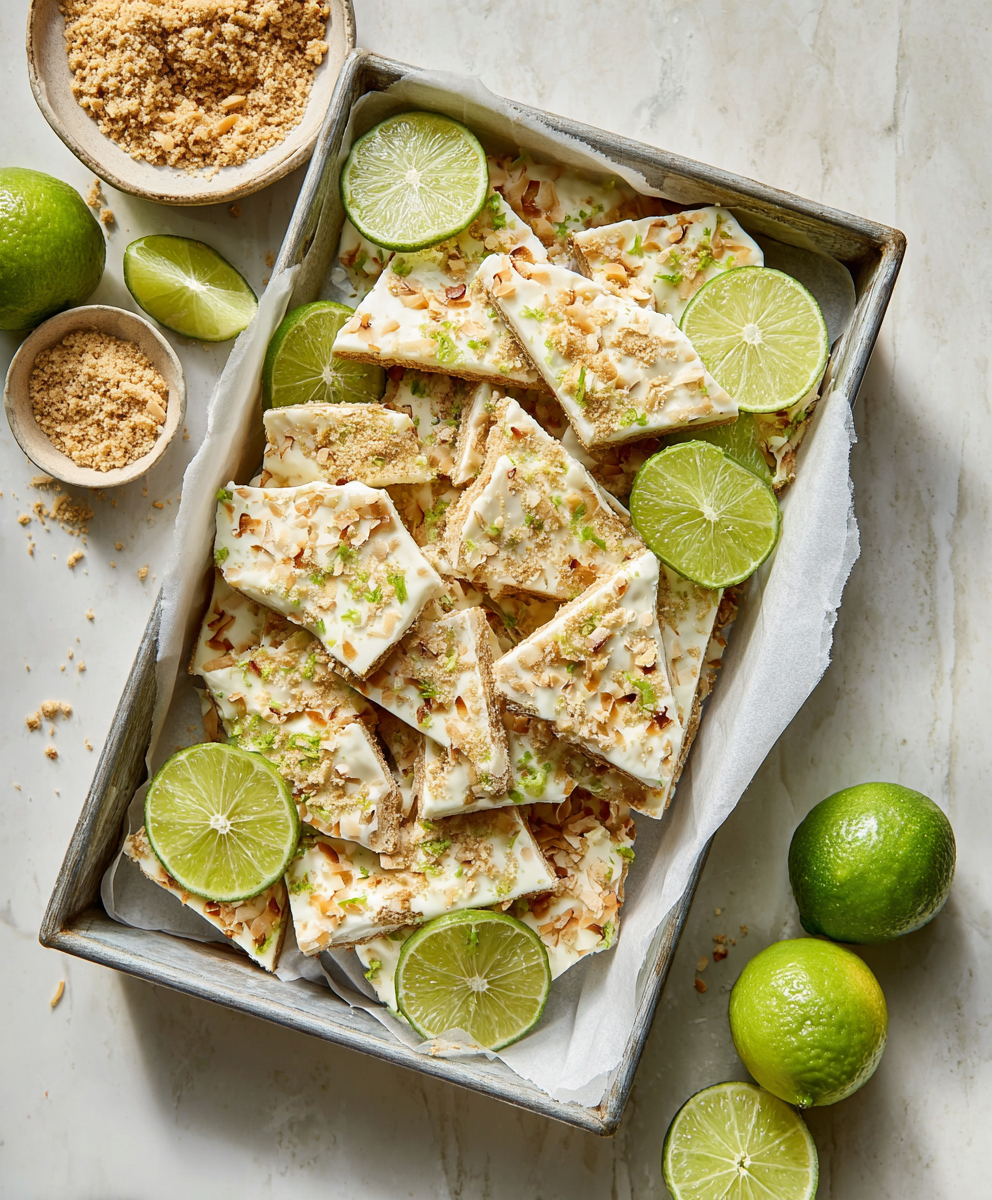
A bright, tangy frozen treat that tastes like mini key lime pies. Creamy Greek yogurt, fresh lime, crunchy gluten-free crumbs, and toasted coconut come together for a protein-packed snack.
Leave a comment & rating below or tag @yummyhues on social media!
Enjoyed this recipe? Share it with friends and family, and don't forget to leave a review!
This recipe looks amazing! Can't wait to try it.
Comments are stored locally in your browser. Server comments are displayed alongside your local comments.

Join to receive our email series which contains a round-up of some of our quick and easy family favorite recipes.