>>
30-MINUTE MEALS! Get the email series now →

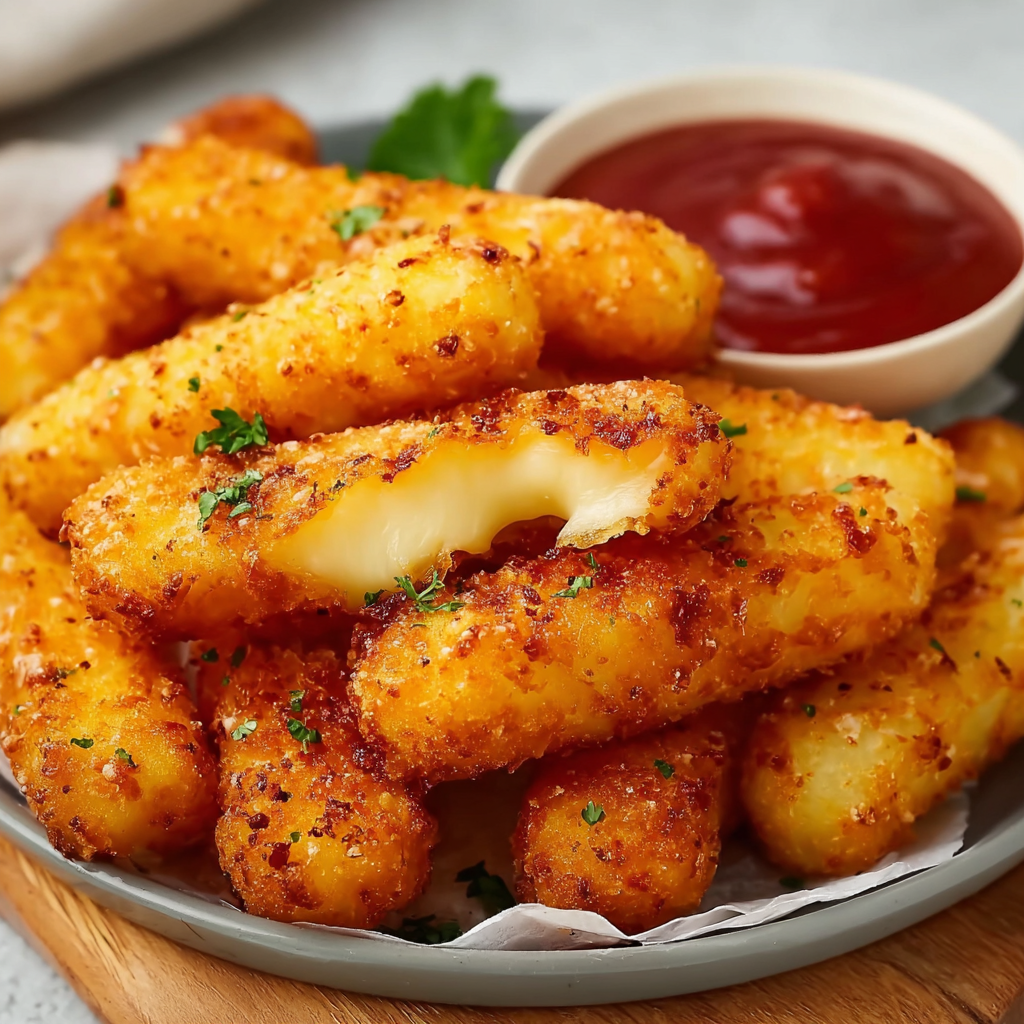
Crispy golden potato fingers wrapped around gooey cheddar, studded with bacon and green onion — a party-ready snack or comforting side that everyone will love.
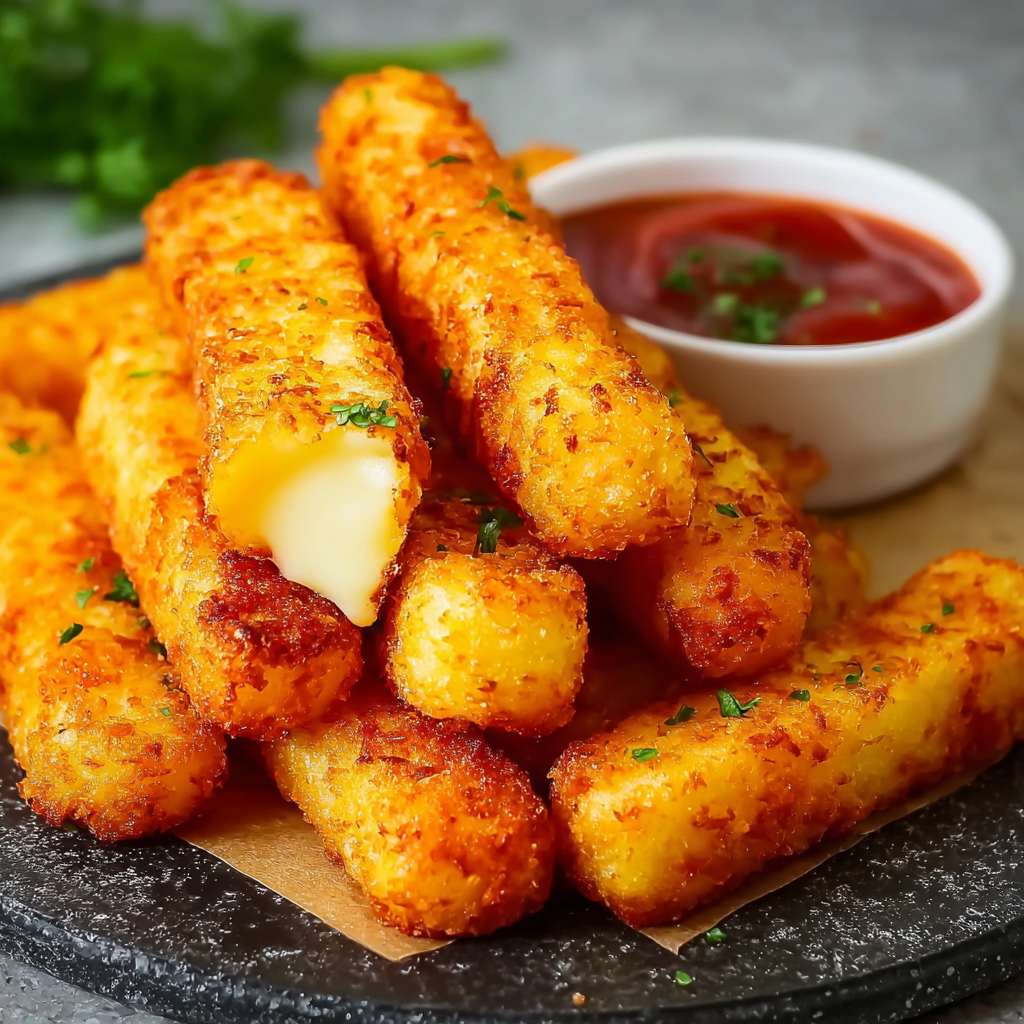
This batch of Cheesy Potato Fingers started as a late-night experiment when I had leftover mashed potatoes and a stubborn block of cheddar in the fridge. I wanted something handheld, crunchy on the outside and molten in the center — the result became an instant hit with my family. The first time I served these at a small get-together, guests went back for seconds before the platter had cooled. The contrast between the pillowy potato and the hot, gooey cheese is what makes this recipe unforgettable; the bacon and green onion add just enough savory lift to keep the fingers from tasting one-note.
I perfected the technique over several tries: the right potato texture, a light touch of cornstarch to keep the fingers intact, and the triple-dredge breading that yields a reliably crisp crust. These are best eaten straight from the fryer while the cheese is molten, but I love that they are forgiving — you can make them ahead and reheat in a hot oven or air fryer. For weeknight dinners, serve them with a green salad; for parties, pair with ranch or a tangy dipping sauce. Below you'll find step-by-step details, troubleshooting tips, storage advice and seasonal variations so you can make them just the way you like.
Every time I make this, my partner asks for more bacon and my oldest requests extra green onion — little adjustments that made the recipe ours. I discovered that cutting the cheese into uniform 3-inch strips and chilling the shaped fingers briefly before breading keeps everything tidy and prevents leaks. Give these a try when you want something comforting yet festive.
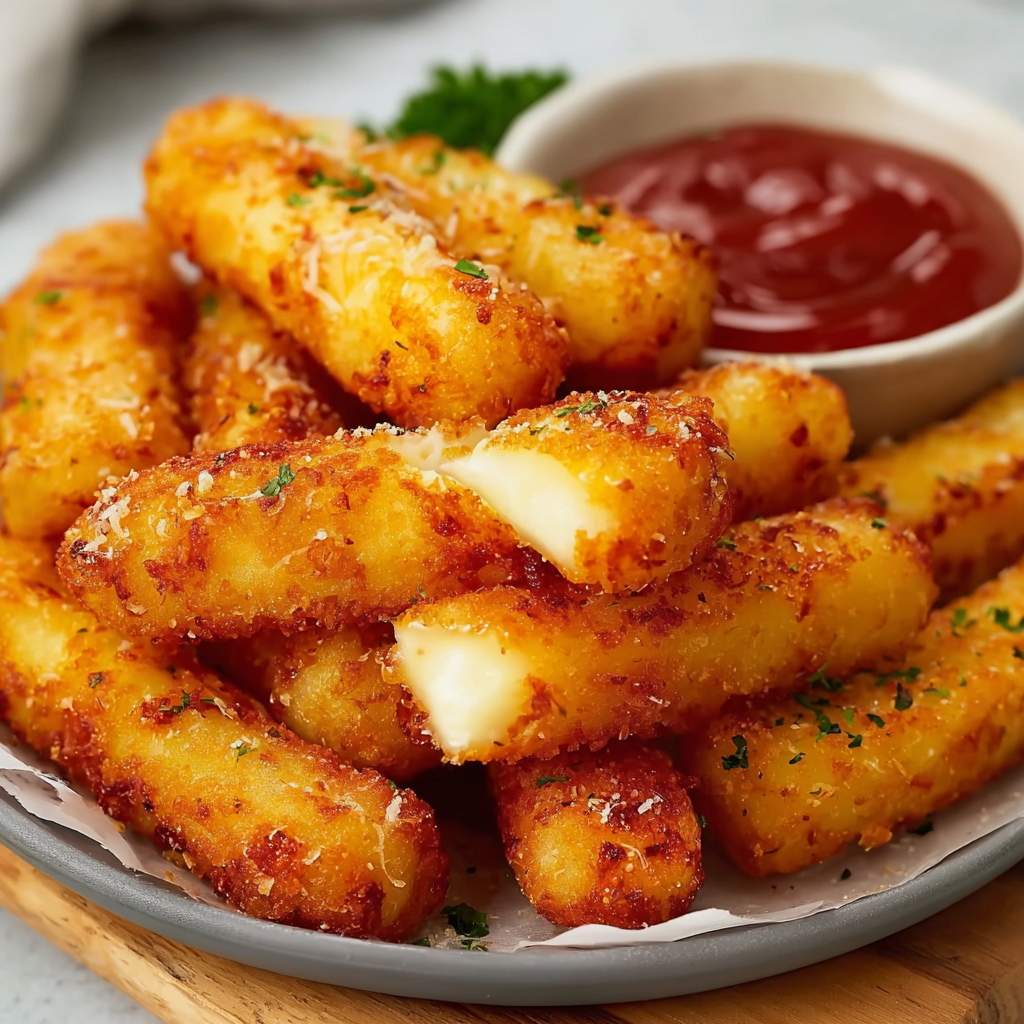
My favorite part is the first bite — that ribbon of cheddar stretching out while the potato remains fluffy. Once, I brought a tray to a potluck and people mistook them for a store-bought appetizer; they were surprised when I revealed the simple ingredient list. The technique is forgiving: if a finger splits during frying, simply pinch it closed and continue; the cornstarch keeps things cohesive.
Store cooled fingers in an airtight container in the refrigerator for up to 3 days. For longer storage, freeze on a tray until solid and then transfer to a freezer-safe bag for up to 3 months. To reheat refrigerated or frozen pieces, bake at 400°F for 6–12 minutes (longer from frozen) or re-crisp in an air fryer at 380°F for 5–8 minutes. Avoid microwaving unless you’re in a hurry — the crust becomes soft and loses its crunch.
If you want to reduce dairy, use a semi-firm vegan cheese compatible with frying (note: melting behavior varies). For a gluten-free version, swap the flour for a 1:1 gluten-free flour blend and use gluten-free panko. To make them vegetarian, omit the bacon and add smoked paprika and a teaspoon of soy sauce for savory depth. You can also substitute sweet potatoes (use slightly less cornstarch) for a seasonal twist.
These pair beautifully with tangy dips: ranch, sriracha mayo, honey mustard, or a simple garlic aioli. For a balanced plate, serve with peppery arugula tossed in lemon vinaigrette and a crisp slaw. They make a fun party platter with toothpicks, pickles, and a trio of sauces for dipping.
While not tied to a single traditional cuisine, these fingers draw on comfort-food techniques common in American and British cookery: mashed-potato binding and breadcrumb frying. The use of panko comes from Japanese influence on Western frying — it yields a lighter, airier crust compared with traditional breadcrumbs.
In winter, add roasted garlic and rosemary to the potato mix for cozy depth. In summer, swap in fresh herbs like chives and parsley and serve with a chilled herb-yogurt dip. For holiday gatherings, mix in finely chopped prosciutto instead of bacon and a sharp, aged cheddar for an elevated flavor profile.
Shape and bread a large batch, then freeze on a tray until solid and transfer to bags for make-ahead convenience. Fry straight from frozen — add a minute or two to the frying time. If you prefer baking, coat in a little oil spray and bake at 425°F until golden, though deep frying will always give the crispiest result.
These Cheesy Potato Fingers are one of those recipes that bring people together — easy to scale, fun to eat, and endlessly adaptable. Make a batch this weekend and watch them disappear.
Chill shaped fingers for at least 15 minutes before breading to help them keep their shape during frying.
Maintain oil temperature at 350°F (175°C) to prevent oil absorption and ensure a golden crust.
Freeze individually on a tray before storing in a bag to prevent sticking and preserve shape.
Use panko for the outer layer and repeat the egg+panko step for an extra-crispy shell.
This nourishing cheesy potato fingers recipe is sure to be a staple in your kitchen. Enjoy every moist, high protein slice — it is perfect for breakfast or as a wholesome snack any time.
This Cheesy Potato Fingers recipe makes perfectly juicy, tender, and flavorful steak every time! Serve with potatoes and a side salad for an unforgettable dinner in under 30 minutes.
Boil 3 medium russet potatoes until fork-tender (20–25 minutes). Drain and mash until slightly coarse; leave some texture for structure. Mix in 1/2 cup sour cream, 1 teaspoon salt and 1/2 teaspoon pepper.
Fold 1/4 cup diced cooked bacon and 1/4 cup diced green onion into the mashed potatoes. Sprinkle in 2/3 cup cornstarch and fold gently until evenly distributed — this firms the mixture for shaping.
Cut an 8 oz block of cheddar into 3-inch strips. Take 2 tablespoons of potato mixture, flatten, place a cheese strip in the center and wrap to form a finger. Chill shaped fingers for 15 minutes to set.
Set up three bowls: 1 cup flour, 2 beaten eggs, and 1 cup panko. Dredge each chilled finger in flour, then egg, then panko; repeat egg+panko for a double coat if desired.
Heat oil to 350°F (175°C). Fry 4–6 fingers at a time for 2–3 minutes, turning once, until deep golden. Drain on a wire rack and serve hot with dipping sauce.
Last Step: Please leave a rating and comment letting us know how you liked this recipe! This helps our business to thrive and continue providing free, high-quality recipes for you.
Leave a comment & rating below or tag
@yummyhues on social media!
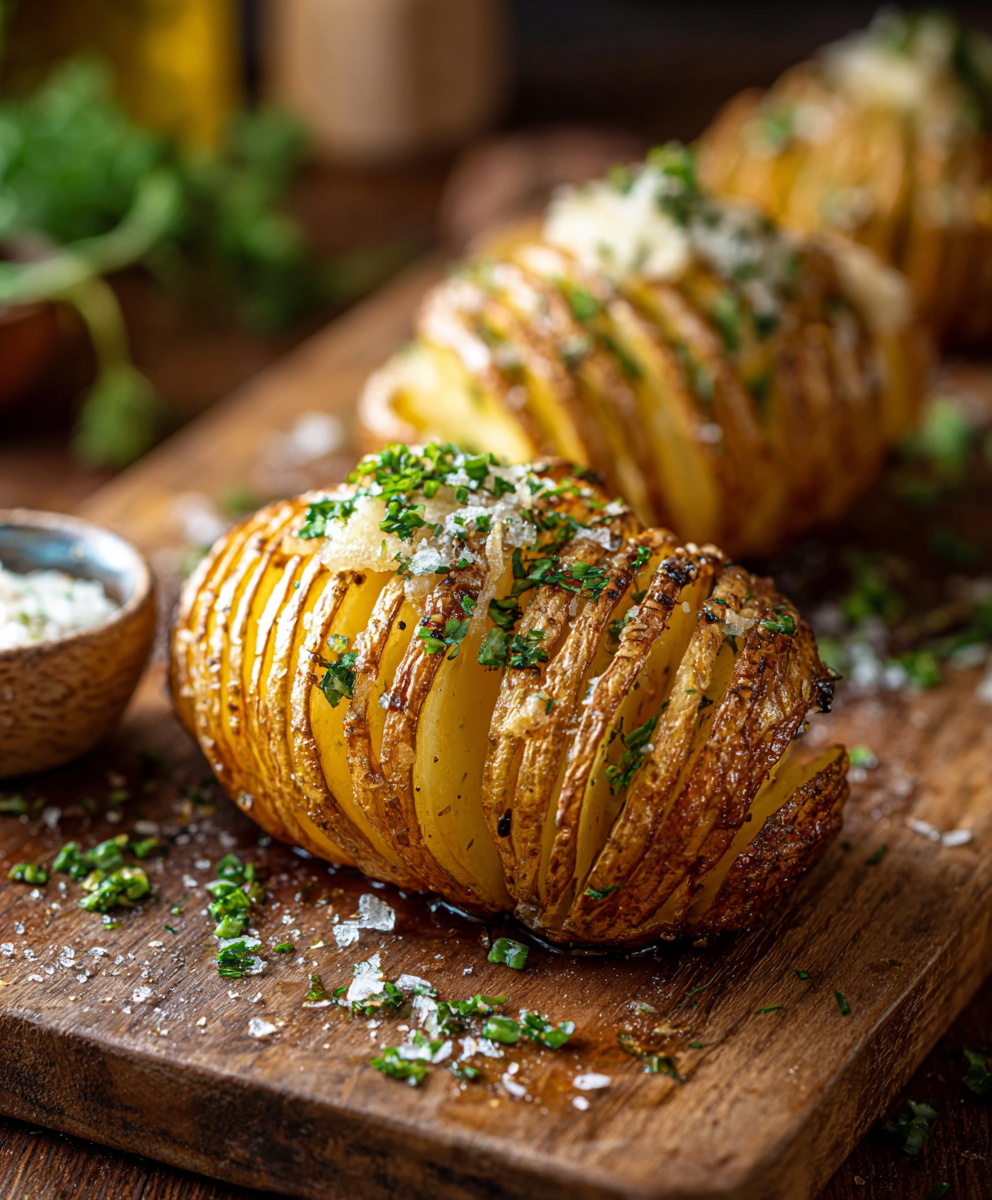
Thinly sliced russet potatoes brushed with butter and baked until the edges are crisp and the centers are tender.
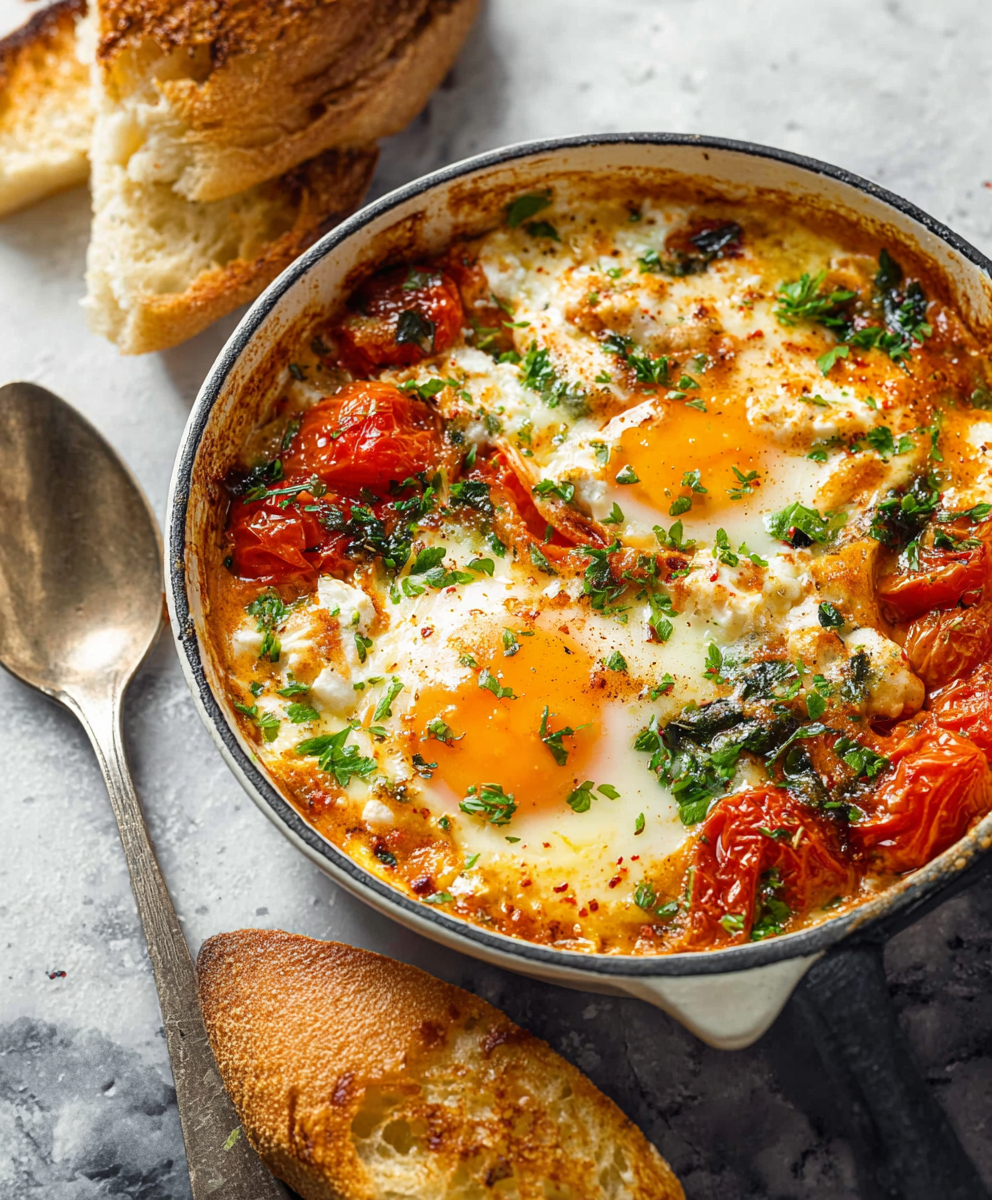
A simple, vibrant baked egg dish: tangy feta melting into roasted cherry tomatoes with spinach and fragrant herbs. Perfect for brunch or an easy dinner.
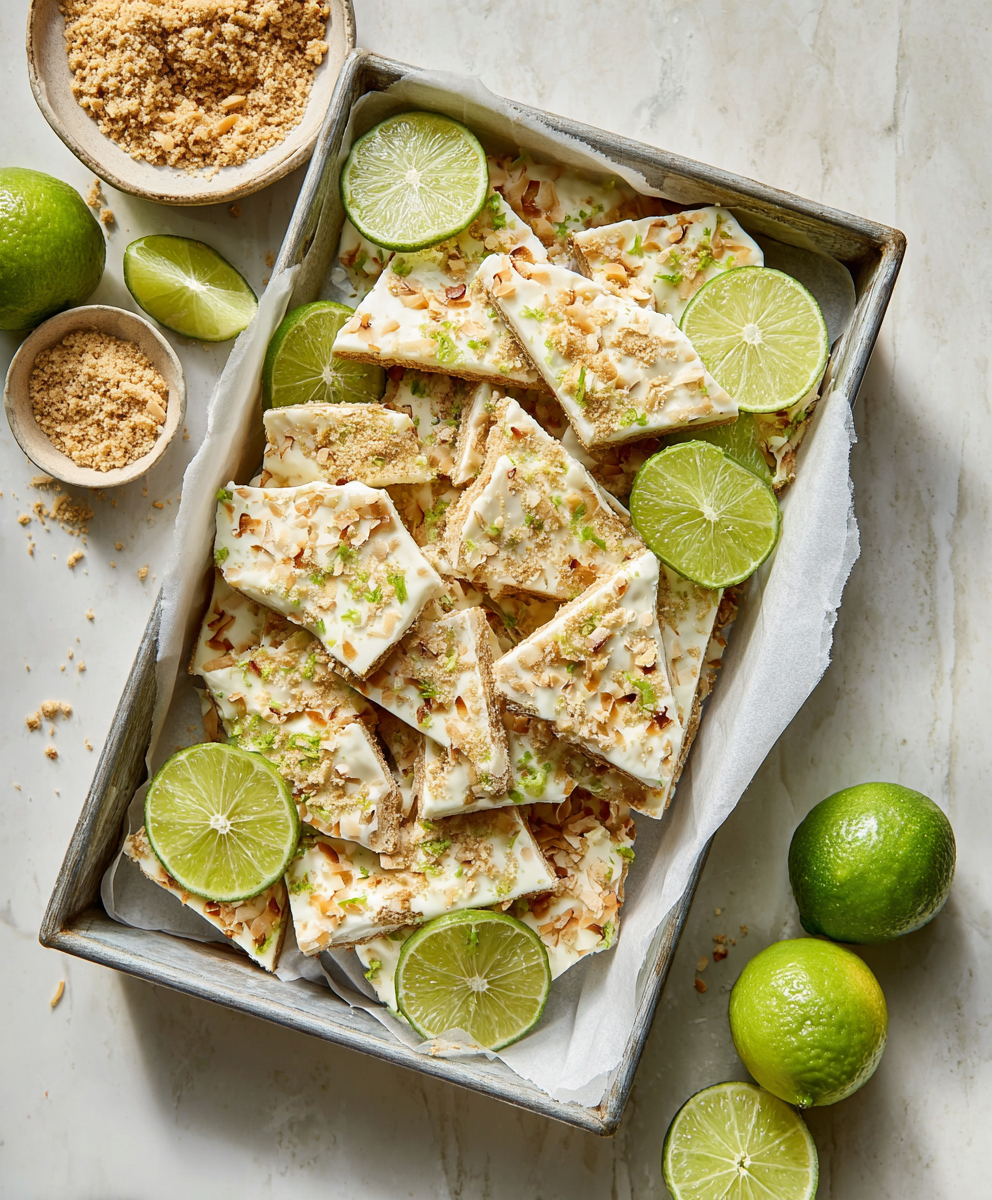
A bright, tangy frozen treat that tastes like mini key lime pies. Creamy Greek yogurt, fresh lime, crunchy gluten-free crumbs, and toasted coconut come together for a protein-packed snack.
Leave a comment & rating below or tag @yummyhues on social media!
Enjoyed this recipe? Share it with friends and family, and don't forget to leave a review!
This recipe looks amazing! Can't wait to try it.
Comments are stored locally in your browser. Server comments are displayed alongside your local comments.

Join to receive our email series which contains a round-up of some of our quick and easy family favorite recipes.