
Thick-Crust Pizza Pie

A hearty, homemade thick-crust pizza pie with a golden, chewy base, savory meat filling, melty cheeses, and vibrant veggies — perfect for family nights.
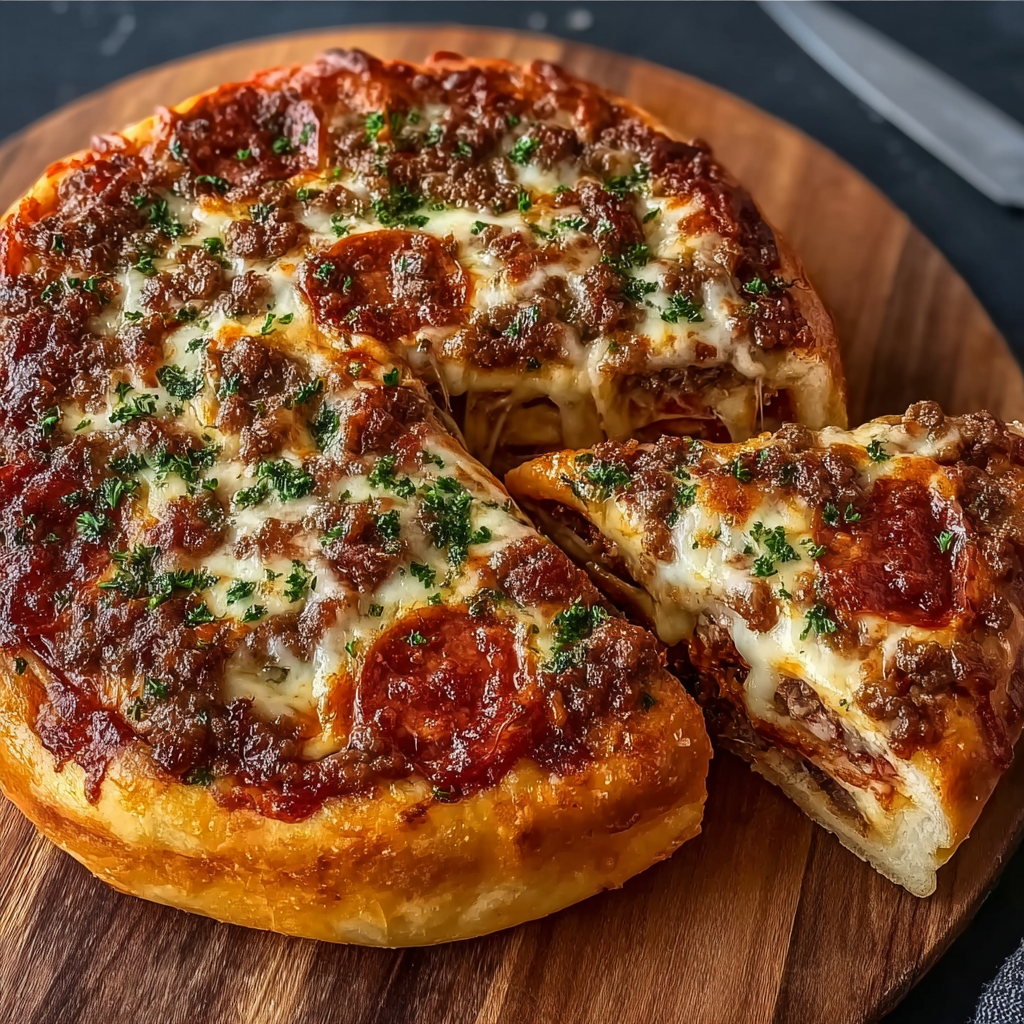
This thick-crust pizza pie is the kind of dish that turns an ordinary weeknight into something celebratory. I first developed this version during a weekend when a snowstorm canceled plans and the pantry was a little bare — the result was a golden, slightly chewy crust that held a generous, savory filling without becoming soggy. The contrast between the bready base and a rich, meaty topping is what makes it special: a warm, hand-held slice that still delivers that sit-down, sharing-plate satisfaction.
I discovered the dough technique while adapting a bakery-style loaf into a pizza base: a long, gentle proof for the yeast and a touch of olive oil in the dough creates a thick exterior with an airy interior that soaks up sauce just enough without collapsing. Family members fought for the last slice the first time I made this, and I still remember my nephew declaring it "the pizza that hugs you back." The filling is intentionally flexible — use ground beef or Italian sausage and adjust the veggies to taste. The result is reliably comforting, slightly rustic, and entirely homemade.
Why You'll Love This Recipe
- The crust is thick yet airy thanks to a 1-hour rise and a bit of olive oil, giving you a bakery-style mouthfeel without industrial equipment.
- It uses pantry staples like all-purpose flour, active dry yeast, and canned or jarred pizza sauce — convenient for quick meal execution.
- Ready in approximately 75 minutes from start to finish when you include a comfortable proofing period; active hands-on time is about 30 minutes.
- Make-ahead friendly: dough can be refrigerated overnight or frozen for future pizza nights, saving time on busy evenings.
- Crowd-pleasing toppings: combine ground beef or Italian sausage with melty mozzarella and optional cheddar for familiar flavors that kids and adults both love.
- Flexible for dietary tweaks — swap proteins, omit cheeses, or bulk up vegetables to suit preferences and allergies.
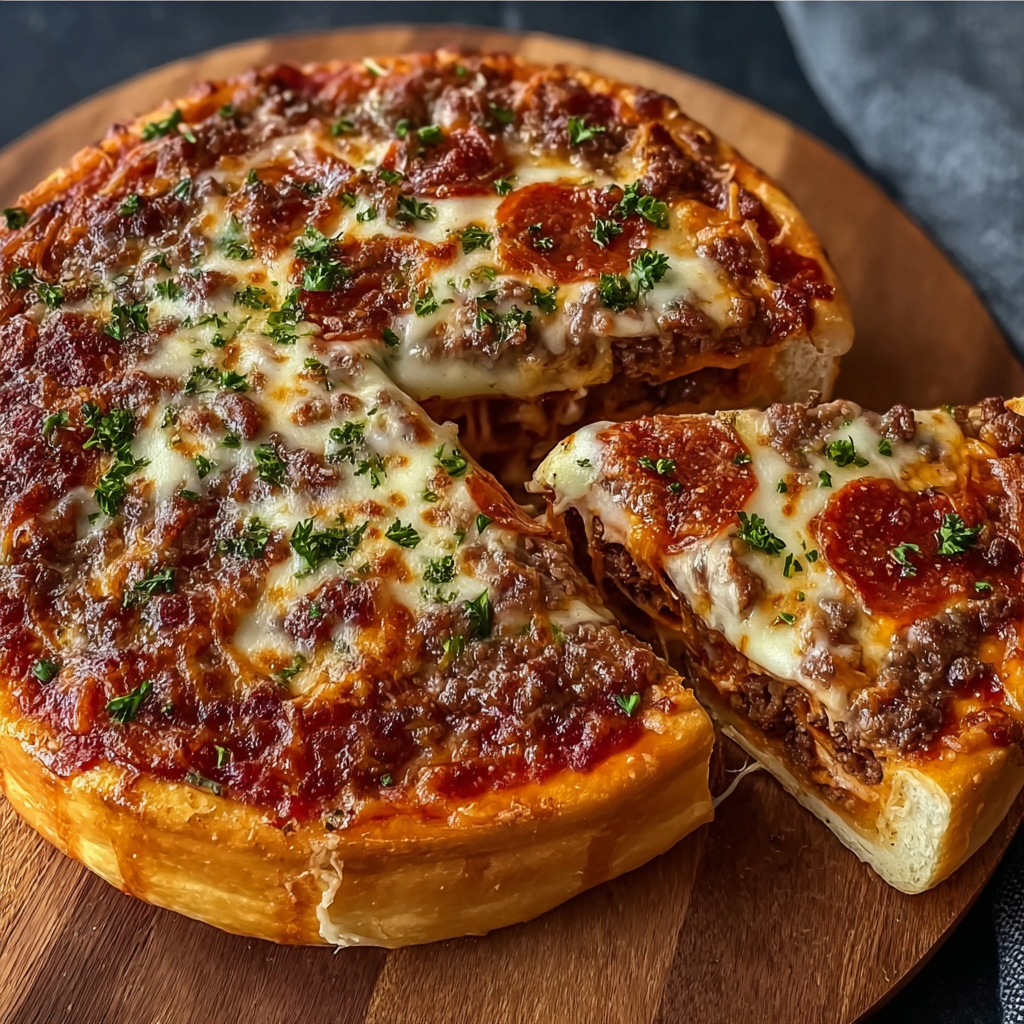
On the first time I served this to friends, everyone appreciated the substantial slices and the way the crust held up to generous toppings. Over several iterations I learned to slightly underbake the center before adding cheese so that the middle finishes without the edge getting too dark. That small timing trick elevated the texture and made the pie sing.
Ingredients
- All-purpose flour: Use 2 1/2 cups of a reliable brand like King Arthur or Gold Medal for consistent gluten development; spoon and level the cup for accuracy to keep the dough from becoming too dry.
- Sugar and salt: 1 teaspoon of sugar feeds the yeast for a steady rise; 1 teaspoon of fine salt seasons the dough — use kosher or fine table salt measured by volume.
- Active dry yeast: 2 1/4 teaspoons (one packet). Proof in 1 cup of warm water (about 105–115°F) to ensure activity; if it bubbles slightly in 5–10 minutes it's ready.
- Olive oil: 2 tablespoons for tenderness and flavor; choose extra-virgin for best aroma, but a light olive oil works if you plan to brush the crust before baking.
- Ground beef or Italian sausage: 1 pound. For sturdier flavor choose 80/20 beef or sweet Italian sausage; leaner meat reduces grease but may need a tablespoon of oil for browning.
- Pizza sauce: 1 cup. A jarred marinara works, or use a simple canned tomato sauce seasoned with garlic and oregano.
- Cheeses: 1 cup shredded mozzarella and 1/2 cup cheddar (optional) for a familiar melt and slight tang; pre-shredded cheese contains anti-caking agents that can affect melt slightly, so freshly shredded is preferred.
- Vegetables: 1/2 cup sliced mushrooms and 1/2 cup sliced green bell peppers or jalapeños for heat; slice thinly so they release moisture without weighing the pie down.
- Pepperoni slices: Use as many as you like; they add a salty, crisped edge when baked.
Instructions
Prepare the Dough:In a large bowl, dissolve 2 1/4 teaspoons active dry yeast and 1 teaspoon sugar into 1 cup warm water (105–115°F). Let sit 5–10 minutes until foamy. Add 2 1/2 cups all-purpose flour, 1 teaspoon salt, and 2 tablespoons olive oil. Stir until a shaggy dough forms, then turn onto a lightly floured surface and knead 6–8 minutes until smooth and elastic. Alternatively, use a stand mixer with a dough hook on low for 5 minutes. Place in an oiled bowl, cover with plastic wrap or a towel, and let rise in a warm spot until doubled, about 45–60 minutes.Preheat and Prepare Filling:About 20 minutes before baking, preheat oven to 450°F and position a rack in the lower third. In a skillet over medium-high heat, brown 1 pound ground beef or Italian sausage, breaking up meat and cooking until no longer pink, about 7–9 minutes. Drain excess grease, then stir in 1 cup pizza sauce and simmer 2–3 minutes to meld flavors. Taste and adjust seasoning with salt and black pepper. Remove from heat and set aside to cool slightly.Shape and Dock the Crust:Once dough has doubled, gently punch it down and place on a floured surface. Roll or press into a 12-inch circle about 1/2-inch thick for a thick-crust pie. Transfer to a lightly oiled 12-inch pizza pan or a cast-iron skillet for a crisper bottom. Use your fingers to create a slight lip around the edge. If the dough resists stretching, rest 5 minutes and continue. Prick the center lightly with a fork if you prefer a slightly more even bake.Assemble:Spread the meat and sauce mixture evenly over the dough, leaving the edge bare. Sprinkle 1 cup shredded mozzarella and 1/2 cup cheddar (if using) over the top. Scatter 1/2 cup sliced mushrooms, 1/2 cup sliced bell peppers or jalapeños, and pepperoni slices to taste. Brush the exposed crust with a little olive oil for a golden finish.Bake and Rest:Bake in the preheated 450°F oven for 16–20 minutes, rotating the pan once halfway through. Look for a golden-brown crust and bubbling cheese; if the edge darkens too quickly, tent loosely with foil. Remove and let rest 5–7 minutes before slicing to allow the filling to set and prevent a runny center.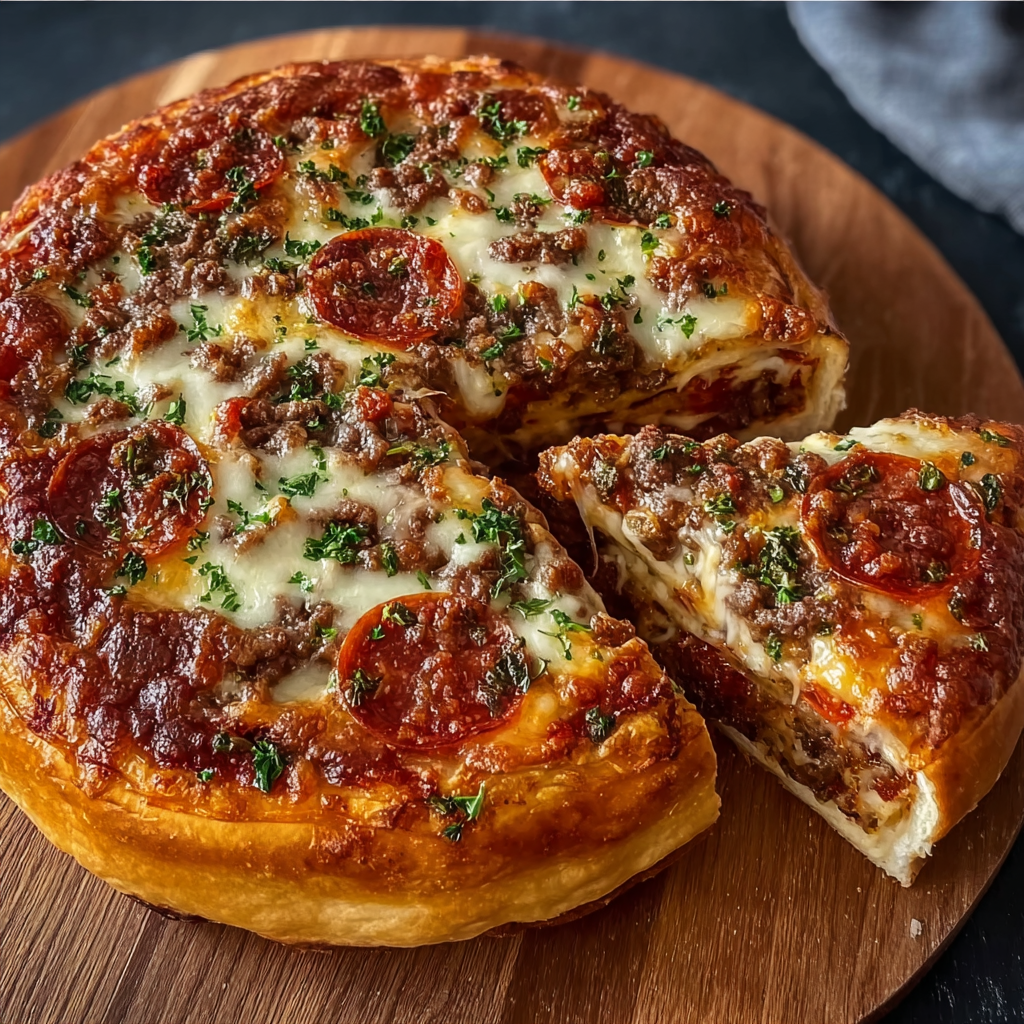
You Must Know
- The pie keeps well in the refrigerator for up to 3 days when stored in an airtight container; reheat in a 375°F oven for 8–10 minutes to preserve crust crispness.
- Dough can be refrigerated after the first rise for up to 24 hours or frozen for up to 3 months; bring to room temperature before shaping.
- High-moisture toppings like fresh tomatoes or watery mushrooms should be lightly sautéed to prevent sogginess.
- This pie is high in protein and calories per serving due to meat and cheese content; consider leaner meat or more vegetables to lighten it.
My favorite aspect is how forgiving the dough is: if you slightly over-knead or under-knead, the end result is still very good because the thick profile hides small textural differences. Sharing this pie became a ritual in my house; we serve it for movie nights and casual gatherings, and everyone adds their own favorite topping at the table — a small tradition that brings variety to the same comforting foundation.
Storage Tips
Cool the pie completely before covering to avoid trapping steam. For short-term storage, wrap slices tightly in plastic wrap or place in an airtight container and refrigerate for up to 3 days. For longer storage, freeze individual slices on a tray until firm, then transfer to a resealable freezer bag for up to 3 months. Reheat directly from frozen in a 375°F oven for 12–15 minutes, or thaw overnight in the refrigerator and re-crisp in a skillet for optimal texture. Avoid microwaving if you want to preserve crust chewiness — it tends to make the dough gummy.
Ingredient Substitutions
For a leaner variation, swap ground turkey for beef or use plant-based crumbles for a vegetarian option; if using sausage, choose a milder variety to avoid overpowering the sauce. Replace mozzarella with a semi-firm melting cheese like provolone for a different flavor profile, or omit cheddar for a classic taste. To make the pie gluten-free, use a certified gluten-free all-purpose flour blend adjusted with a binder like xanthan gum and slightly increase hydration. If you need dairy-free, use dairy-free shredded cheeses and sauté vegetables with a touch of oil to enhance richness.
Serving Suggestions
Serve slices with a crisp green salad dressed in lemon vinaigrette to cut through the richness, or offer roasted vegetables for a heartier plate. A side of pickled peppers or a small bowl of chili oil provides an optional kick. For presentation, sprinkle torn fresh basil or a dusting of grated Parmesan just before serving to add freshness. Pair with a light-bodied red wine like Chianti or a citrusy craft beer for a balance of flavors.
Cultural Background
This pie grows from the Italian-American tradition that adapted thin Neapolitan bases into thicker, pan-style versions favored across the United States. Thick-crust variations appear in many regions — from New York Sicilian slices to Chicago deep-dish — each emphasizing a different crust-to-topping ratio. The version here leans toward a home-bakery approach: substantial base, generous, seasoned meat topping, and melty cheeses that appeal to broad tastes while nodding to Italian-American comfort food heritage.
Seasonal Adaptations
In summer, swap bell peppers for blistered cherry tomatoes and add fresh basil after baking; in fall and winter, use roasted root vegetables like thinly sliced butternut or caramelized onions to add depth. Holiday gatherings welcome a special bacon-and-fig combination or leftover roast chicken with sage and caramelized onions. Adjust bake time slightly if adding heavier produce — a quick sauté helps keep additional moisture from soaking into the crust.
Meal Prep Tips
Make the dough ahead: after the first rise, divide and refrigerate for up to 24 hours; shape at dinnertime. Cook and cool the meat filling in advance and refrigerate in a sealed container for up to 3 days. Assemble just before baking to keep the crust crisp. For busy weeks, par-bake crusts for 6–8 minutes, cool, then top and finish baking when needed — this cuts total evening hands-on time to about 15 minutes and helps maintain texture.
Ultimately, this thick-crust pie is about gathering around a warm, substantial dish that satisfies both texture and flavor cravings. Make it your own, and enjoy the little traditions that arise when people come together over homemade food.
Pro Tips
Proof yeast in water at 105–115°F and wait for visible foaming to confirm activity.
Lightly brown and drain the meat filling to avoid excess grease that can make the crust soggy.
Brush the crust with olive oil before baking to achieve a glossy, golden edge.
If the crust edge browns too quickly, tent with foil midway through baking.
Use a cast-iron skillet for a crisp bottom; a pizza pan yields a more even, softer base.
This nourishing thick-crust pizza pie recipe is sure to be a staple in your kitchen. Enjoy every moist, high protein slice — it is perfect for breakfast or as a wholesome snack any time.
FAQs about Recipes
Can I make the dough ahead of time?
Yes — dough can be refrigerated after the first rise for up to 24 hours. Bring to room temperature before shaping, then proceed with assembly and bake as directed.
What is the best way to reheat leftovers?
Reheat slices in a 375°F oven for 8–10 minutes for best crust texture. Microwaving will soften the crust.
Tags
Thick-Crust Pizza Pie
This Thick-Crust Pizza Pie recipe makes perfectly juicy, tender, and flavorful steak every time! Serve with potatoes and a side salad for an unforgettable dinner in under 30 minutes.
Ingredients
For the Crust
For the Filling
Instructions
Prepare the Dough
Proof the yeast by dissolving 2 1/4 teaspoons active dry yeast and 1 teaspoon sugar in 1 cup warm water (105–115°F) until foamy, about 5–10 minutes. Mix with 2 1/2 cups all-purpose flour, 1 teaspoon salt, and 2 tablespoons olive oil until a shaggy dough forms. Knead 6–8 minutes by hand or 5 minutes in a stand mixer with a dough hook until smooth and elastic. Place in an oiled bowl, cover, and let rise until doubled, about 45–60 minutes.
Prepare the Filling
Brown 1 pound ground beef or Italian sausage in a skillet over medium-high heat, breaking up pieces and cooking until no pink remains, about 7–9 minutes. Drain excess fat, then stir in 1 cup pizza sauce and simmer 2–3 minutes. Adjust seasoning with salt and pepper, then remove from heat to cool slightly.
Shape the Crust
After the dough has doubled, punch it down and roll or press into a 12-inch circle about 1/2-inch thick. Transfer to a greased 12-inch pizza pan or cast-iron skillet, creating a slight rim at the edge. If the dough resists stretching, let it rest 5 minutes and continue.
Assemble and Bake
Spread the meat and sauce mixture evenly across the dough, leaving a border. Top with 1 cup shredded mozzarella, optional 1/2 cup cheddar, 1/2 cup sliced mushrooms, 1/2 cup sliced peppers or jalapeños, and pepperoni slices as desired. Brush the crust rim with olive oil and bake in a 450°F oven for 16–20 minutes until the crust is golden and cheese is bubbling. Let rest 5–7 minutes before slicing.
Last Step: Please leave a rating and comment letting us know how you liked this recipe! This helps our business to thrive and continue providing free, high-quality recipes for you.
Nutrition
Did You Make This?
Leave a comment & rating below or tag
@yummyhues on social media!
Categories:
You might also like...
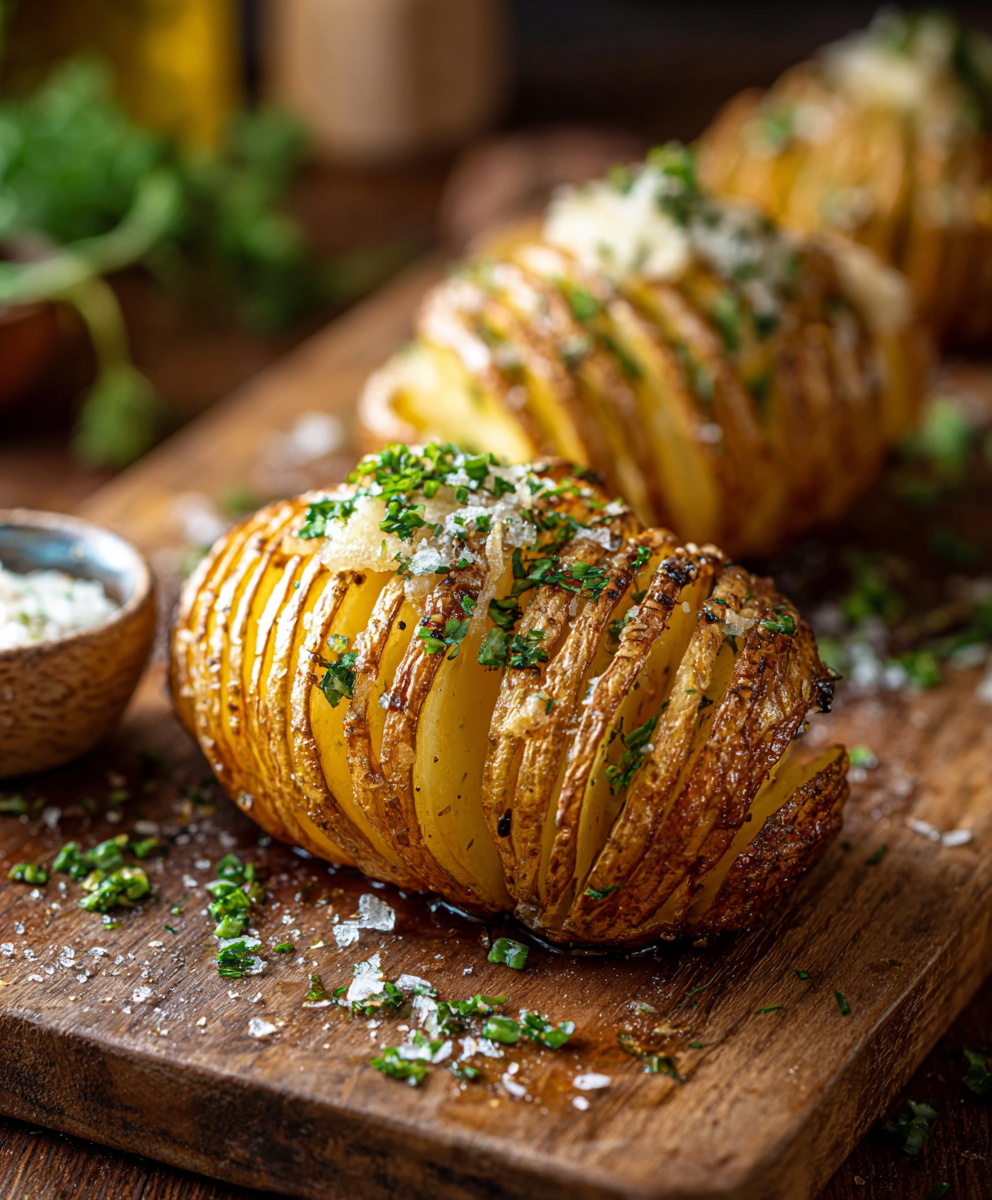
Crispy Hasselback Potatoes
Thinly sliced russet potatoes brushed with butter and baked until the edges are crisp and the centers are tender.
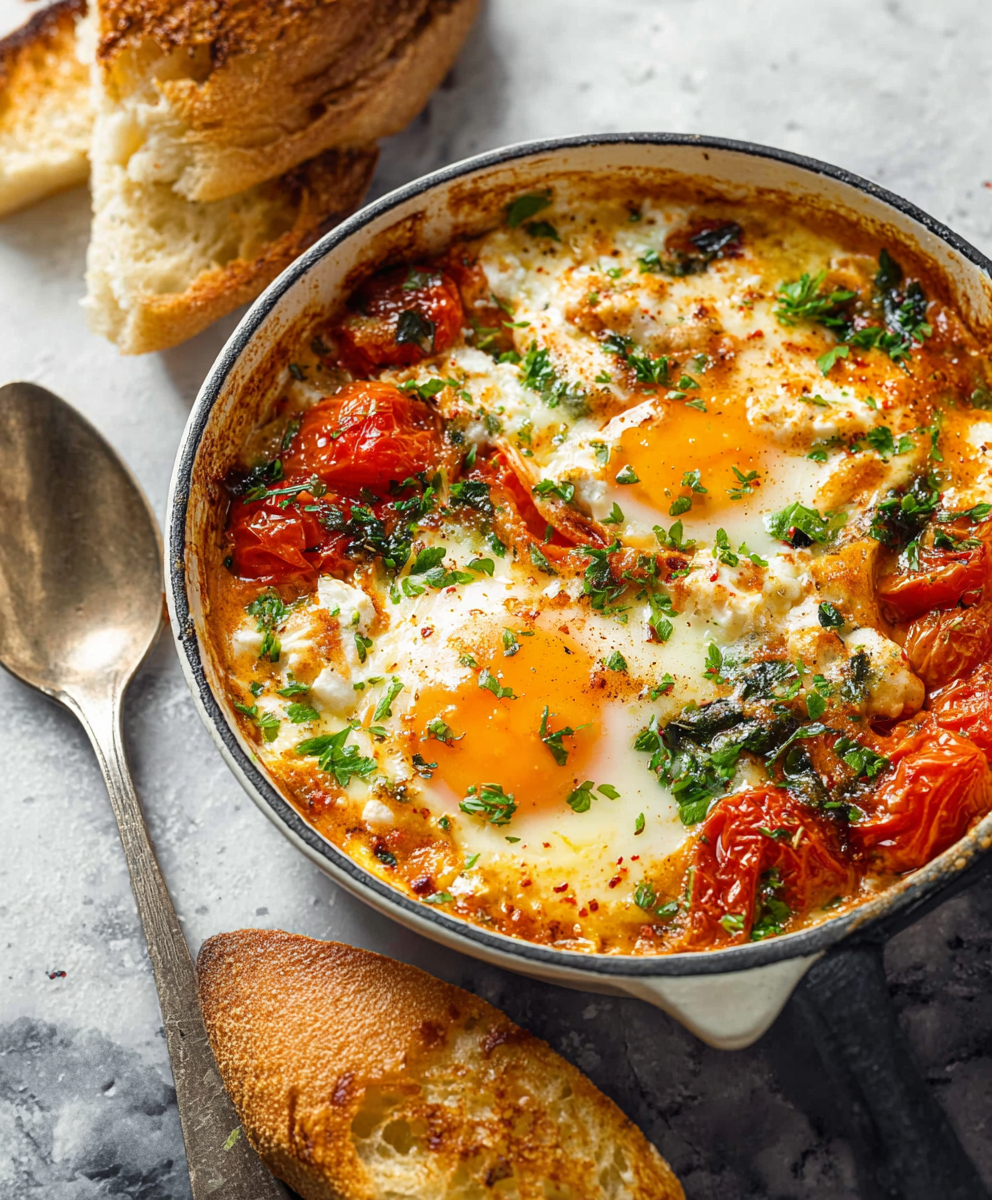
Baked Feta Eggs with Roasted Tomatoes and Spinach
A simple, vibrant baked egg dish: tangy feta melting into roasted cherry tomatoes with spinach and fragrant herbs. Perfect for brunch or an easy dinner.
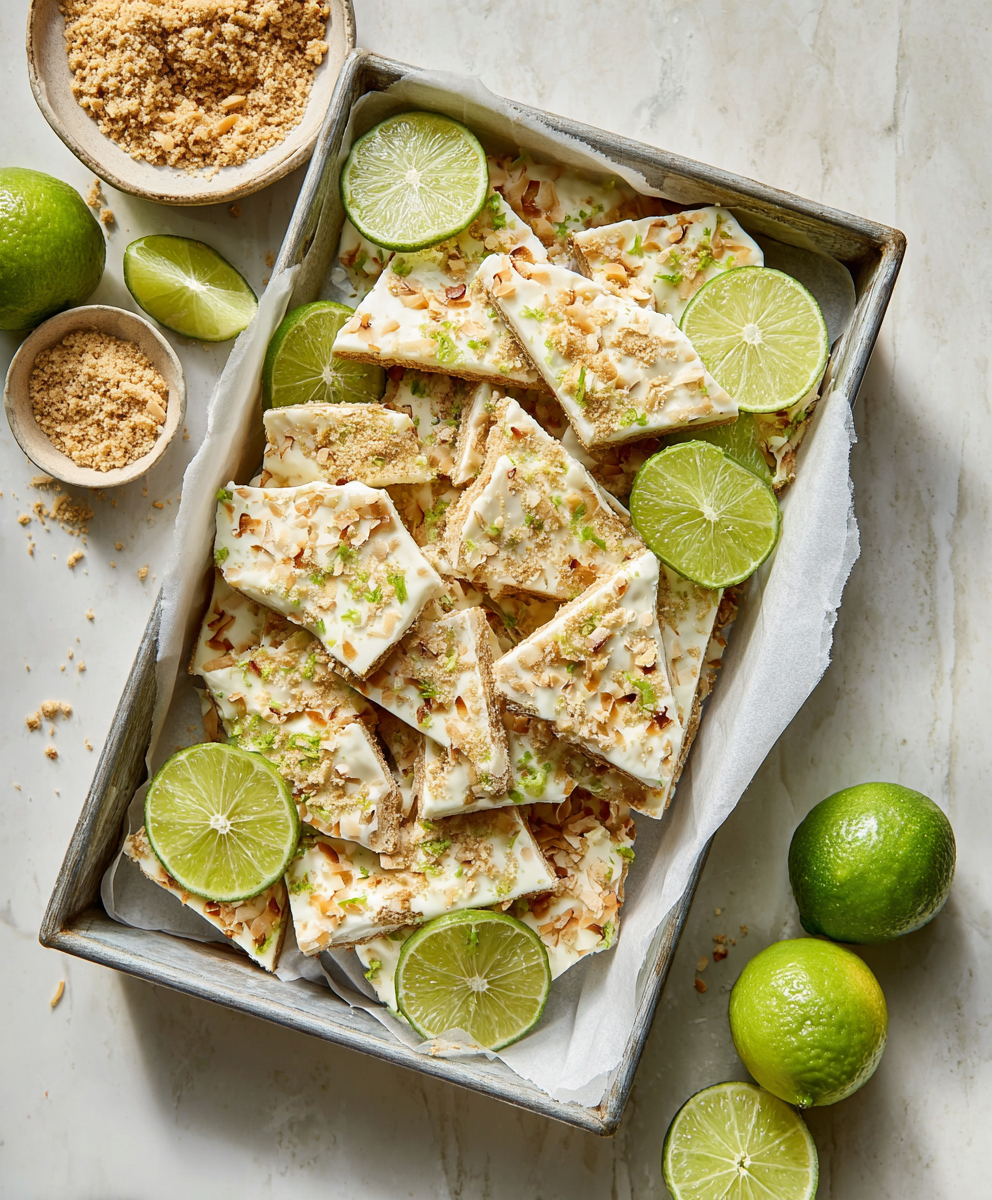
Key Lime Pie Yogurt Bark
A bright, tangy frozen treat that tastes like mini key lime pies. Creamy Greek yogurt, fresh lime, crunchy gluten-free crumbs, and toasted coconut come together for a protein-packed snack.
Did You Make This?
Leave a comment & rating below or tag @yummyhues on social media!
Rate This Recipe
Share This Recipe
Enjoyed this recipe? Share it with friends and family, and don't forget to leave a review!
Comments (1)
This recipe looks amazing! Can't wait to try it.
Comments are stored locally in your browser. Server comments are displayed alongside your local comments.

Hi, I'm Chloe!
What's Popular
30-Minute Meals!
Join to receive our email series which contains a round-up of some of our quick and easy family favorite recipes.