
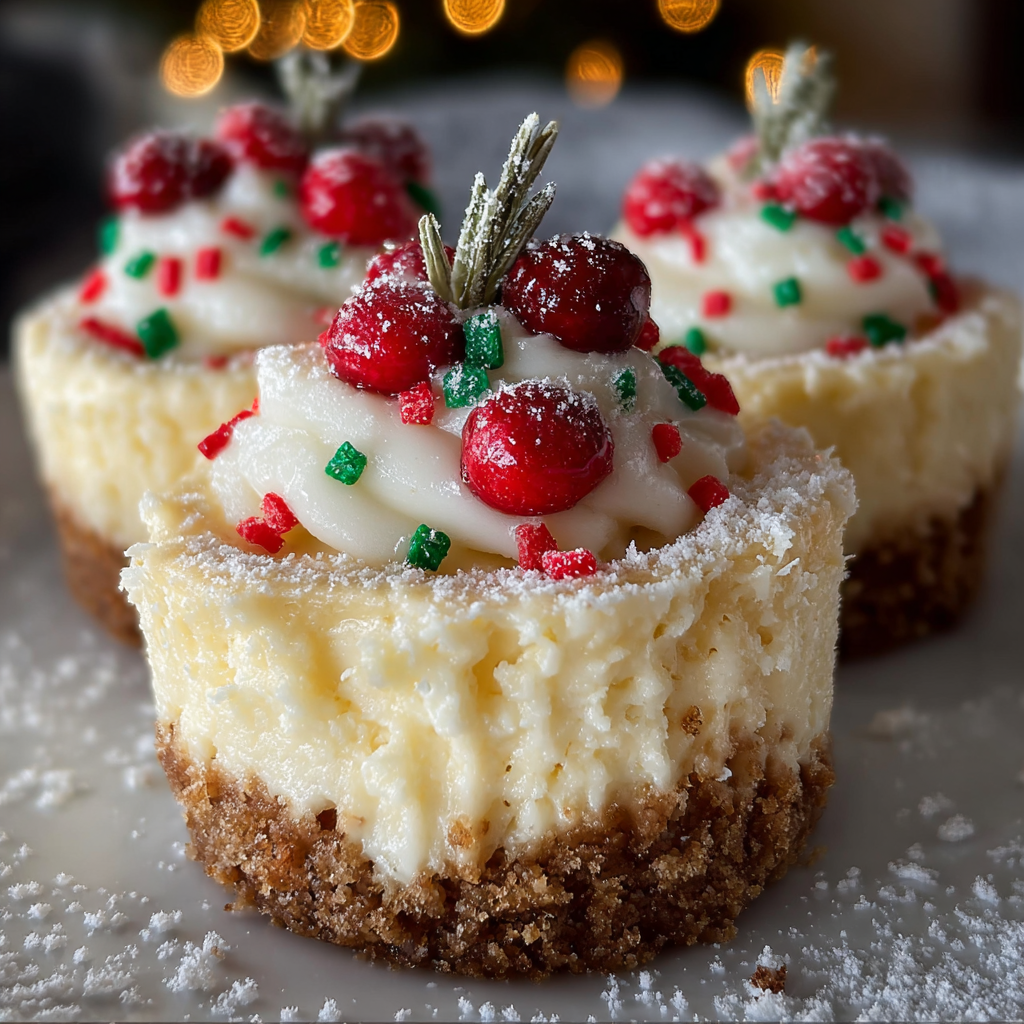
Mini Christmas Cheesecakes

Tiny, festive cheesecakes with a buttery graham crust and creamy filling, decorated with red and green sprinkles—perfect for holiday parties and giftable treats.
This recipe for Mini Christmas Cheesecakes has been a holiday tradition in my kitchen for years. I first stumbled upon the combination of a buttery graham cracker base and a tangy, velvety cream cheese filling one December while making treats for a neighborhood cookie swap. The bite-sized portions made them instant crowd-pleasers: rich but not overwhelming, and their small size invites guests to sample several variations. I love how they bridge nostalgia and ease—these are the kind of sweets that bring people together around the platter and spark conversations about favorite holiday memories.
What makes these small cheesecakes special is their texture contrast and simplicity. The crust is crisp and slightly nutty from the butter, while the filling is lusciously smooth with a faint tang from sour cream and brightness from vanilla. Baking them in a mini tin keeps them from cracking and gives a uniform, elegant shape that photographs beautifully. Over the years I’ve learned a few little tricks—softening the cream cheese to room temperature, pressing the crust firmly so it holds up, and a short chill time to let the flavors settle—that reliably produce perfect results whether you are making them for a large gathering or a quiet evening with hot cocoa.
Why You'll Love This Recipe
- Easy to prepare with pantry-friendly ingredients: cream cheese, sour cream, eggs, graham crackers and butter create a classic flavor profile that needs no exotic items.
- Make-ahead friendly: bake the bites a day ahead and refrigerate; they hold shape well and free up oven time on the big day.
- Crowd-pleasing portion size: mini cheesecakes give guests a perfectly balanced serving that is rich without being heavy, ideal for dessert tables and office parties.
- Quick bake time: these set reliably in about 20 minutes at 325 degrees Fahrenheit, so you can prepare multiple batches in one afternoon.
- Decorating is fun and forgiving: red and green sprinkles or seasonal sanding sugars add instant festive charm with no skill required.
In my house these bites have become the unofficial centerpiece of holiday gatherings. Relatives request them by name, and I always bring a decorated tin to neighbors. Once, at a holiday potluck, I swapped sprinkles for crushed peppermint and the platter disappeared within minutes. They are simple to scale up, travel well in a lined tin, and they never fail to evoke that cozy holiday feeling.
Ingredients
- 8 ounces cream cheese, softened: Use full-fat cream cheese for the creamiest texture; brands like Philadelphia provide consistent results. Let it sit at room temperature for 30 to 45 minutes so it creams smoothly without lumps.
- 1/2 cup granulated sugar: Standard white sugar gives a clean sweetness and helps the filling set properly. For a subtler taste, you can reduce by 1 tablespoon but expect a slight change in texture.
- 1 teaspoon vanilla extract: Pure vanilla enhances the dairy notes; avoid imitation if possible. A good vanilla complements the tang of sour cream.
- 1/2 cup sour cream: Adds tang and silkiness. Full-fat sour cream yields the best mouthfeel and helps prevent cracks during baking.
- 2 large eggs: Bring eggs to room temperature to incorporate more evenly and produce a smooth custard-like filling.
- 1/4 cup crushed graham crackers: Use plain honey graham crackers crushed to fine crumbs for a compact crust. For convenience, pulsing in a food processor gives the best texture.
- 1/4 cup melted butter: Unsalted butter melted and slightly cooled binds the crumbs and provides a rich, toasty flavor. Salted is acceptable but reduce any added salt elsewhere.
- Red and green sprinkles: Decorative sanding sugars or small nonpareils work well; add just before serving to avoid bleeding or becoming soggy in the fridge.
Instructions
Preheat the oven and prepare the tin: Set oven to 325 degrees Fahrenheit (about 160 degrees Celsius). Line a standard 12-cup mini muffin tin with paper liners or use silicone mini liners. If using metal liners, lightly spray them with neutral oil to aid release. Preheating ensures even baking and helps prevent cracking. Make the filling: In a large bowl, beat 8 ounces of softened cream cheese with 1/2 cup granulated sugar until completely smooth and no lumps remain. Add 1 teaspoon vanilla extract and 1/2 cup sour cream, mixing on low speed until incorporated. Add the eggs one at a time, mixing just until combined after each addition to avoid overbeating; overbeating incorporates air that can cause surface cracks. Prepare the crust: Combine 1/4 cup finely crushed graham crackers with 1/4 cup melted butter in a small bowl. Stir until the crumbs are evenly moistened and the mixture holds together when pressed. Press about 1 to 1.5 teaspoons of the mixture into the bottom of each liner, using the back of a spoon or a small measuring cup to create a compact, flat base. Fill the cups and bake: Pour or spoon the cheesecake filling over each crust, filling almost to the top but leaving a thin rim to prevent spills. Tap the pan gently on the counter to release air bubbles. Place the tin on the middle rack and bake for about 20 minutes, or until the centers are just set and a light jiggle remains. Avoid overbaking; residual heat will finish the set. Cool and chill: Remove from oven and let cool to room temperature on a wire rack for about 30 minutes. Then refrigerate the tin, uncovered, for at least 2 hours to fully firm up. Chilling improves texture and flavor clarity. Decorate and serve: Right before serving, decorate each mini cheesecake with red and green sprinkles. Add sprinkles just prior to plating so they stay bright and crisp. Store leftover bites in an airtight container refrigerated up to three days.
You Must Know
- These small cheesecakes are best made with room temperature dairy to ensure a smooth filling and prevent lumps.
- They keep well refrigerated for up to three days and can be frozen for up to one month if stored in a single layer in a freezer-safe container.
- Use a gentle mixing method when adding eggs to avoid over-aerating the batter which can cause cracks while baking.
- Decorate just before serving—sprinkles or sanding sugar can absorb moisture if left on overnight and lose their sparkle.
My favorite part about these little treats is how flexible they are. I once made two dozen within an hour for a last-minute teacher gift exchange and swapped half to a peppermint-topped version for contrast. Family members often remark that the texture reminds them of a classic full-size cheesecake, only lighter and more approachable because the mini size makes indulgence feel just right.
Storage Tips
Store the mini cheesecakes in a single layer in an airtight container lined with parchment paper to prevent sticking. Refrigerate for up to three days. For longer storage, freeze them uncovered on a tray until solid, then transfer to a freezer-safe container with parchment separators and freeze for up to one month. Thaw overnight in the refrigerator and add sprinkles just before serving. If you need to transport them, place the container on a flat surface and keep it chilled to maintain shape and texture.
Ingredient Substitutions
If you need to adapt, full-fat Greek yogurt can replace sour cream at a 1:1 ratio for a slightly tangier profile and reduced fat. For a gluten-free base, swap the graham crumbs for gluten-free graham or finely ground gluten-free cookies, keeping the butter amount the same. Low-sugar fans can try a granulated sugar substitute built for baking at a 1:1 ratio, though texture may vary slightly. Vegan adaptations require dairy-free cream cheese alternatives and an egg substitute such as aquafaba, but note the texture will be softer and may need longer chilling.
Serving Suggestions
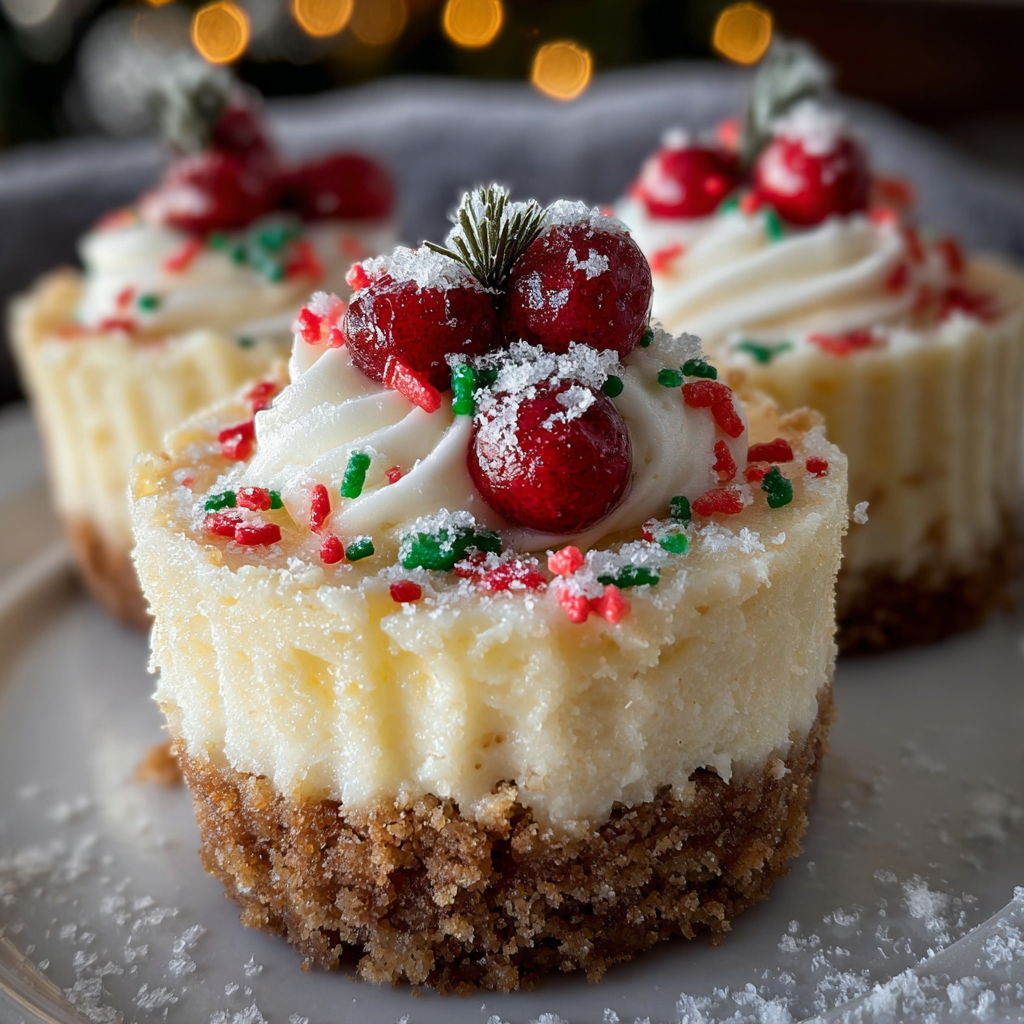
Arrange the bites on a festive platter with a dusting of powdered sugar for a snow-dusted look or place them in mini cupcake liners of various holiday patterns for a charming presentation. Pair with hot beverages like spiced hot chocolate, coffee, or mulled cider. For an elegant dessert table, serve alongside bite-sized fruit tarts or chocolate truffles to provide contrast in flavor and color. Garnish with a small mint leaf or a tiny shard of candied orange for a sophisticated touch.
Cultural Background
The concept of a dense, creamy dessert based on cheese has long roots in many cuisines, but the American style of cream cheese-based custard on a graham cracker crust evolved in the early 20th century with the commercialization of cream cheese and graham crackers. Miniature versions follow the tradition of bite-sized pastries that became popular in the late 20th century for entertaining. These small cheesecakes reflect a trend toward portable, shareable desserts that combine comfort and convenience during holiday festivities.
Seasonal Adaptations
Change the holiday vibe by swapping sprinkles for crushed candy canes in winter, finely chopped pistachios and rose petals for a festive Middle Eastern twist, or a spoon of citrus curd for spring celebrations. In summer, top with macerated berries instead of sprinkles. For a Thanksgiving table, add a brown butter crust or a pinch of cinnamon to the graham crumbs to echo seasonal spices and pair with pumpkin-flavored confections.
Meal Prep Tips
Make the crust and filling separately earlier in the day to speed assembly. Store the crust mixture refrigerated and press into liners just before filling to maintain a crisp base. Chill the fully baked bites for at least two hours or overnight for best slicing if you plan to present them on a buffet. For large gatherings, bake in multiple tins and stack cooled tins with parchment between layers when refrigerating to save space.
These mini cheesecakes are a small labor of love that reward you with big smiles. Whether you keep the classic toppings or get creative with seasonal accents, they are a reliable holiday favorite that makes every party feel a little more festive. Enjoy baking and sharing them with people you love.
Pro Tips
Soften cream cheese completely at room temperature for at least 30 minutes to prevent lumps and ensure a silky filling.
Press the crust firmly using the back of a spoon or a small measuring cup to create a compact base that holds together when served.
Avoid overmixing after adding eggs; gently combine to minimize air and reduce the chance of cracks during baking.
Chill the baked bites for at least 2 hours to fully set the texture and enhance flavor before decorating.
Decorate with sprinkles right before serving to keep them bright and crisp.
This nourishing mini christmas cheesecakes recipe is sure to be a staple in your kitchen. Enjoy every moist, high protein slice — it is perfect for breakfast or as a wholesome snack any time.
Tags
Mini Christmas Cheesecakes
This Mini Christmas Cheesecakes recipe makes perfectly juicy, tender, and flavorful steak every time! Serve with potatoes and a side salad for an unforgettable dinner in under 30 minutes.
Ingredients
Filling
Crust
Decoration
Instructions
Preheat and line
Preheat oven to 325 degrees Fahrenheit. Line a 12-cup mini muffin tin with paper or silicone liners and lightly oil if needed.
Blend cream cheese and sugar
Beat softened cream cheese with granulated sugar until completely smooth and lump-free, scraping down the bowl as needed.
Add sour cream and vanilla
Mix in vanilla extract and sour cream on low speed until incorporated and smooth, avoiding overmixing.
Incorporate eggs
Add eggs one at a time, mixing gently after each addition until just combined to avoid incorporating excess air.
Prepare crust and assemble
Combine crushed graham crackers with melted butter, press about 1 to 1.5 teaspoons into each liner, then spoon filling over the crust.
Bake and chill
Bake for about 20 minutes until centers are set. Cool to room temperature and then chill for at least 2 hours before decorating and serving.
Last Step: Please leave a rating and comment letting us know how you liked this recipe! This helps our business to thrive and continue providing free, high-quality recipes for you.
Nutrition
Did You Make This?
Leave a comment & rating below or tag
@yummyhues on social media!
Categories:
You might also like...
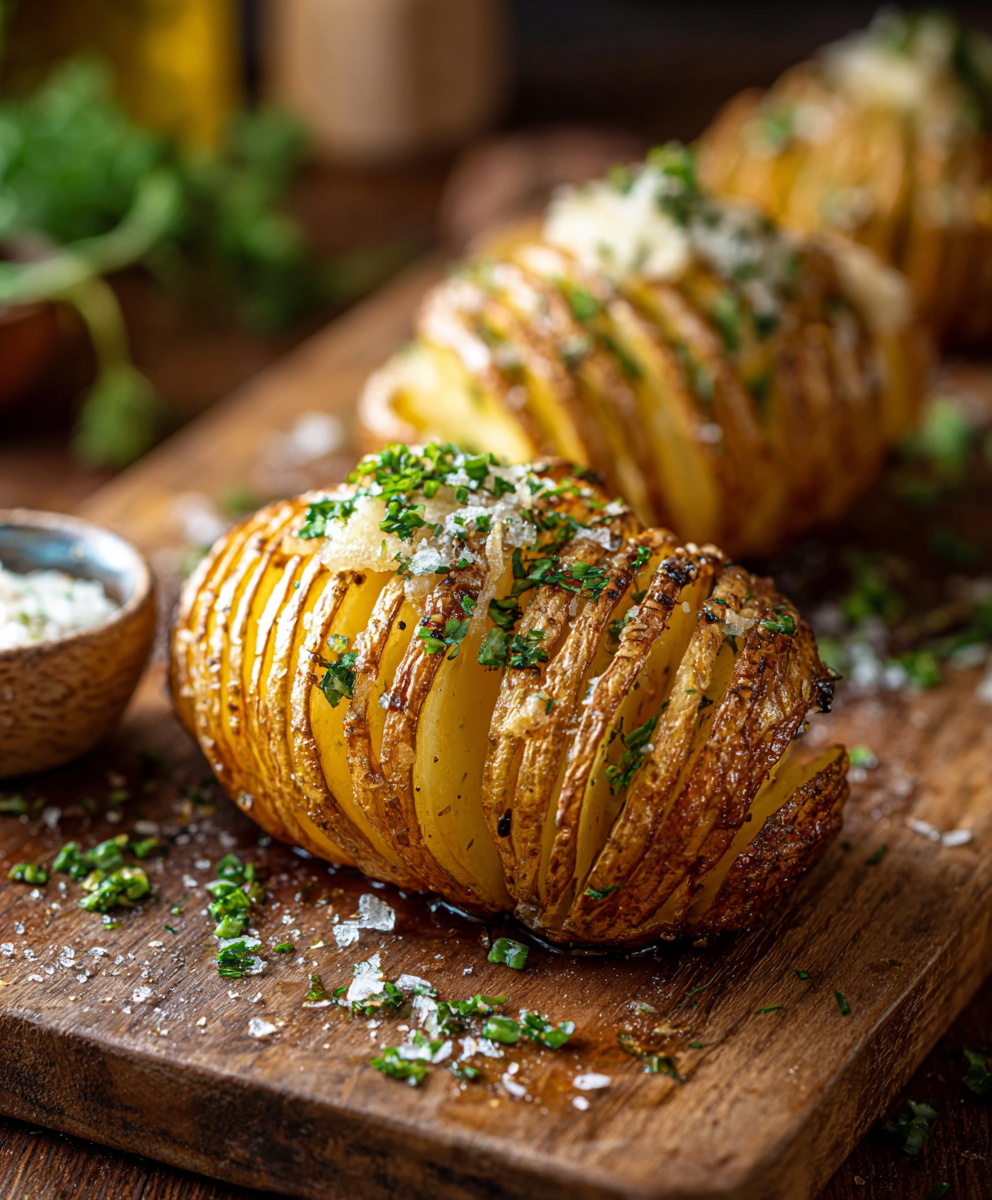
Crispy Hasselback Potatoes
Thinly sliced russet potatoes brushed with butter and baked until the edges are crisp and the centers are tender.
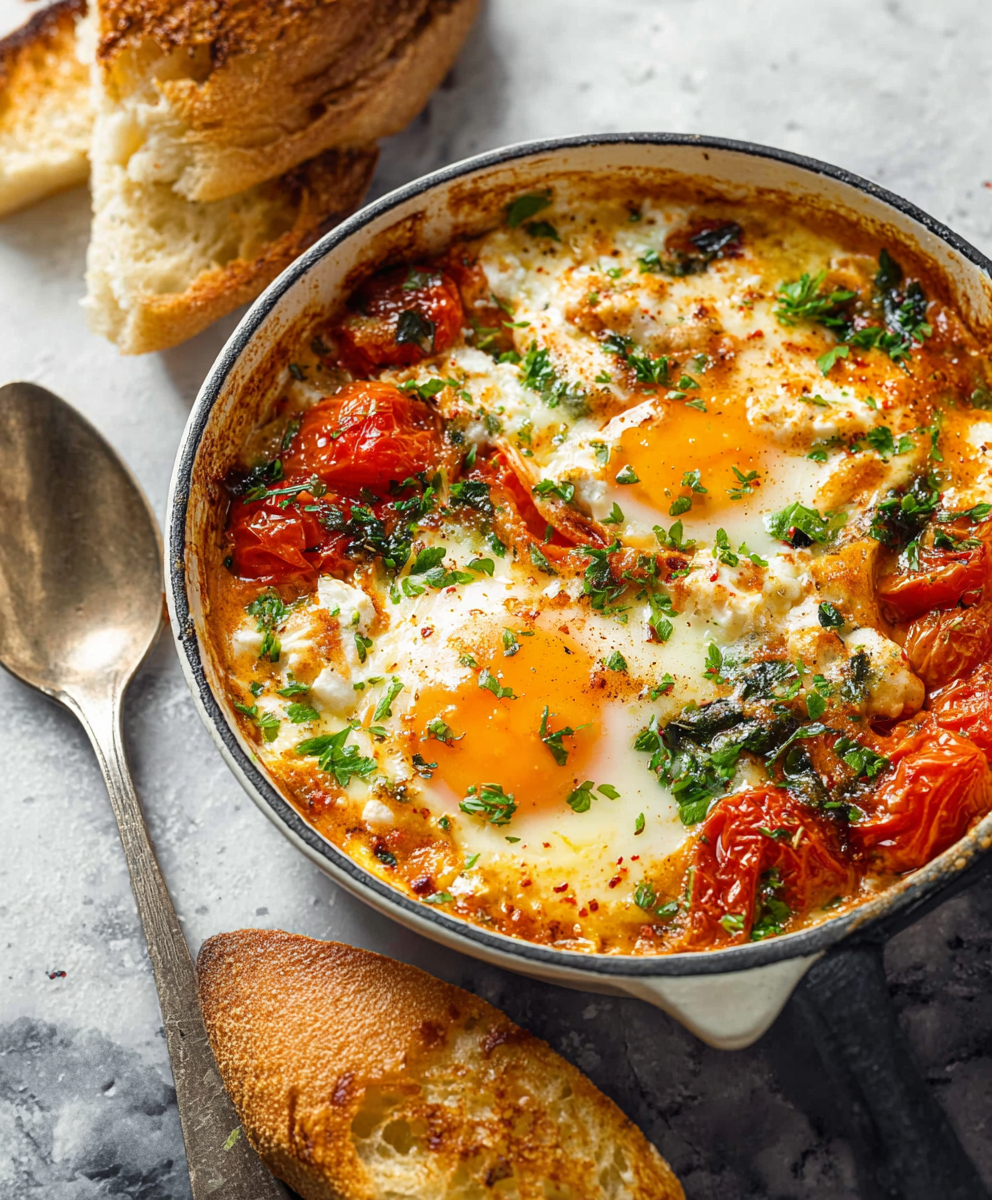
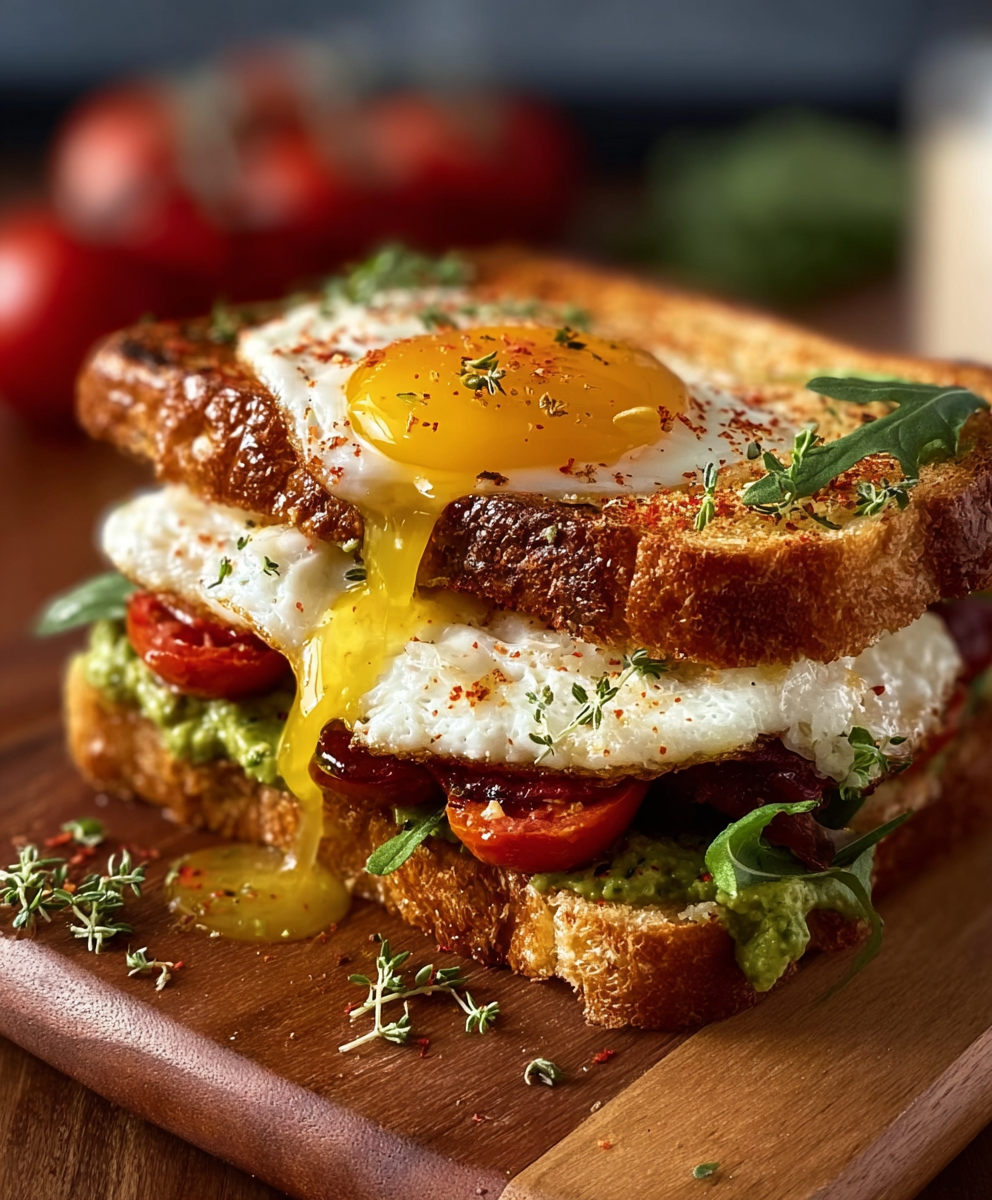
Baked Feta Eggs with Roasted Tomatoes and Spinach
A simple, vibrant baked egg dish: tangy feta melting into roasted cherry tomatoes with spinach and fragrant herbs. Perfect for brunch or an easy dinner.
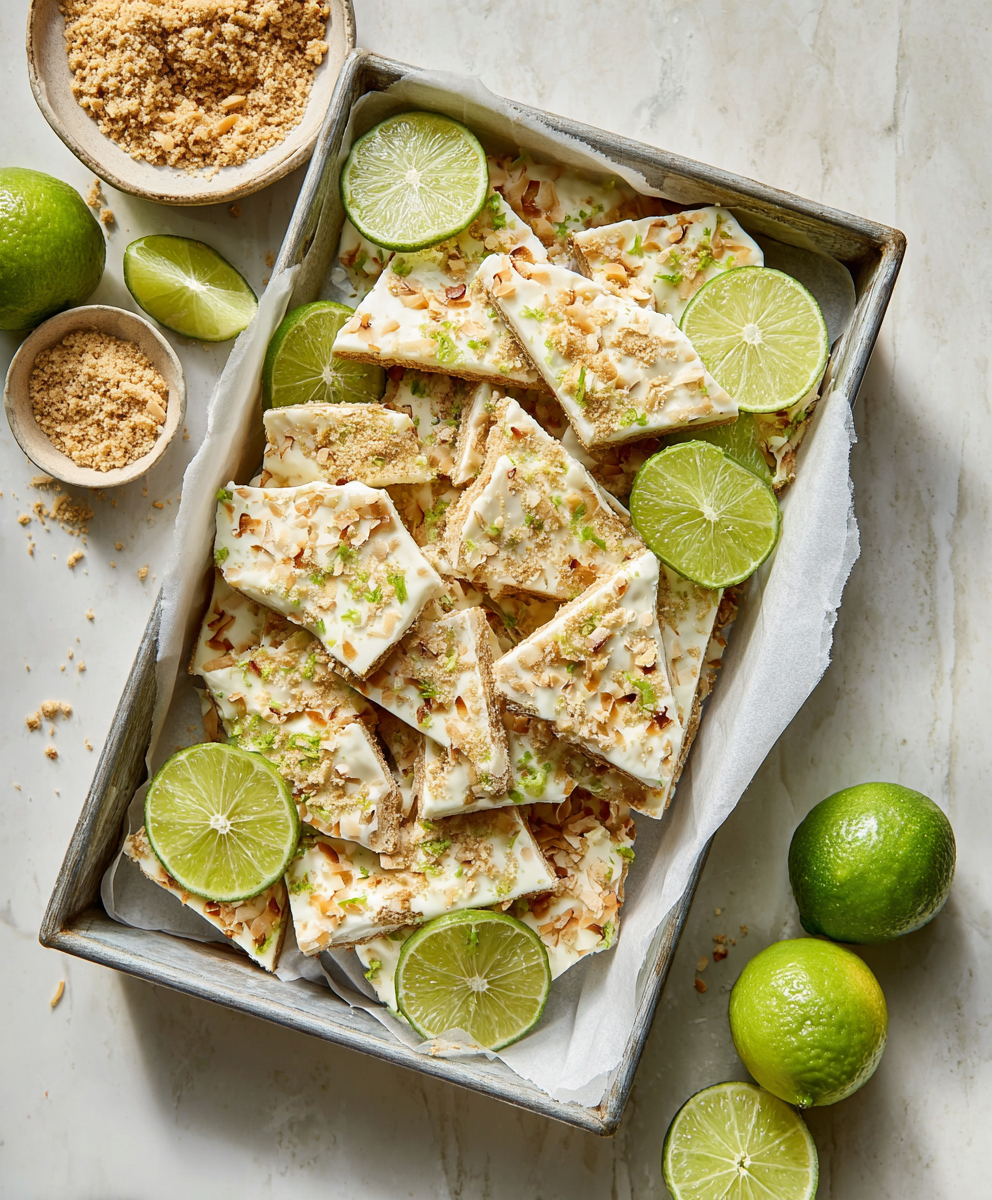
Key Lime Pie Yogurt Bark
A bright, tangy frozen treat that tastes like mini key lime pies. Creamy Greek yogurt, fresh lime, crunchy gluten-free crumbs, and toasted coconut come together for a protein-packed snack.
Did You Make This?
Leave a comment & rating below or tag @yummyhues on social media!
Rate This Recipe
Share This Recipe
Enjoyed this recipe? Share it with friends and family, and don't forget to leave a review!
Comments (1)
This recipe looks amazing! Can't wait to try it.
Comments are stored locally in your browser. Server comments are displayed alongside your local comments.

Hi, I'm Chloe!
What's Popular
30-Minute Meals!
Join to receive our email series which contains a round-up of some of our quick and easy family favorite recipes.