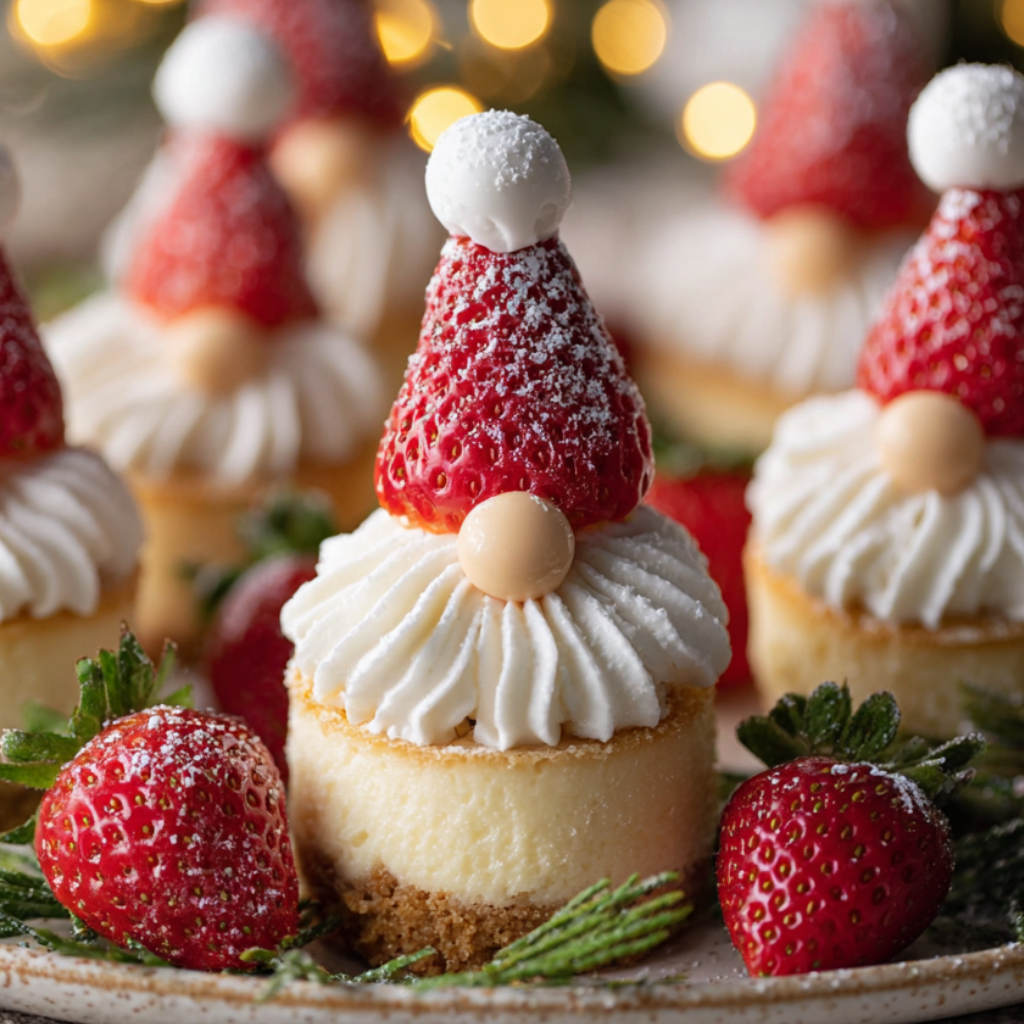
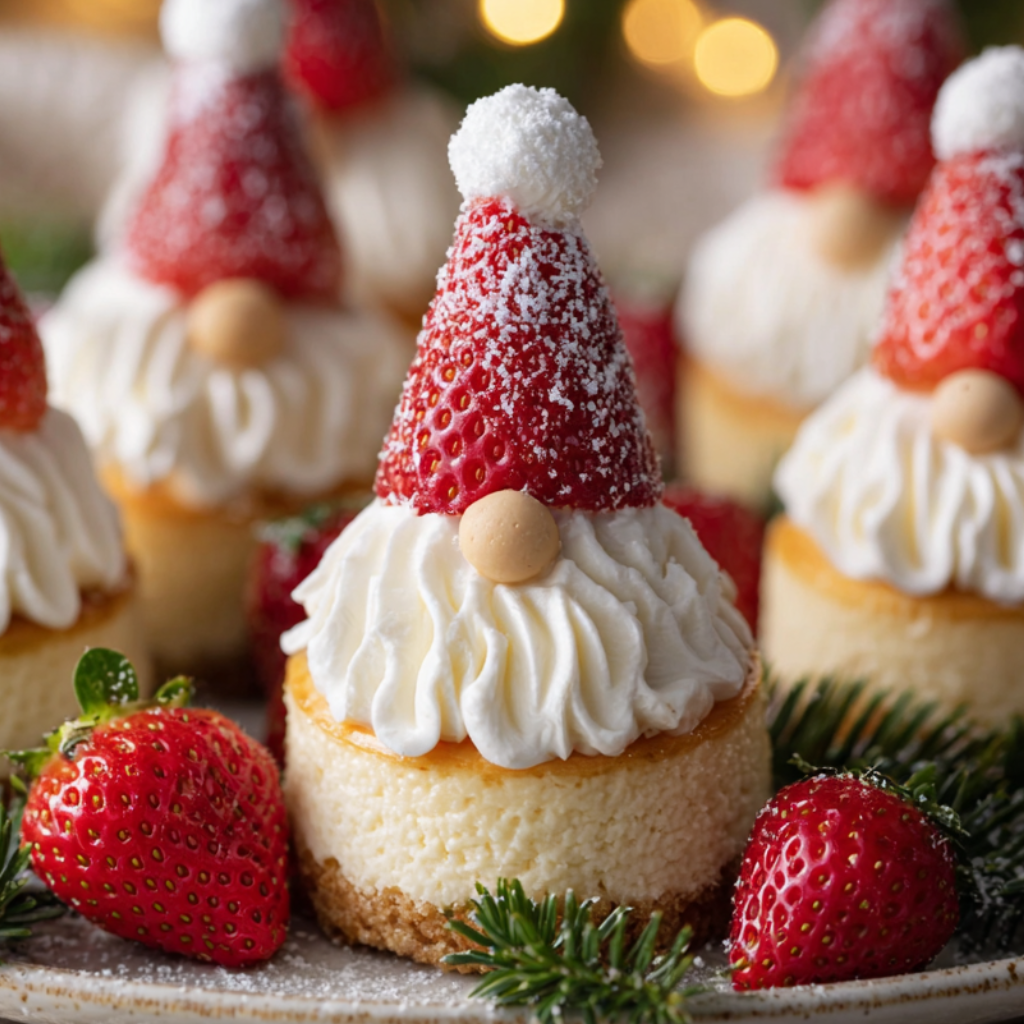
Gnome Mini Cheesecakes

Tiny, whimsical cheesecakes topped with buttercream gnome hats and edible beards — perfect for parties, gifts, or a sweet weekend project.
This recipe for Gnome Mini Cheesecakes began as a weekend craft project that turned into an instant holiday tradition. I discovered the concept while browsing a farmers' market during a crisp autumn Saturday; a vendor selling hand-painted ceramic gnomes inspired me to transform my favorite creamy dessert into something playful. The first batch I made mostly for my niece brought everyone to the kitchen — the tiny hats, piped beards and the buttery graham cracker bases created a combination of visual delight and silky texture that felt both nostalgic and modern. Ever since that chilly afternoon, these little treats have become my go-to for gatherings where a smile is part of the serving platter.
What makes these special is the contrast: a crisp, slightly salty crust, a lusciously smooth filling and a light, buttercream hat that adds sweetness and structure. The filling is rich but balanced with lemon and vanilla so the mini portions never feel too heavy. They refrigerate beautifully, travel well, and are forgiving for home bakers even when decorating skills are still developing. I love making a double batch for neighbors — they always return the favor with warm bread or preserves, and the gnome hats usually spark the best conversations.
Why You'll Love This Recipe
- Adorable presentation that’s perfect for parties, bake sales and holiday platters; each makes a single-serve delight that’s easy to portion and transport.
- Quick to put together: ready in about 1 hour active time plus chilling — the filling is simple and uses pantry staples most households already have.
- Make-ahead friendly: assemble the cheesecakes and pipe the hats the day before, then chill overnight for cleaner slices and firmer decorations.
- Customizable: swap the topping for jam, chocolate ganache, or seasonal flavors like pumpkin or cranberry for year-round appeal.
- Beginner-friendly technique that teaches key skills like blind-baking crusts in a muffin tin and avoiding overmixing for silky texture.
When I first brought these to a neighborhood potluck, people kept asking if a bakery made them. My grandmother grinned the widest — she loved the tiny hats and was delighted that something so playful could taste so refined. They’re truly a crowd-pleaser.
Ingredients
- Graham cracker crumbs: 1 1/2 cups (about 6 ounces) finely crushed; I like Honey Maid for consistent sweetness. The crumbs give the base a toasty flavor and a crisp texture when mixed with butter.
- Unsalted butter: 6 tablespoons, melted and slightly cooled; butter binds crumbs and adds a rich mouthfeel — use European-style for extra depth.
- Cream cheese: 16 ounces, full fat and room temperature; block-style works best for a dense, silky filling. Avoid whipped varieties for structure.
- Granulated sugar: 3/4 cup for the filling; balances the tang of cream cheese while keeping the texture smooth.
- Large egg: 1 whole egg plus 1 large egg yolk, room temperature; eggs add structure without making the texture cakey when mixed gently.
- Sour cream: 1/2 cup; adds a slightly tangy richness and keeps the filling bright.
- Vanilla extract: 1 teaspoon; pure vanilla enhances the cream cheese's natural flavors.
- Fresh lemon: 1 teaspoon zest (from 1 lemon) and 1 tablespoon juice; lemon cuts richness and adds freshness.
- Powdered sugar: 2 cups total for buttercream — 1 1/2 cups for the base buttercream and 1/2 cup for adjusting texture when piping hats.
- Unsalted butter (for buttercream): 1/2 cup (1 stick), softened; makes a stable, pipeable hat that holds shape in refrigeration.
- Food coloring and small candies: Small amounts of red (or gnome-hat colors) and mini candies for noses — optional but recommended for whimsy.
Instructions
Prepare the pan and crust: Preheat the oven to 325°F. Line a 12-cup muffin tin with paper liners or lightly grease each cup. Combine 1 1/2 cups graham cracker crumbs with 6 tablespoons melted butter and 2 tablespoons sugar in a bowl. Press about 1 to 1 1/2 tablespoons of the crumb mix into the bottom of each muffin cup, compacting firmly with the back of a measuring spoon. Bake 6-8 minutes until fragrant; this short bake seals the crust so the filling does not make it soggy. Make the filling without overmixing: Using a paddle attachment or a large whisk, beat 16 ounces room-temperature cream cheese on medium-low until very smooth (about 1-2 minutes). Add 3/4 cup granulated sugar and continue to beat until homogenous. Beat in 1 whole egg and 1 yolk just until combined — overbeating incorporates air and can cause cracks. Fold in 1/2 cup sour cream, 1 teaspoon vanilla, 1 tablespoon lemon juice and 1 teaspoon lemon zest with a rubber spatula until perfectly smooth. Fill and bake gently: Divide the filling evenly: use an ice cream scoop or two spoons to portion into each crust-lined cup, filling nearly to the top but leaving a small rim for the buttercream hat. Bake at 325°F for 18-20 minutes; centers should still jiggle slightly when you gently shake the pan. Turn off oven, crack the door and let the pans sit 10 minutes to prevent rapid temperature change that can create cracks. Cool and chill: Remove from oven and cool completely on a wire rack for 30 minutes, then transfer to the refrigerator for at least 2 hours, preferably overnight. Chilling firms the texture and makes piping hats much easier. Prepare the buttercream hats: Beat 1/2 cup softened butter until creamy, then gradually add 1 1/2 cups powdered sugar until smooth. Add 1-2 tablespoons of milk if needed to reach a pipeable consistency. Tint about 1/4 cup of buttercream with red gel color for hats and leave the remainder white for beards. Assemble decorations: Using a large round piping tip, pipe a conical hat of colored buttercream on each chilled cheesecake. Switch to a star tip and pipe a fluffy beard beneath the hat. Add a tiny candy or a dab of buttercream for the nose and, if you like, dust with a little edible glitter for a festive touch.
You Must Know
- These keep in the refrigerator for up to 5 days if stored in an airtight container; freeze for up to 3 months without decoration.
- Full-chill time is essential: at least 2 hours refrigeration ensures clean piping and prevents hats from sliding off.
- They are rich: one mini (about 2.5 inches) is roughly 200-240 calories depending on toppings; portion accordingly.
- Use room-temperature eggs and cream cheese for a lumpy-free filling — cold ingredients resist emulsification and can cause graininess.
My favorite part is the reveal: the first person to bite one is always delighted by the contrast of textures. The neighborhood kids begged to help the next time, and decorating became a family evening activity — one that produced some hilariously lopsided gnomes and all the more laughter.
Storage Tips
Store in a shallow airtight container with parchment or a paper towel between layers to prevent smudging the buttercream. Refrigerate for up to 5 days; for longer storage, freeze un-iced cheesecakes on a baking sheet until solid, then transfer to a freezer-safe container for up to 3 months. Thaw overnight in the refrigerator before piping hats. Reheat is not recommended — chilled is best. Always check for off-odors or separation before serving after extended storage.
Ingredient Substitutions
To make the base gluten-free, substitute gluten-free graham crackers or almond flour — use 1 1/2 cups almond flour and reduce butter to 5 tablespoons for a sturdier crust. For a lighter filling, replace half the sour cream with Greek yogurt, but expect a tangier profile. To make dairy-free, use a firm vegan cream cheese alternative and coconut cream; note that texture and flavor will differ and piping stability may require additional powdered sugar.
Serving Suggestions
Serve chilled on a decorative platter, garnished with small fresh berries, edible flowers, or a dusting of cocoa powder. These are excellent paired with a light sparkling wine, chamomile tea, or espresso. For children's parties, add sprinkles around the hat brim or switch to candy noses. For an adult gathering, pipe hats in seasonal colors—deep forest green and berry red make a dramatic holiday display.
Cultural Background
Mini cheesecakes are an American adaptation of classic European tarts and cheesecakes, scaled down for single servings. The notion of small, decorated individual desserts has deep roots in patisserie culture — cupcakes, tartlettes and petits fours all share the idea. Decorating them as gnomes is a modern playful twist that draws on Scandinavian folklore; gnomes as household protectors translate nicely to little desserts that 'guard' the dessert table.
Seasonal Adaptations
In summer, top with a bright citrus glaze or macerated berries. For autumn, fold 1/2 cup pumpkin purée and 1/2 teaspoon pumpkin pie spice into the filling and swap the hat color to burnt orange. Winter is perfect for peppermint hats — stir 1/4 teaspoon peppermint extract into the buttercream and top with crushed candy cane. Spring calls for pastel hats and lemon-verbena zest for a floral lift.
Meal Prep Tips
Make crusts and filling a day ahead: bake crusts, prepare filling and partially bake the mini cheesecakes. Chill overnight, then finish buttercream and decorate on the day you serve. Use disposable piping bags for fast cleanup and store finished minis in a single layer to maintain the hat shapes. For larger events, prepare extra filling and bake in batches — the batter keeps well covered in the fridge for up to 24 hours.
These tiny treats prove that playful presentation and serious flavor can coexist. Whether you’re handing them out as gifts or treating your household to a whimsical dessert night, the Gnome Mini Cheesecakes are an invitation to slow down and enjoy a sweet, silly moment together. Try one variation per week and see which becomes your family favorite.
Pro Tips
Always start with room-temperature cream cheese to avoid lumps in the filling.
Press crusts firmly into the pan to prevent loose bases; a small flat-bottomed glass works well for compacting.
Chill the baked mini cheesecakes thoroughly before piping to keep hats from sliding off.
If the buttercream is too soft for piping, chill it 10-15 minutes and then continue; you can also add 1/4 cup more powdered sugar to firm it up.
This nourishing gnome mini cheesecakes recipe is sure to be a staple in your kitchen. Enjoy every moist, high protein slice — it is perfect for breakfast or as a wholesome snack any time.
FAQs about Recipes
How long should I chill these before decorating?
Chill for at least 2 hours, preferably overnight; piping hats is much easier on well-chilled cheesecakes.
How should I store leftovers?
They keep refrigerated for up to 5 days and freeze un-iced for up to 3 months. Thaw in the refrigerator before decorating.
Can I make these dairy-free?
Yes — use full-fat block-style vegan cream cheese and coconut cream, but note texture and flavor will differ and additional powdered sugar may be needed for piping.
Tags
Gnome Mini Cheesecakes
This Gnome Mini Cheesecakes recipe makes perfectly juicy, tender, and flavorful steak every time! Serve with potatoes and a side salad for an unforgettable dinner in under 30 minutes.
Ingredients
Crust
Filling
Toppings
Instructions
Preheat and prepare crust
Preheat oven to 325°F. Line or grease a 12-cup muffin tin. Mix graham crumbs, melted butter and sugar, press 1 to 1 1/2 tablespoons into each cup, and bake 6-8 minutes until fragrant.
Smooth the cream cheese
Beat room-temperature cream cheese on low-medium until smooth. Add sugar and mix until combined to avoid lumps before adding eggs.
Add eggs and flavorings
Add one whole egg and one yolk, mixing only until incorporated. Fold in sour cream, vanilla, lemon juice and zest with a spatula until perfectly smooth.
Fill and bake gently
Spoon filling into crusts, filling nearly to the top. Bake at 325°F for 18-20 minutes until centers jiggle slightly. Let cool in oven with door cracked for 10 minutes.
Refrigerate until firm
Cool on a wire rack 30 minutes then refrigerate at least 2 hours, ideally overnight, to firm the texture for decorating.
Make buttercream and decorate
Beat softened butter and gradually add powdered sugar until smooth. Tint portion for hats, pipe colored hats and white beards on each chilled cheesecake, garnishing with a small candy nose.
Last Step: Please leave a rating and comment letting us know how you liked this recipe! This helps our business to thrive and continue providing free, high-quality recipes for you.
Nutrition
Did You Make This?
Leave a comment & rating below or tag
@yummyhues on social media!
Categories:
You might also like...
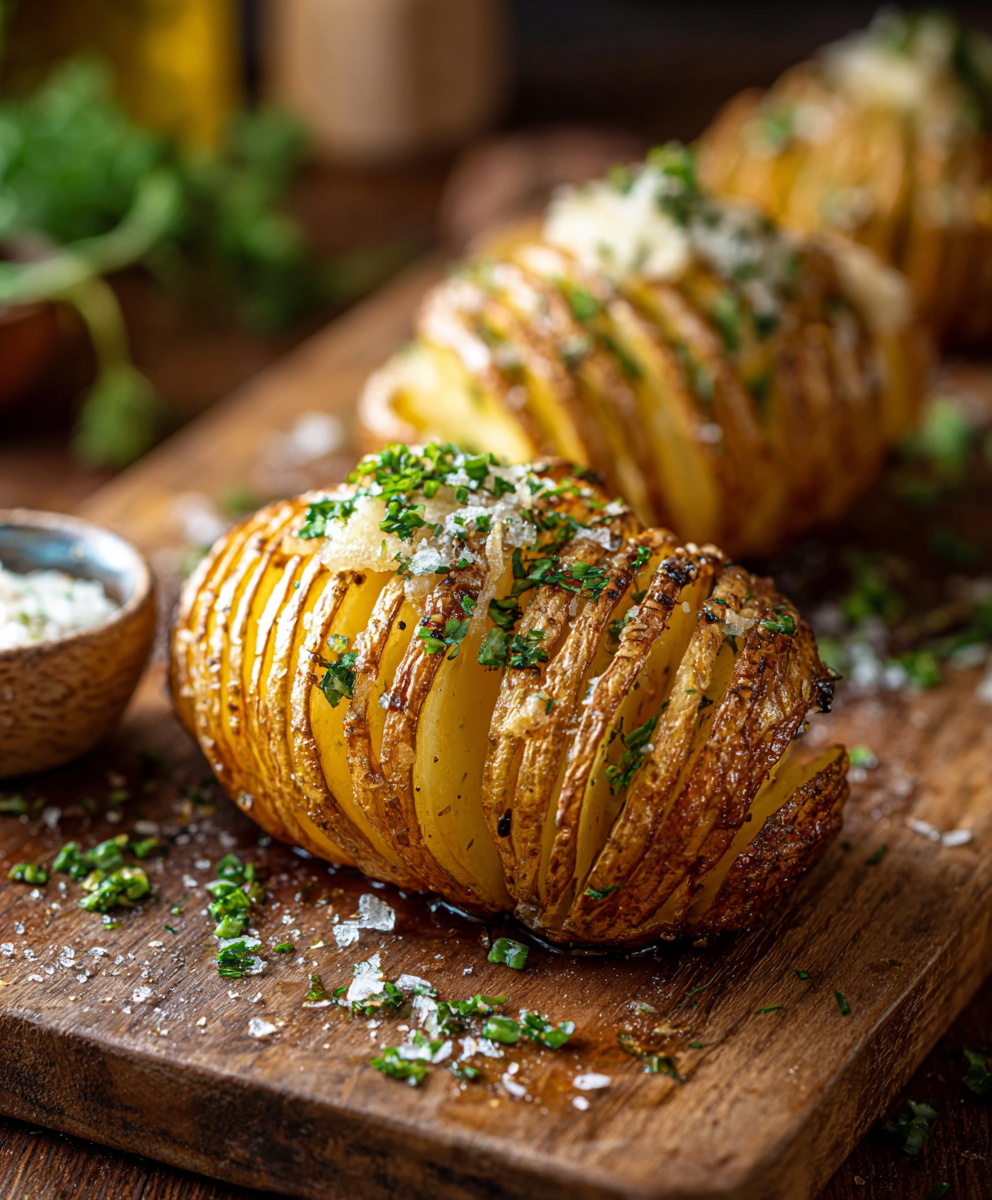
Crispy Hasselback Potatoes
Thinly sliced russet potatoes brushed with butter and baked until the edges are crisp and the centers are tender.
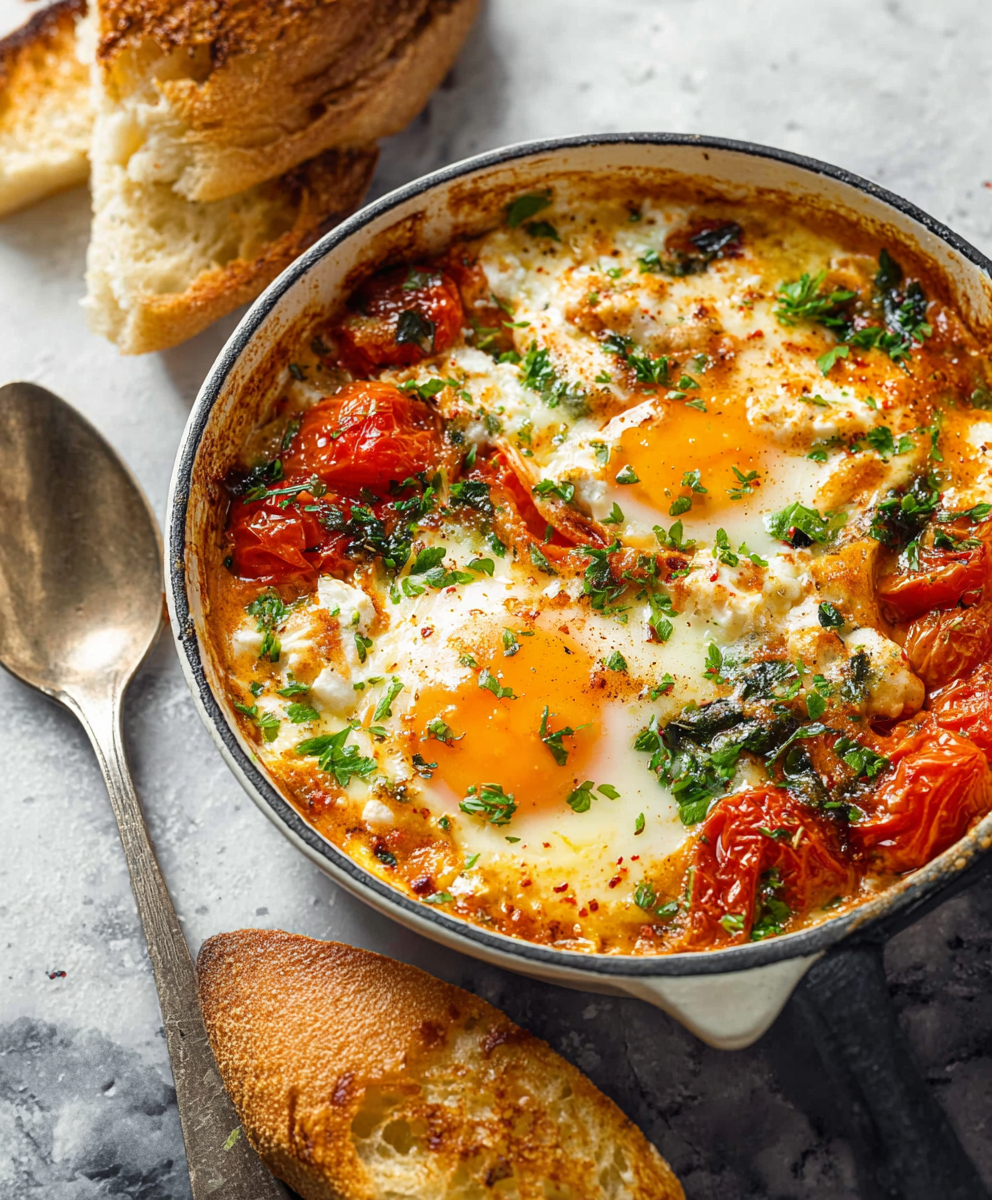
Baked Feta Eggs with Roasted Tomatoes and Spinach
A simple, vibrant baked egg dish: tangy feta melting into roasted cherry tomatoes with spinach and fragrant herbs. Perfect for brunch or an easy dinner.
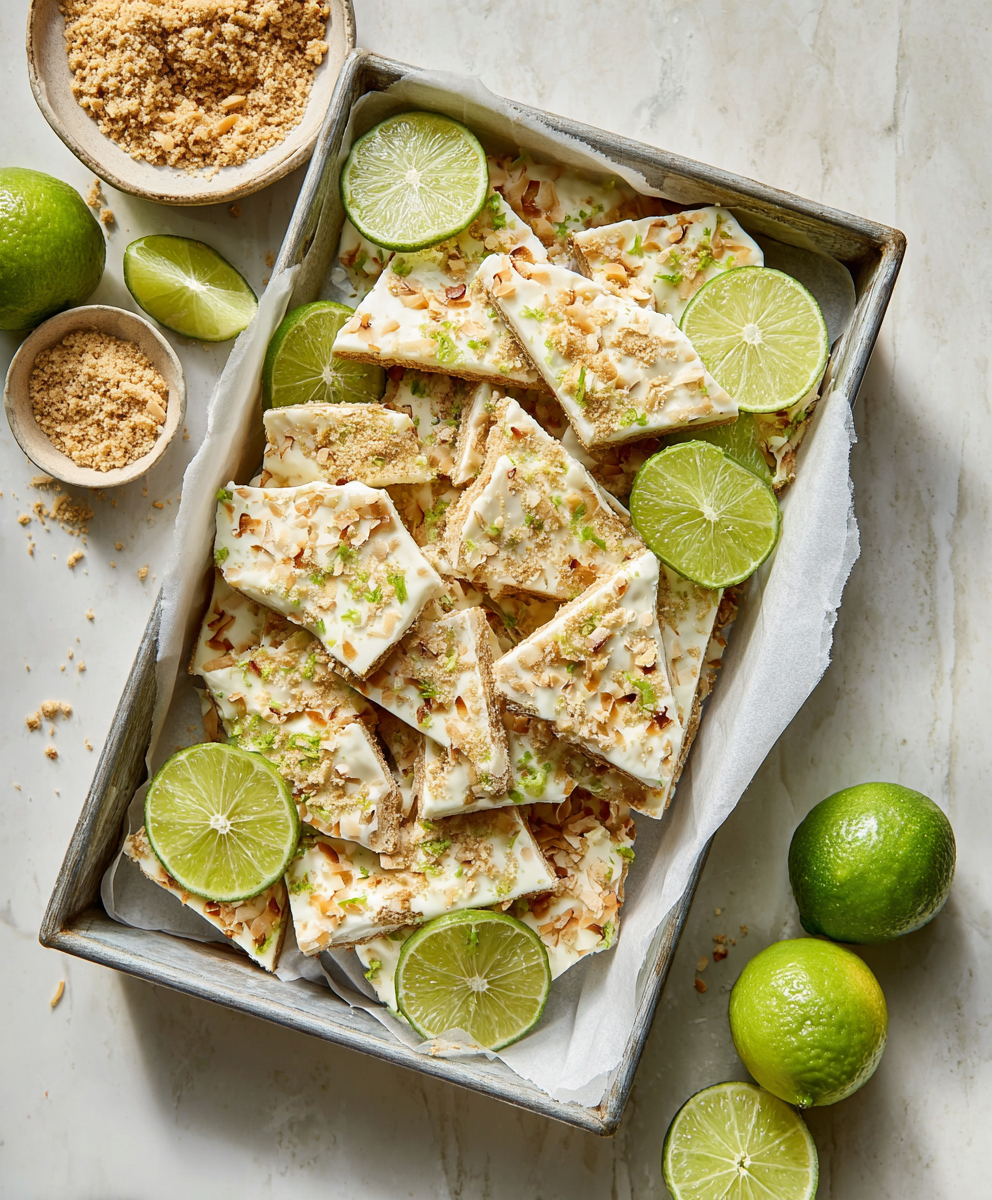
Key Lime Pie Yogurt Bark
A bright, tangy frozen treat that tastes like mini key lime pies. Creamy Greek yogurt, fresh lime, crunchy gluten-free crumbs, and toasted coconut come together for a protein-packed snack.
Did You Make This?
Leave a comment & rating below or tag @yummyhues on social media!
Rate This Recipe
Share This Recipe
Enjoyed this recipe? Share it with friends and family, and don't forget to leave a review!
Comments (1)
This recipe looks amazing! Can't wait to try it.
Comments are stored locally in your browser. Server comments are displayed alongside your local comments.

Hi, I'm Chloe!
What's Popular
30-Minute Meals!
Join to receive our email series which contains a round-up of some of our quick and easy family favorite recipes.