>>
30-MINUTE MEALS! Get the email series now →


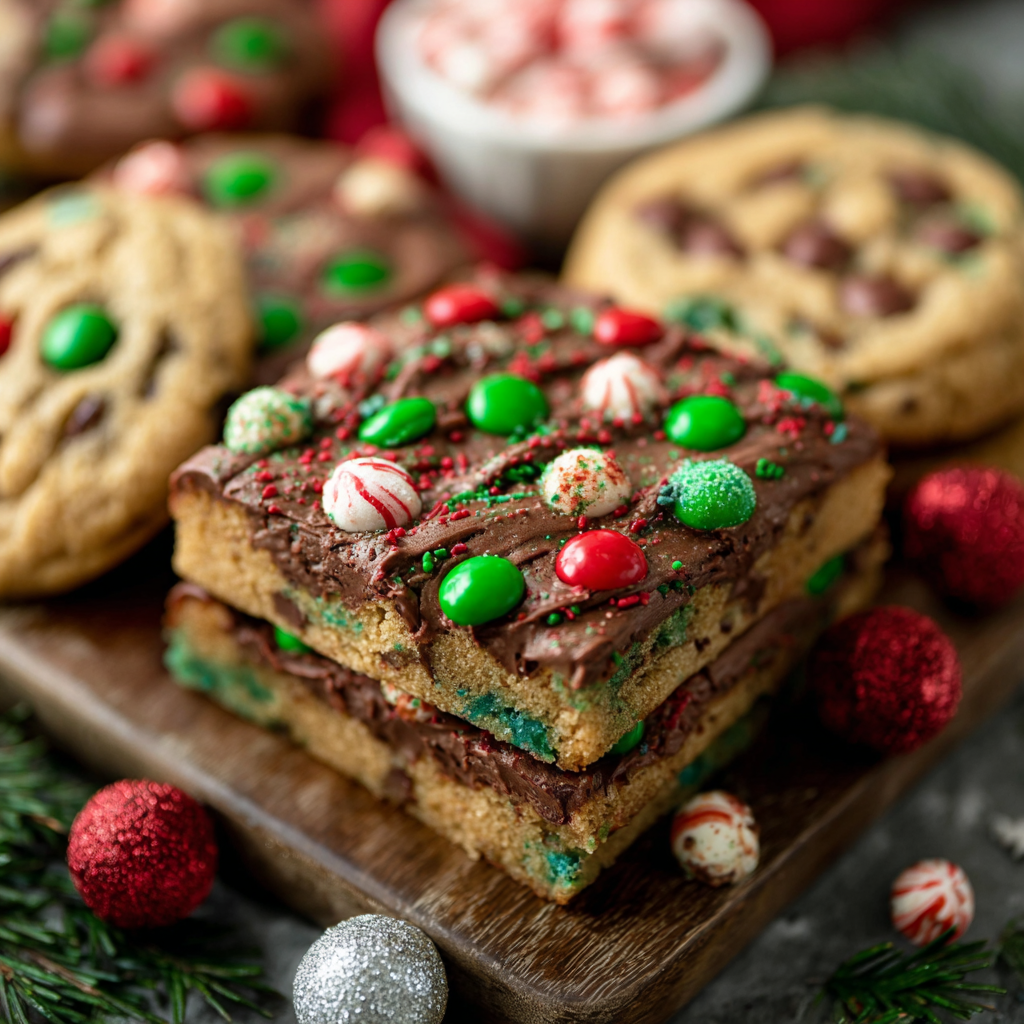
Soft, chewy Christmas cookie bars studded with colorful M&Ms and festive sprinkles — a simple, crowd-pleasing holiday treat that bakes in one pan.
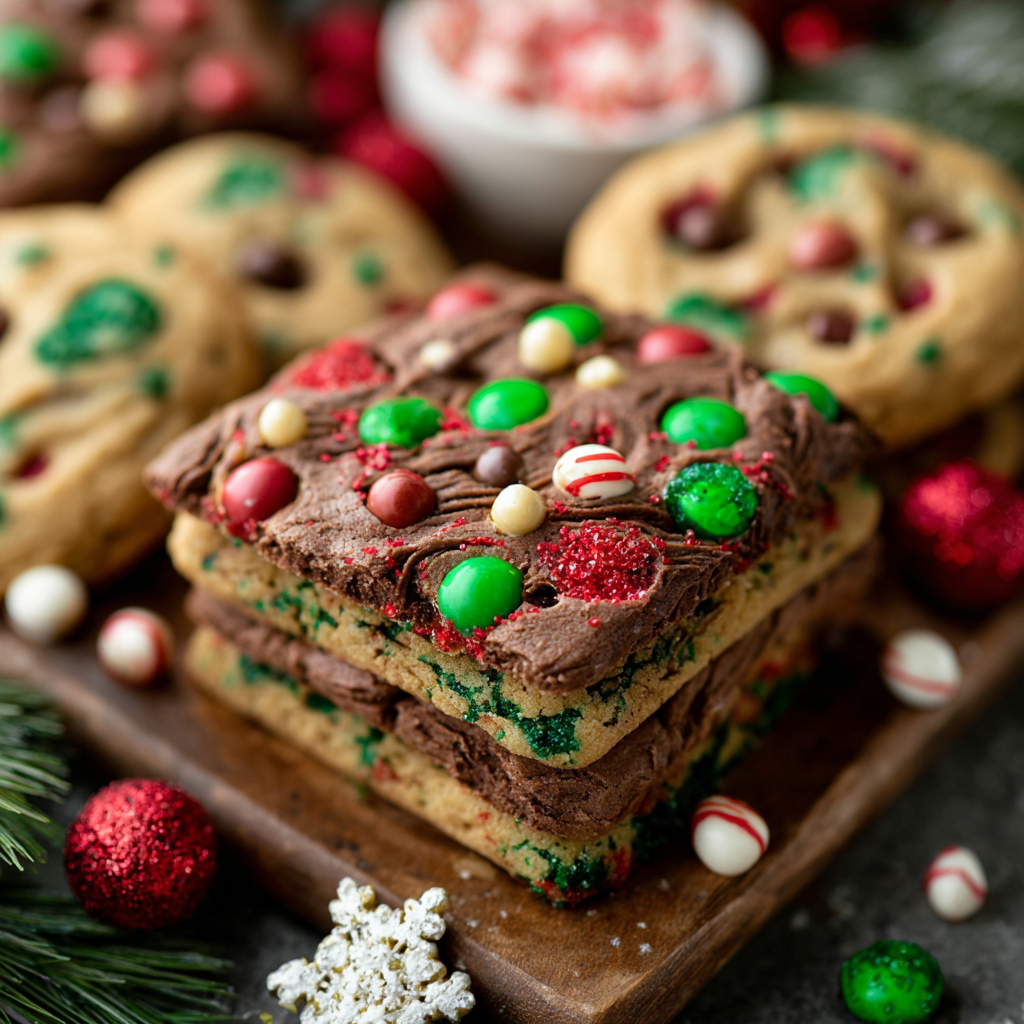
This batch of Christmas cookie bars has been my go-to holiday treat for years. I first developed this version during a frantic December afternoon when I wanted something bright and festive that could be made quickly and served to a crowd. The texture is what keeps me coming back: a tender, slightly chewy interior with a golden top and candy pockets that melt into little bursts of color and chocolate. When the pan comes out of the oven, the kitchen fills with the warm, buttery scent of brown sugar and vanilla, and the colorful candies make everyone smile.
I discovered the easiest way to get an even layer and consistent results after several attempts: use a 9 by 13 inch metal pan lined with foil and spray your hands before smoothing the dough. I also learned to err on the side of underbaking so the bars remain moist; they finish setting as they cool. These bars have become a holiday staple at family gatherings, school parties, and neighbor gifts. Kids love them for the bright candies, and adults appreciate how simple they are to make without sacrificing homemade charm.
When I first brought these to a neighborhood cookie swap, they disappeared in record time. My niece insisted on helping press the candies into the top, and the result was picture perfect. Over the years I have learned little tricks — like spraying your hands before pressing the dough — that have saved me from many sticky frustrations.

My favorite thing about this recipe is the predictability. Even when I change candies or add chopped nuts, the method yields consistent results. I once substituted chopped peppermint bark for M&Ms and sprinkled crushed candy canes on top; the texture changed slightly but the family loved the holiday twist. This flexibility makes the bars a reliable base for creative holiday variations.
For short-term storage, cool the bars completely and transfer them to an airtight container layered with parchment to prevent sticking. Keep at room temperature for up to four days. For longer storage, wrap the cooled foil-lifted slab tightly in plastic wrap and place it in a resealable freezer bag; freeze up to one month. To serve from frozen, thaw in the refrigerator overnight and bring to room temperature for about 30 minutes before slicing for best texture. Reheat single servings in a microwave for 8 to 12 seconds for a warm treat.
If you need dairy-free bars, substitute a vegan stick margarine with a 1:1 ratio and use dairy-free chocolate candies. For a lower-sugar option, reduce the brown sugar to 1 1/2 cups and add 2 tablespoons of applesauce to preserve moisture; expect a slightly softer texture. To make nutty bars, fold in 1/2 cup chopped toasted pecans or walnuts; this increases crunch and complements the brown sugar. If you prefer a more brownie-like chew, swap 1/4 cup of flour for 1/4 cup unsweetened cocoa powder and add a tablespoon of melted chocolate into the batter.
Serve the bars warm with a scoop of vanilla ice cream or a dollop of lightly whipped cream for a festive dessert. They pair beautifully with hot cocoa, coffee, or spiced cider and are ideal for cookie plates and holiday dessert tables. For gifting, stack two or three bars in parchment squares and tie with ribbon, or cut into bite-sized squares for party platters. Garnish plates with additional sprinkles or a light dusting of powdered sugar for presentation.
These bars adapt easily by swapping the candy colors and sprinkles. Use pastel candies and confetti sprinkles for Easter, red and pink for Valentine’s Day, or orange and black for Halloween. In winter, fold in 1/2 cup chopped peppermint bark or mini white chocolate chips. For Thanksgiving, replace the sprinkles with chopped dried cranberries and a sprinkle of coarse sugar on top before baking to add texture and seasonal flavor.
Make the batter and spread it into the lined pan, then cover tightly and refrigerate for up to 24 hours before baking to save time on the day you need them. Alternatively, bake now and freeze sliced bars in single layers separated by parchment for quick grab-and-go breakfasts or treats. Label and date your containers; frozen slices reheat from frozen in the microwave for about 15 to 20 seconds on medium power for a warm, fresh-baked feel.
These bars are more than a simple sweet; they are a versatile base for seasonal creativity and a dependable treat to share. Whether you are sending them to a party, packing them for school lunches, or wrapping them as neighbor gifts, they capture festive spirit in a single pan. Try them as written the first time, then personalize with favorite mix-ins to make them your signature holiday bake.
Spray your hands with cooking spray before pressing the sticky dough to get an even layer without mess.
Err on the side of slightly underbaking; the bars will finish setting as they cool, keeping them moist.
Reserve some M&Ms and sprinkles to press on top before baking for the most festive presentation.
Use room-temperature eggs for better incorporation and a consistent crumb.
To freeze, wrap the cooled slab tightly in plastic wrap, then store in a resealable freezer bag for up to one month.
This nourishing christmas cookie bars recipe is sure to be a staple in your kitchen. Enjoy every moist, high protein slice — it is perfect for breakfast or as a wholesome snack any time.
Yes. Let the pan cool for at least 30 minutes so the bars set. Lift them out using the foil overhang and slice with a sharp knife for clean edges.
If you must use a glass pan, increase baking time by 3 to 6 minutes and watch for the top to turn golden but still slightly soft in the center.
This Christmas Cookie Bars recipe makes perfectly juicy, tender, and flavorful steak every time! Serve with potatoes and a side salad for an unforgettable dinner in under 30 minutes.
Preheat oven to 350 degrees Fahrenheit. Line a 9x13 inch metal pan with foil and spray generously with cooking spray. Do not use a glass pan for this method to ensure even browning.
In a large bowl, beat 1/2 cup softened unsalted butter with 2 cups packed brown sugar until crumbly and slightly glossy, about 2 to 3 minutes using a stand or hand mixer.
Add 2 room-temperature eggs one at a time, then 1 teaspoon vanilla extract. Beat until smooth and fully incorporated to ensure an even crumb.
Add 1/2 teaspoon salt, 1 teaspoon baking powder, and 2 cups all-purpose flour. Mix until just combined. Fold in 1 cup M&Ms and 1/2 cup jimmie sprinkles, reserving a few to press on top.
Spray your hands with cooking spray and press the sticky dough into an even layer in the prepared pan. Scatter the reserved candies and sprinkles on top for decoration.
Bake for 22 to 25 minutes until the top begins to turn golden. Err on the side of underbaking; the bars will finish setting as they cool. Cool at least 30 minutes before slicing into 12 bars.
Last Step: Please leave a rating and comment letting us know how you liked this recipe! This helps our business to thrive and continue providing free, high-quality recipes for you.
Leave a comment & rating below or tag
@yummyhues on social media!
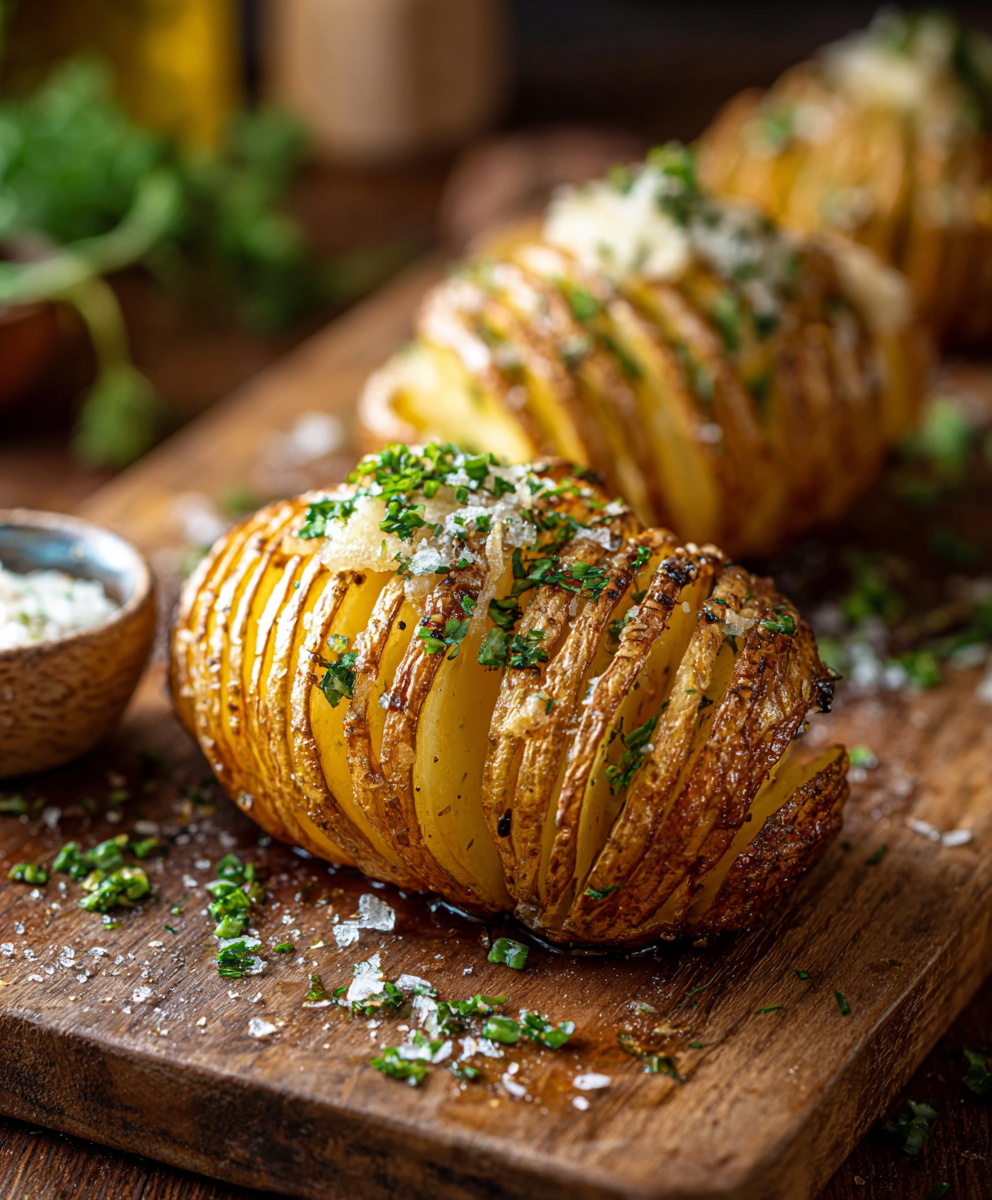
Thinly sliced russet potatoes brushed with butter and baked until the edges are crisp and the centers are tender.
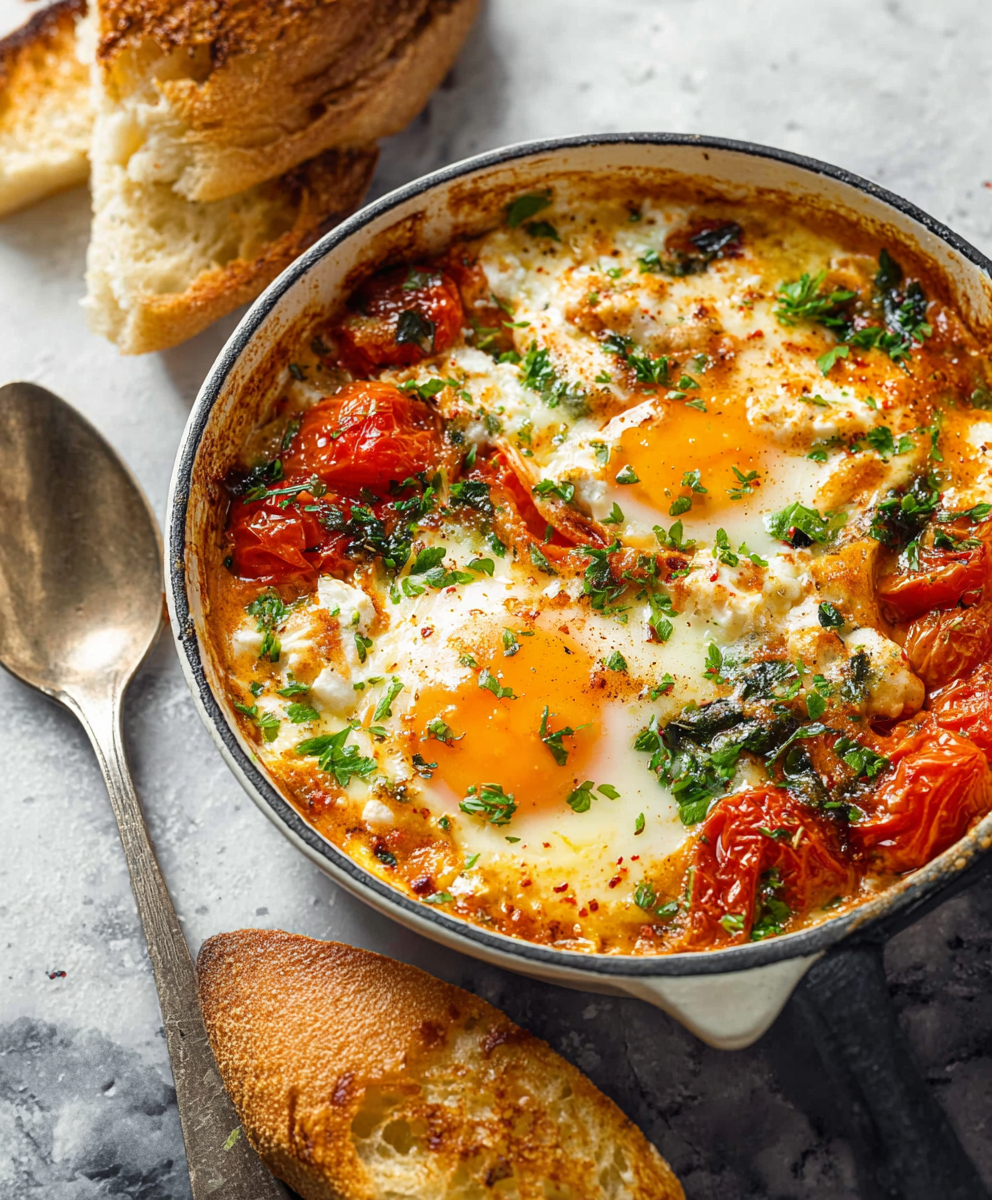
A simple, vibrant baked egg dish: tangy feta melting into roasted cherry tomatoes with spinach and fragrant herbs. Perfect for brunch or an easy dinner.
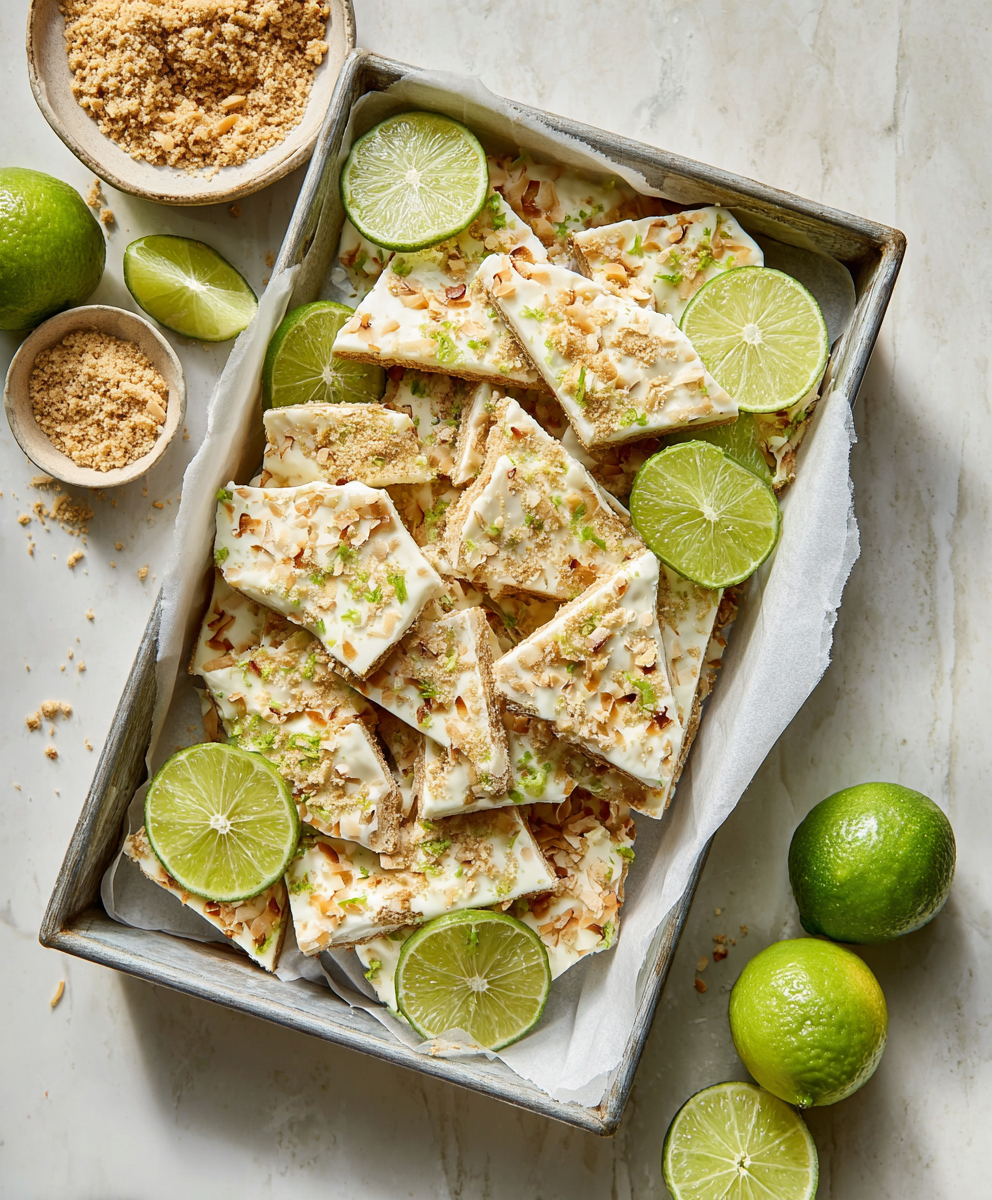
A bright, tangy frozen treat that tastes like mini key lime pies. Creamy Greek yogurt, fresh lime, crunchy gluten-free crumbs, and toasted coconut come together for a protein-packed snack.
Leave a comment & rating below or tag @yummyhues on social media!
Enjoyed this recipe? Share it with friends and family, and don't forget to leave a review!
This recipe looks amazing! Can't wait to try it.
Comments are stored locally in your browser. Server comments are displayed alongside your local comments.

Join to receive our email series which contains a round-up of some of our quick and easy family favorite recipes.